

And finally on this last post, I’m putting a lid on it.
—
We raised the roof – with some winching and a little wincing (from my mother). But let’s get to making this roof beam.
In the original designs from Andrew Holden in the Self-Reliant Potter, written nearly 40 years ago there were certainly subs we had to make. Some because the original resources are no longer available or technologies have improved. For the room beam we turned again to kiln cement which was adaptable anyway.
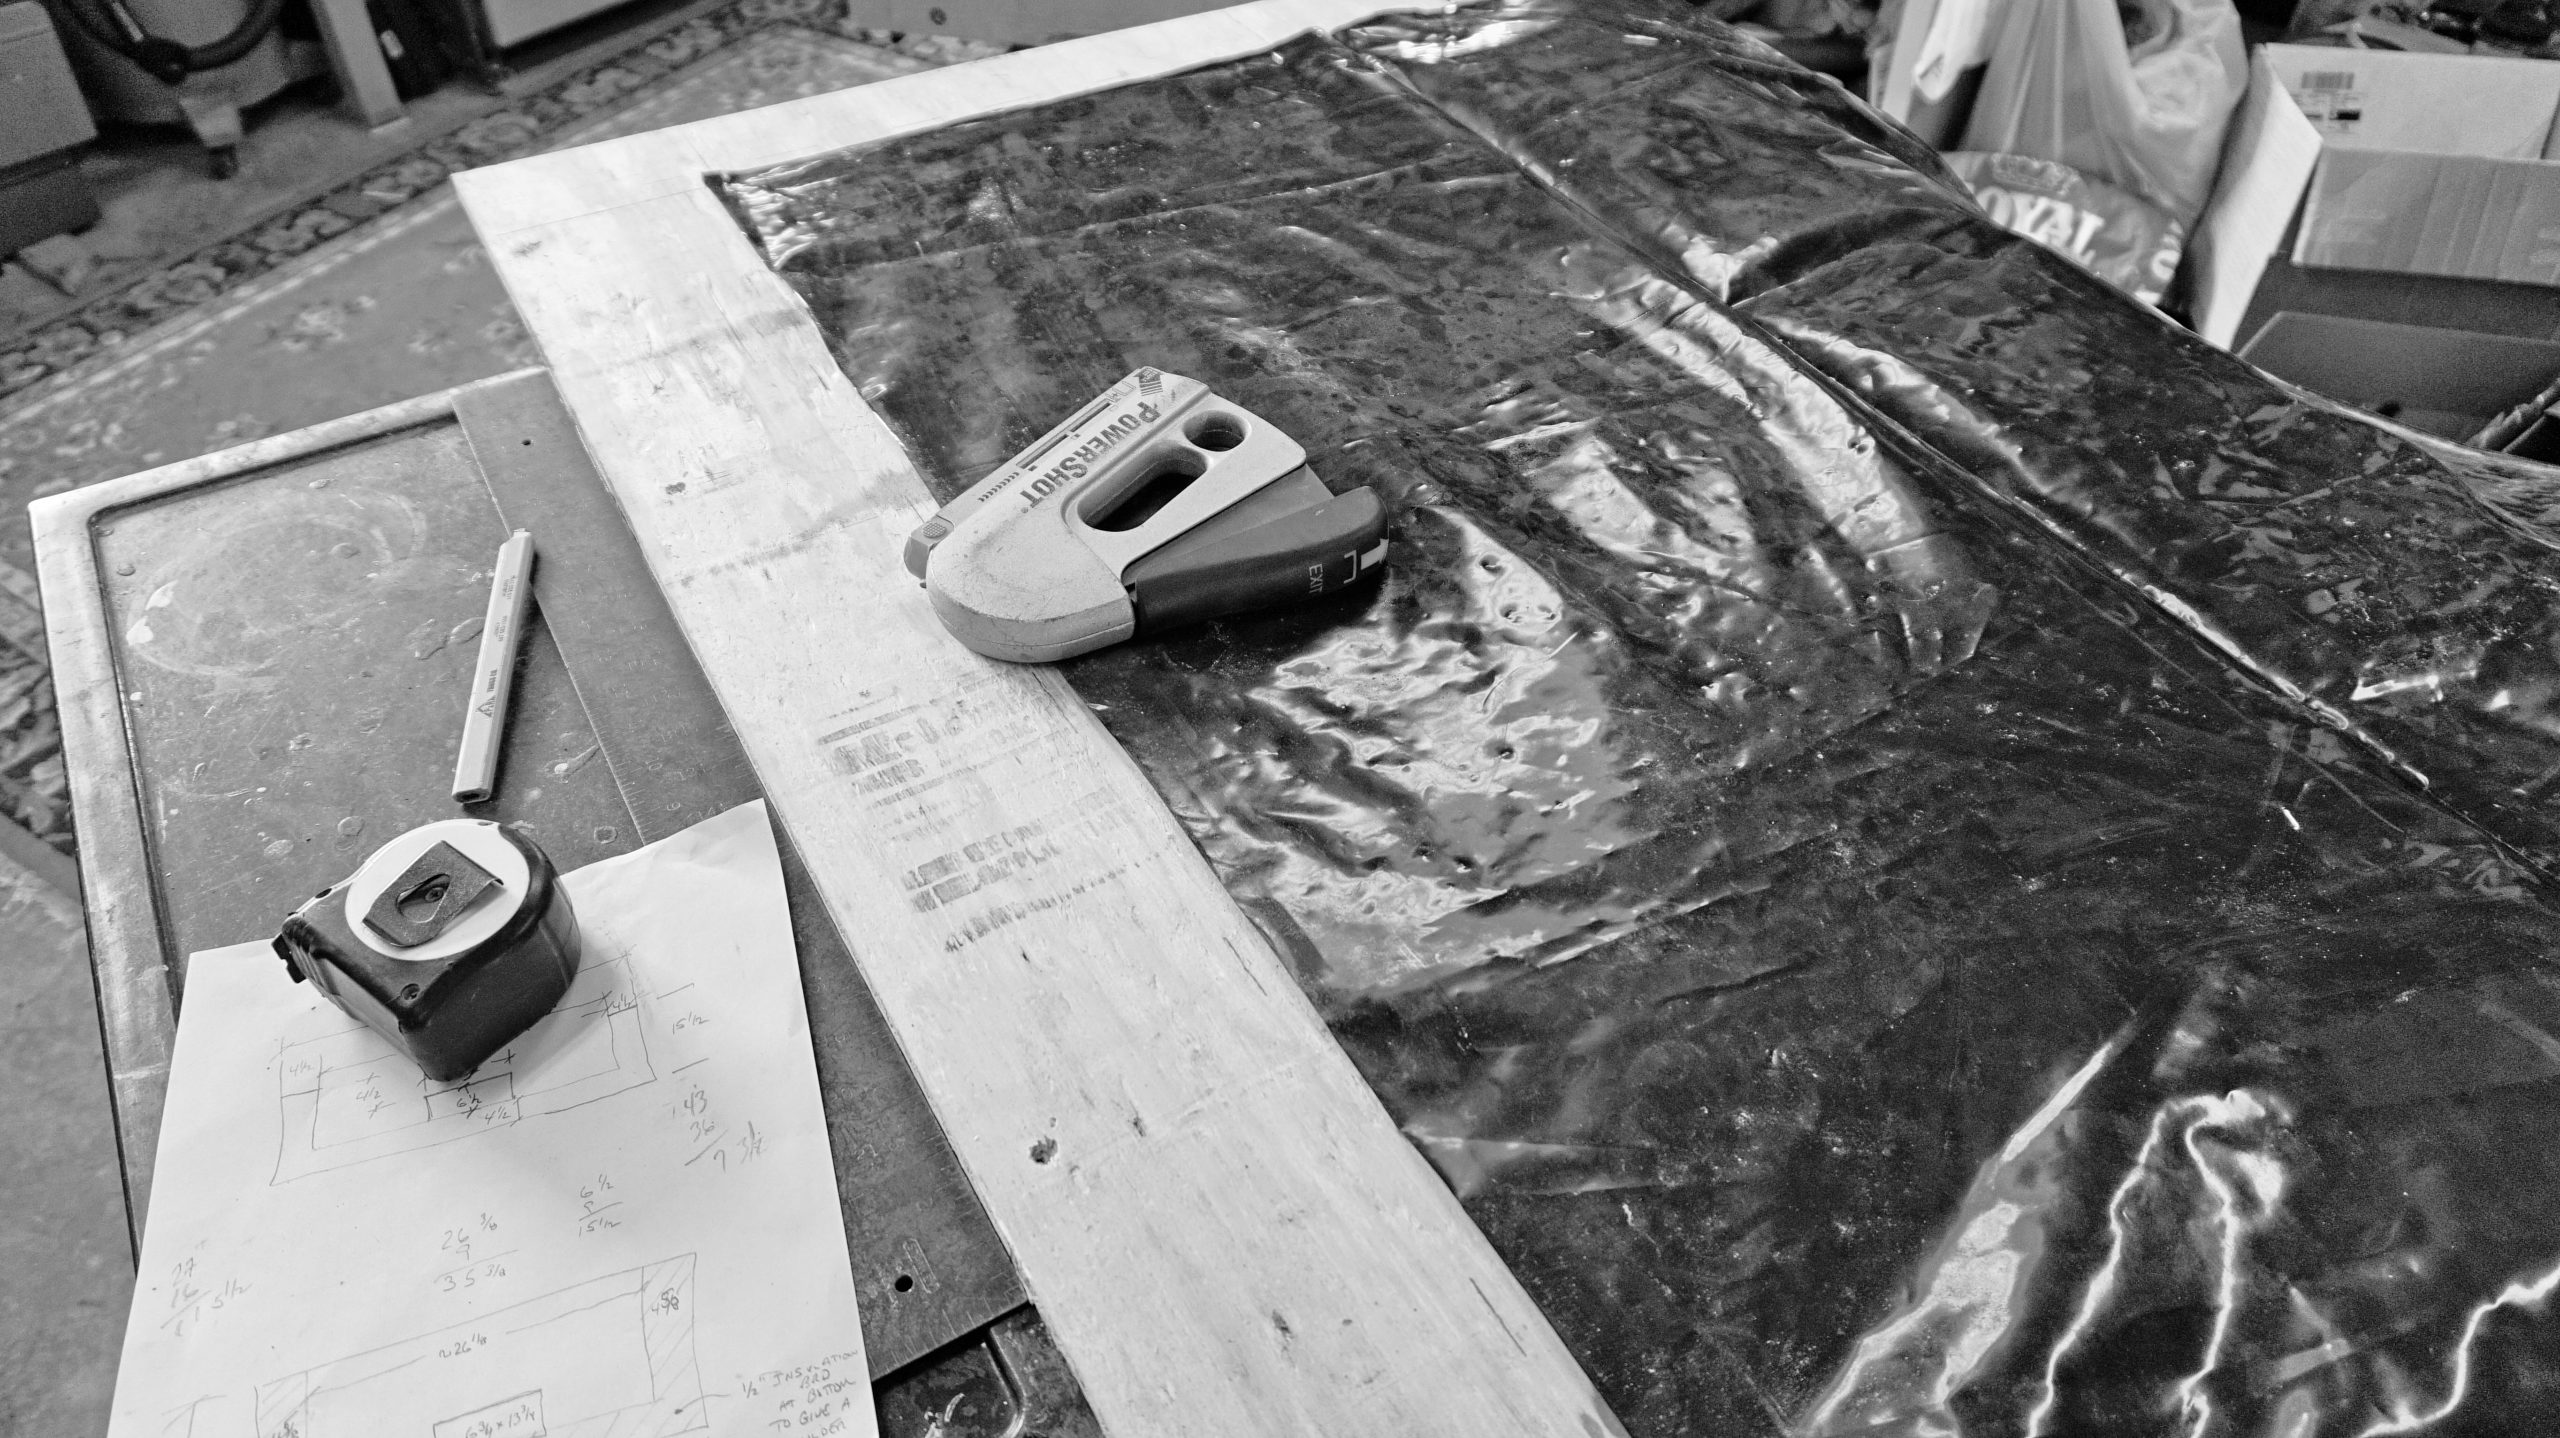
When he made my kickwheel about 30 years ago now I remember being so excited to see him mold the flywheel part of my wheel. It was so massive, so heavy and custom it was finally taking life. In my minds eye I believe he cut subflooring in a circular shape, wrapped with plastic sheeting like this and garden edging. I’m a lot like him (only by observation, I’m certain I didn’t inherit anything), taking great pleasure in repurposing or using super rudimentary materials. Somehow if feels pretty spectacular. In this case, note the exhibit below: the humble subflooring, plastic sheeting, flat carpenters pencil, tape measure scratch notes. As I sit here with the Self-Reliant Potter on my lap to I can accurately reacquaint myself with this design, tucked in this humble, out of print beaten used book that my mom bought for me for my birthday that was NOT a song, are these plans tucked between the pages. And I treasure them. He cooks without measuring (as do I), and still having these jotted down notes is pretty nice because sometimes I think a lot of it is in his head.
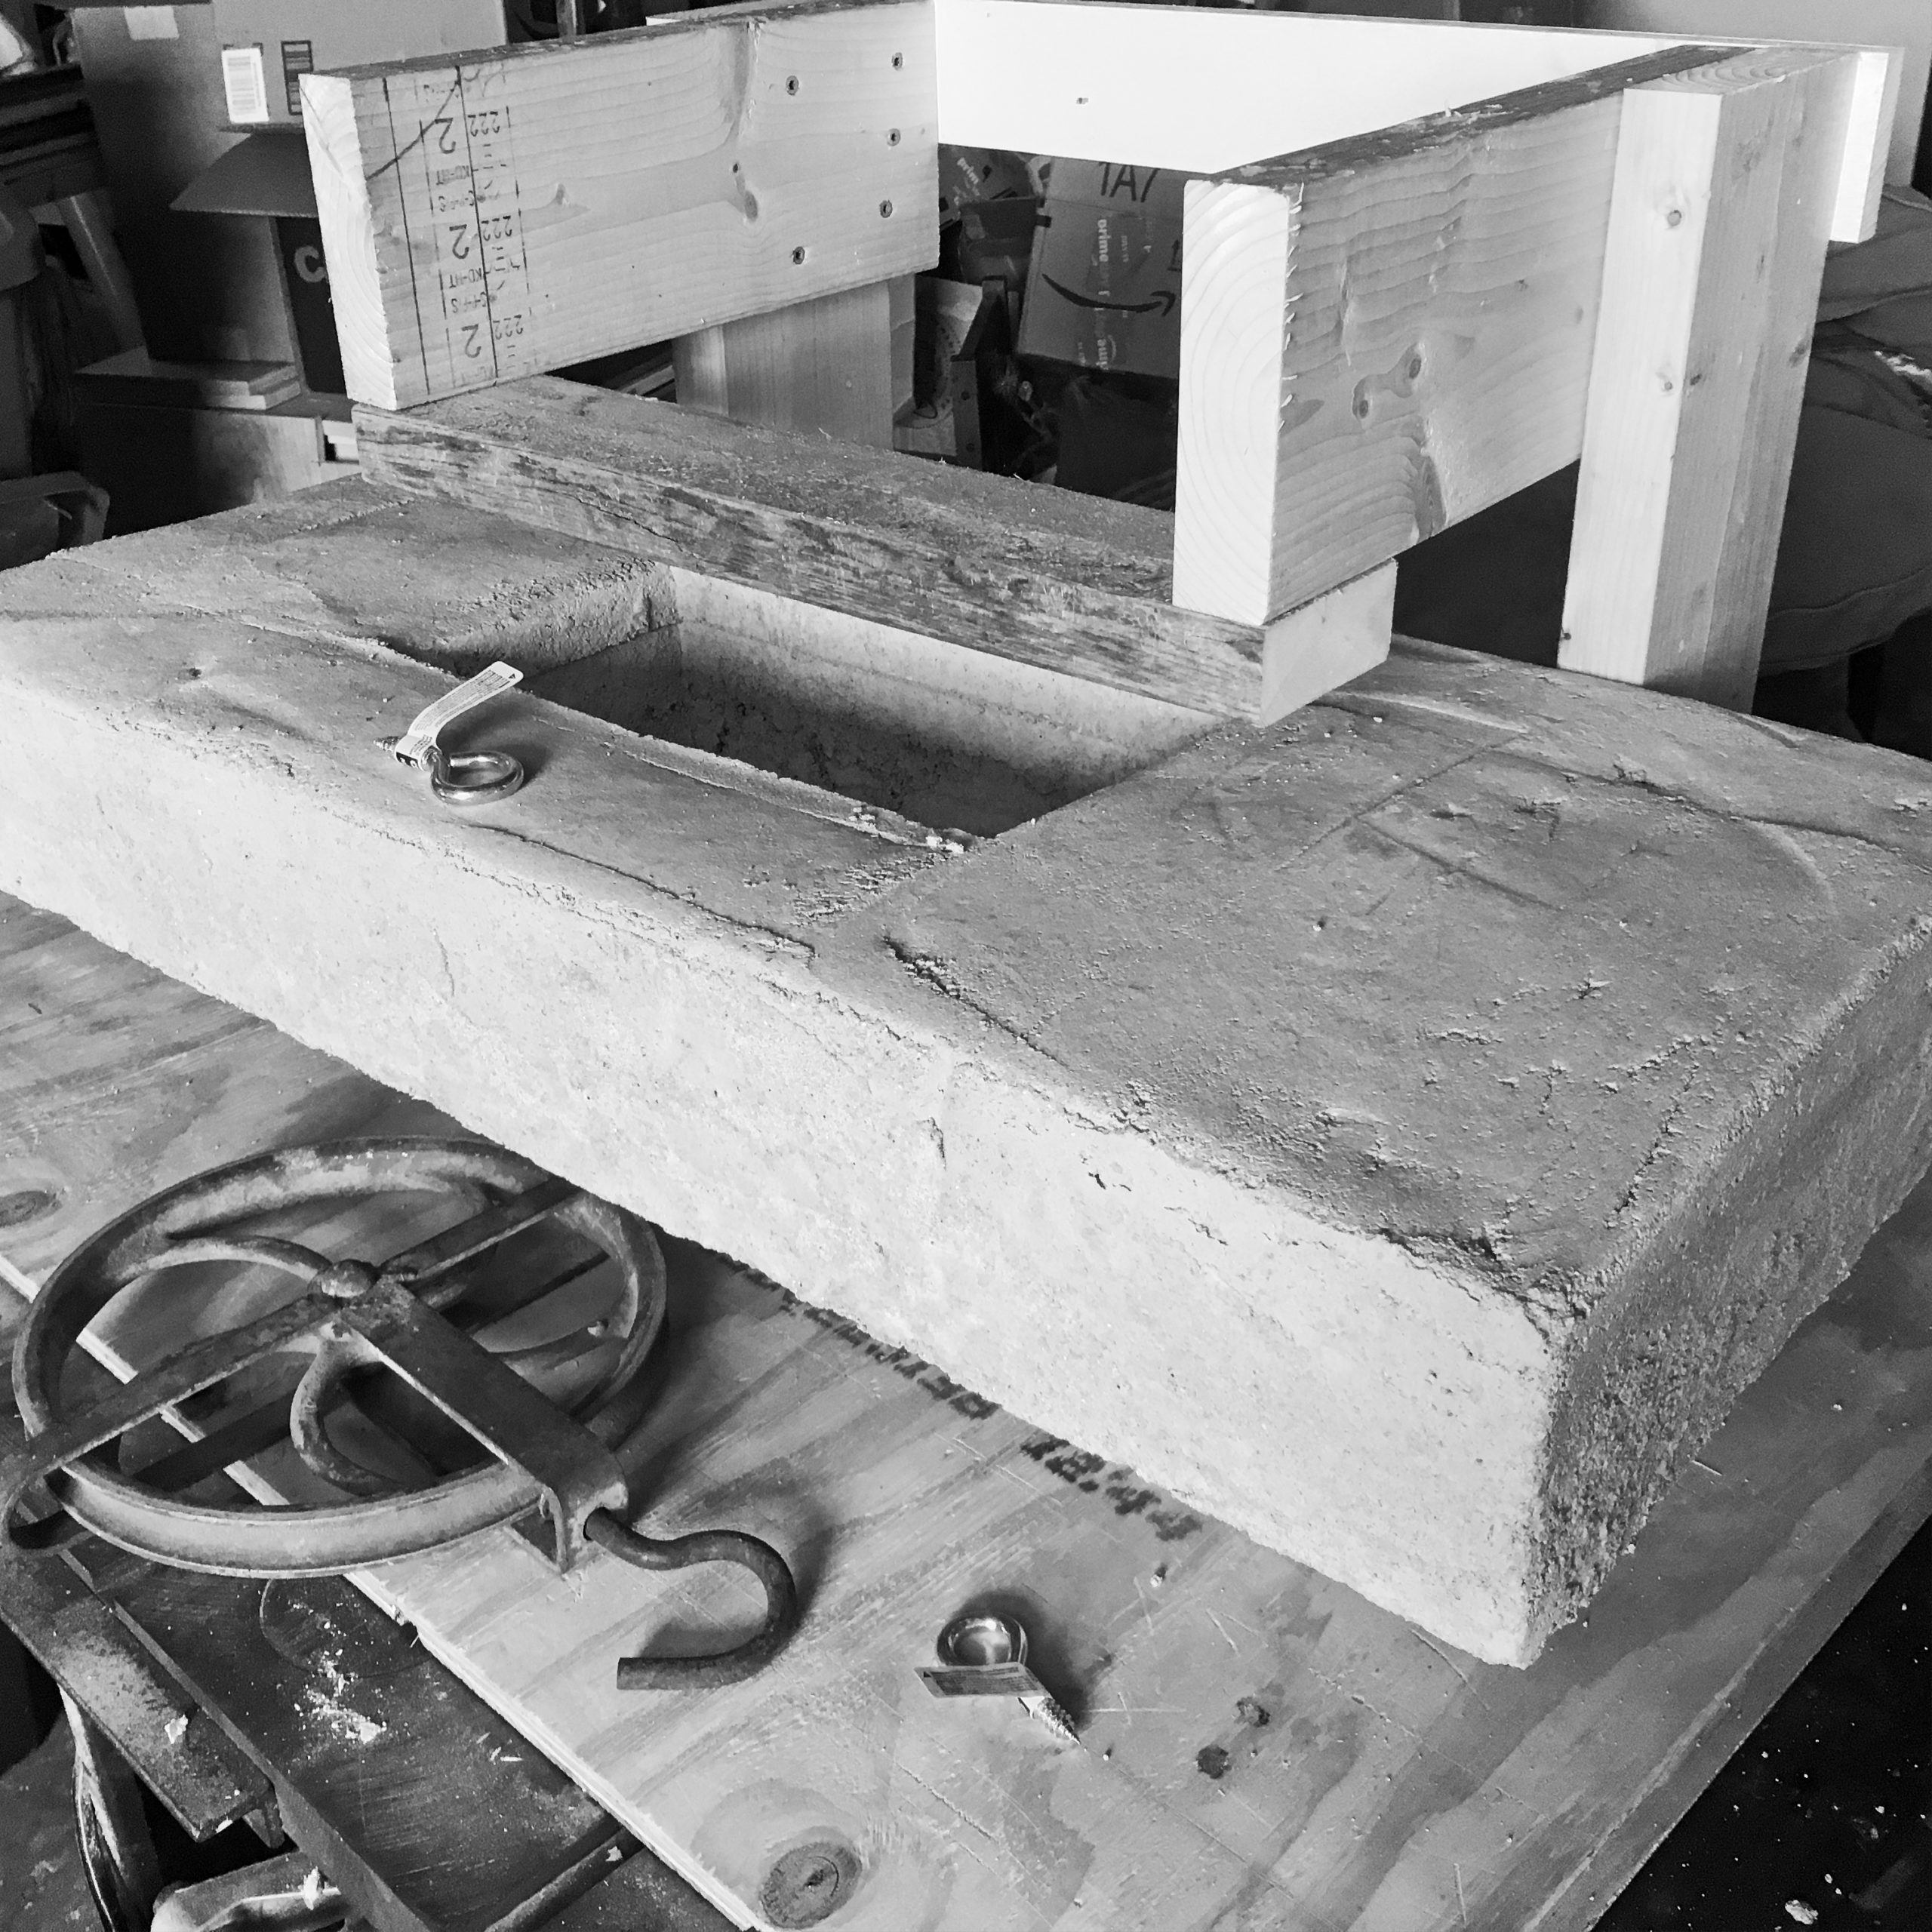
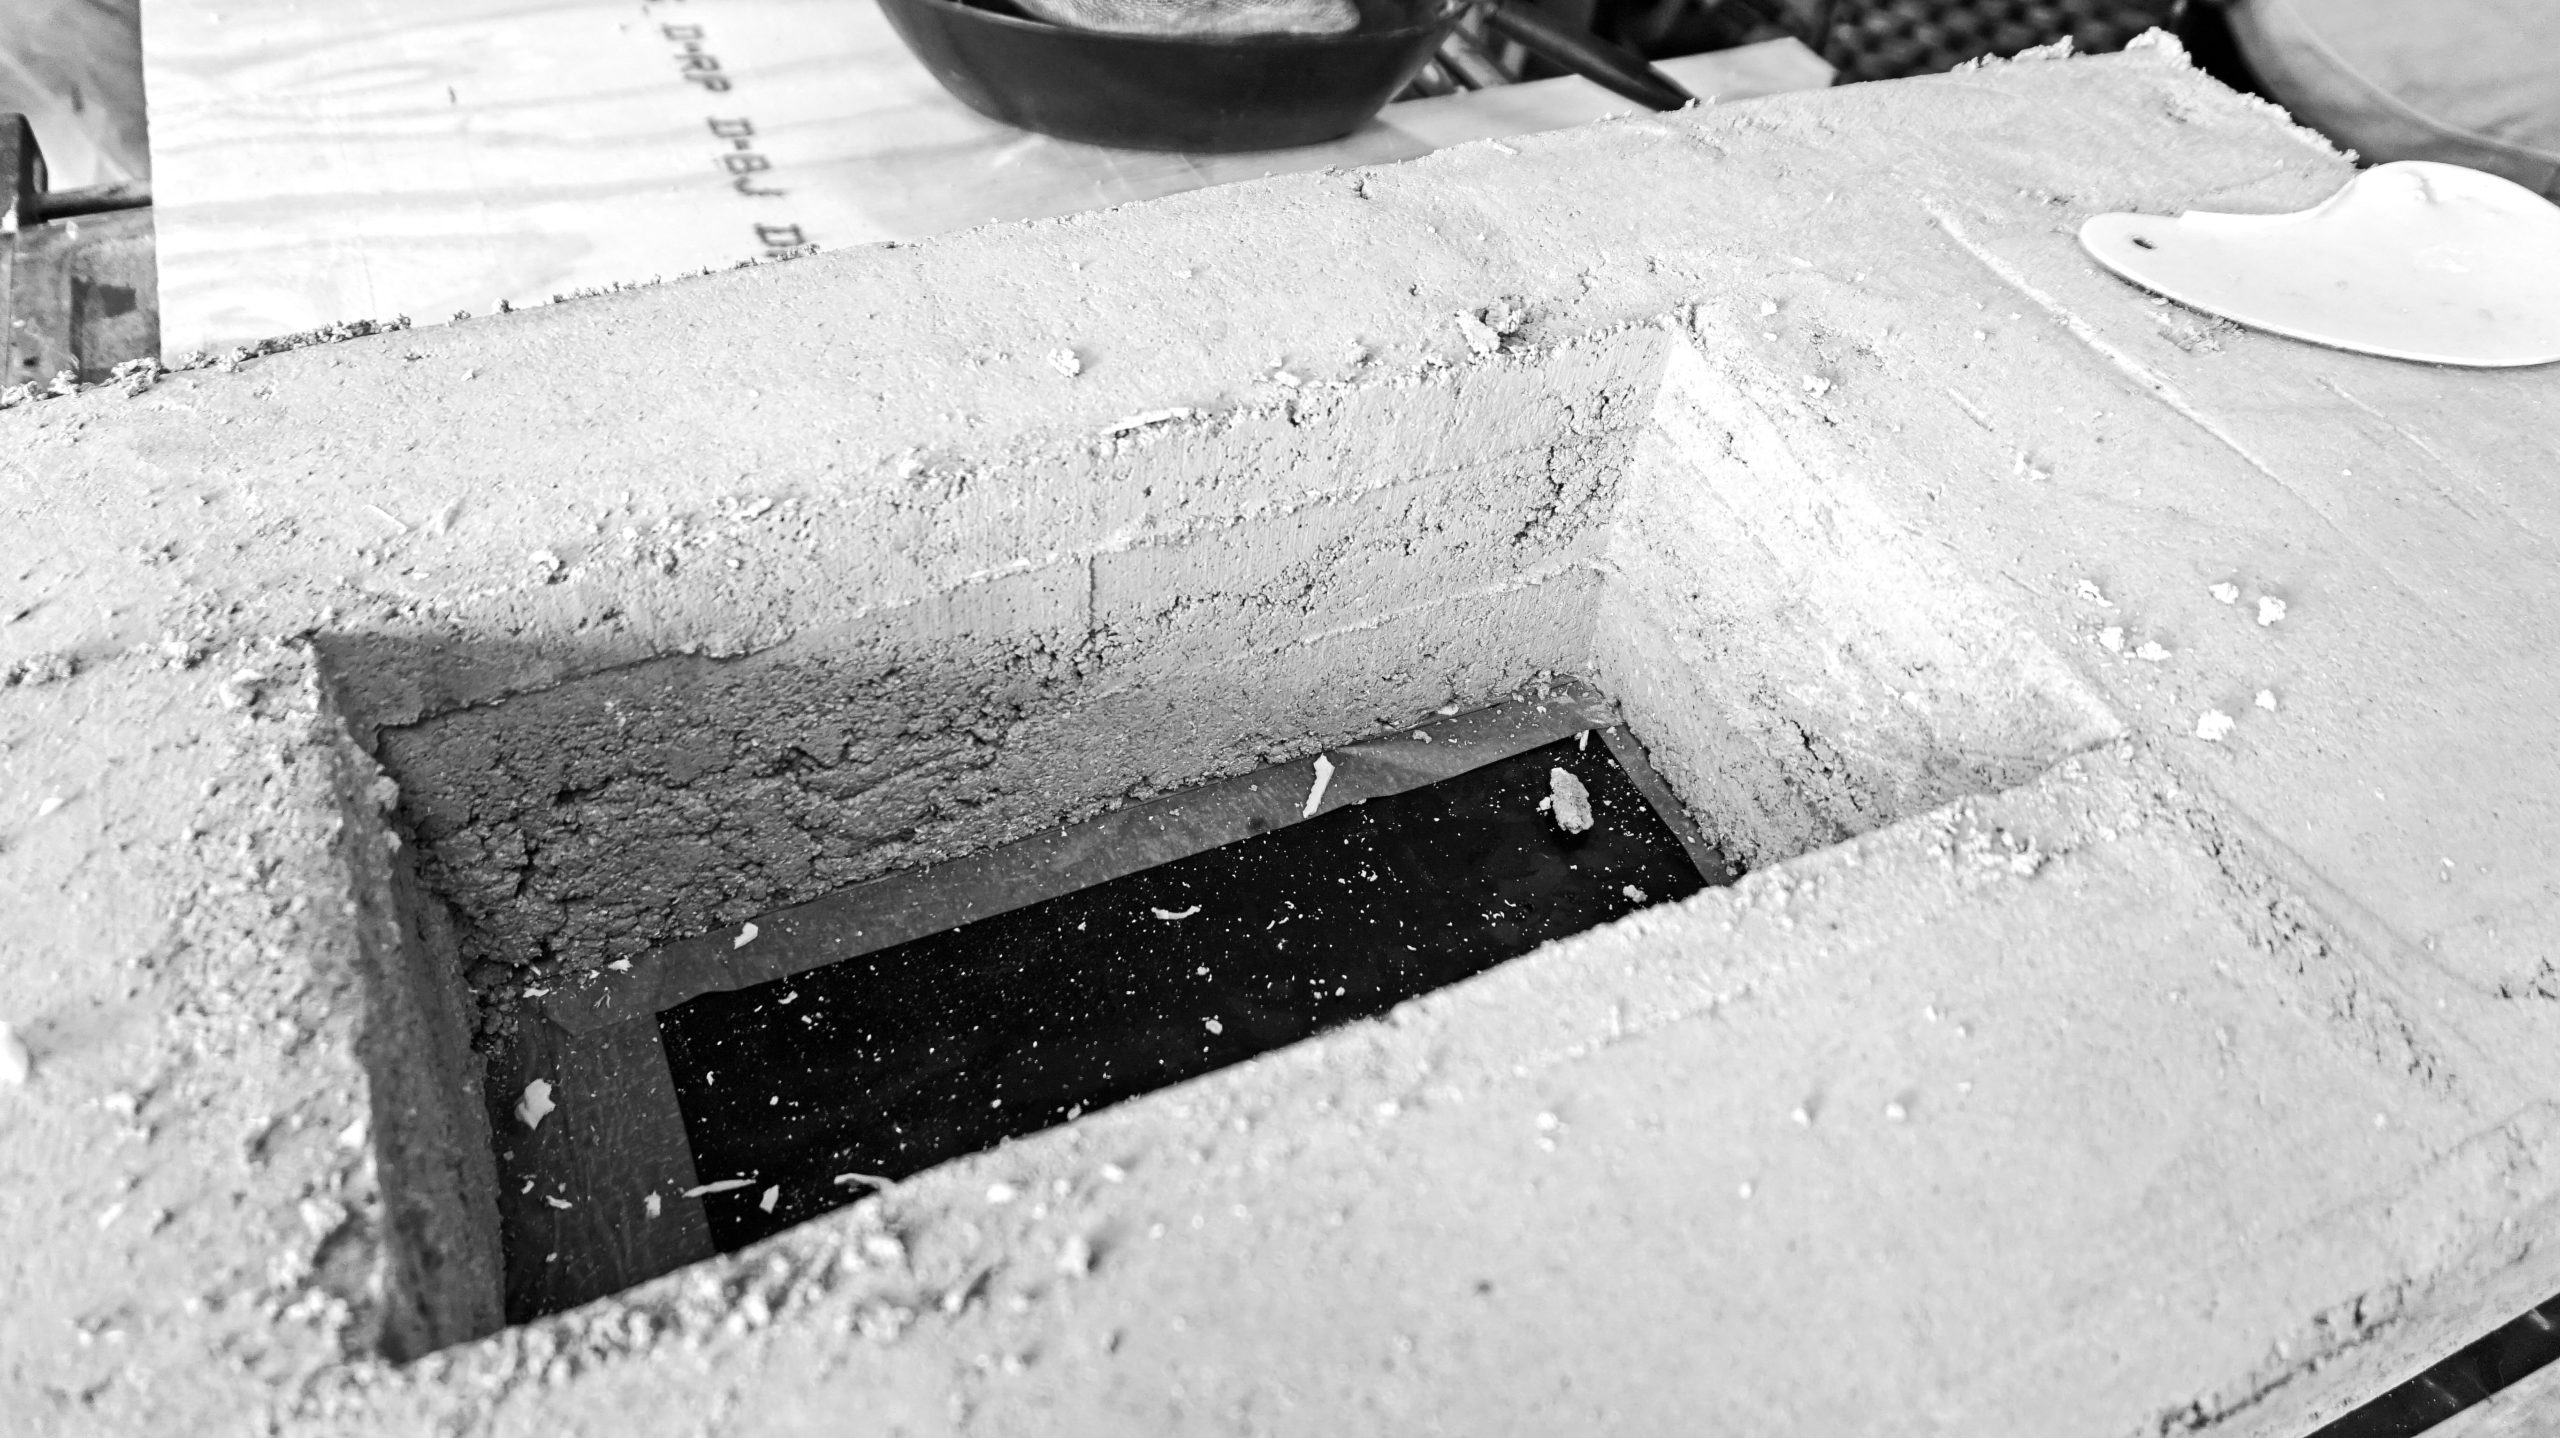
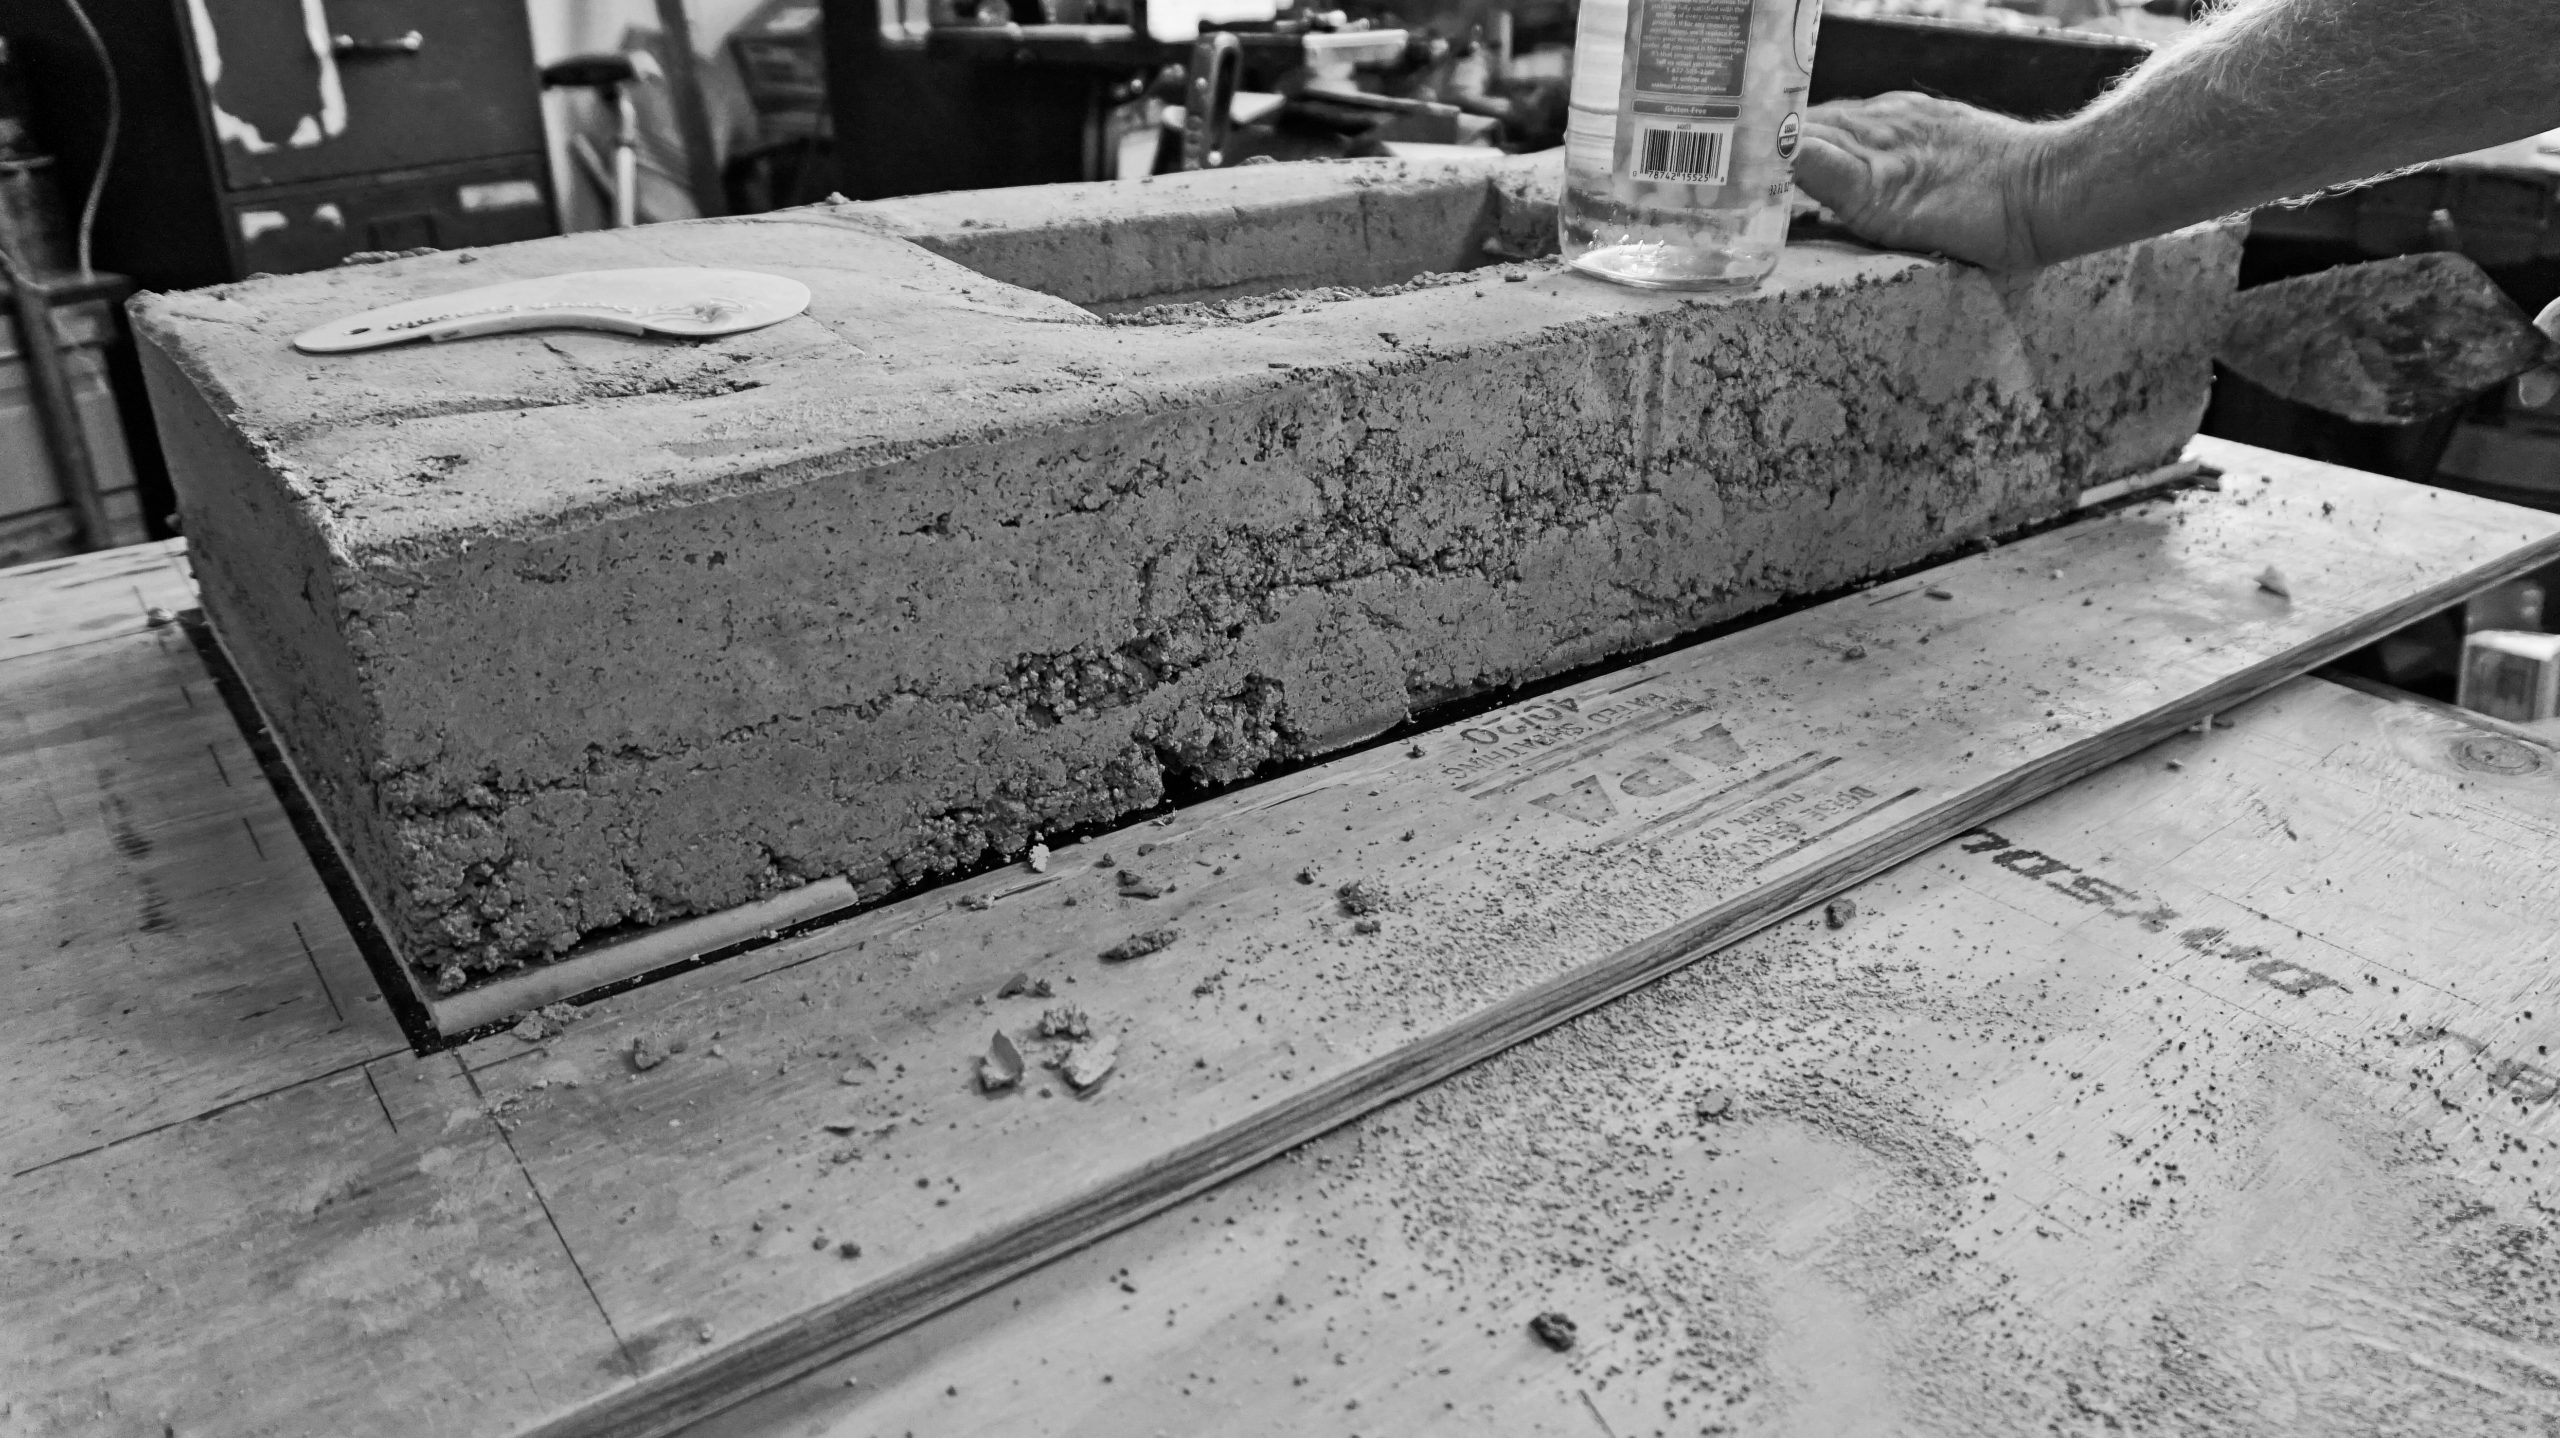
This is not box but a nice little well to top of the chimney box.
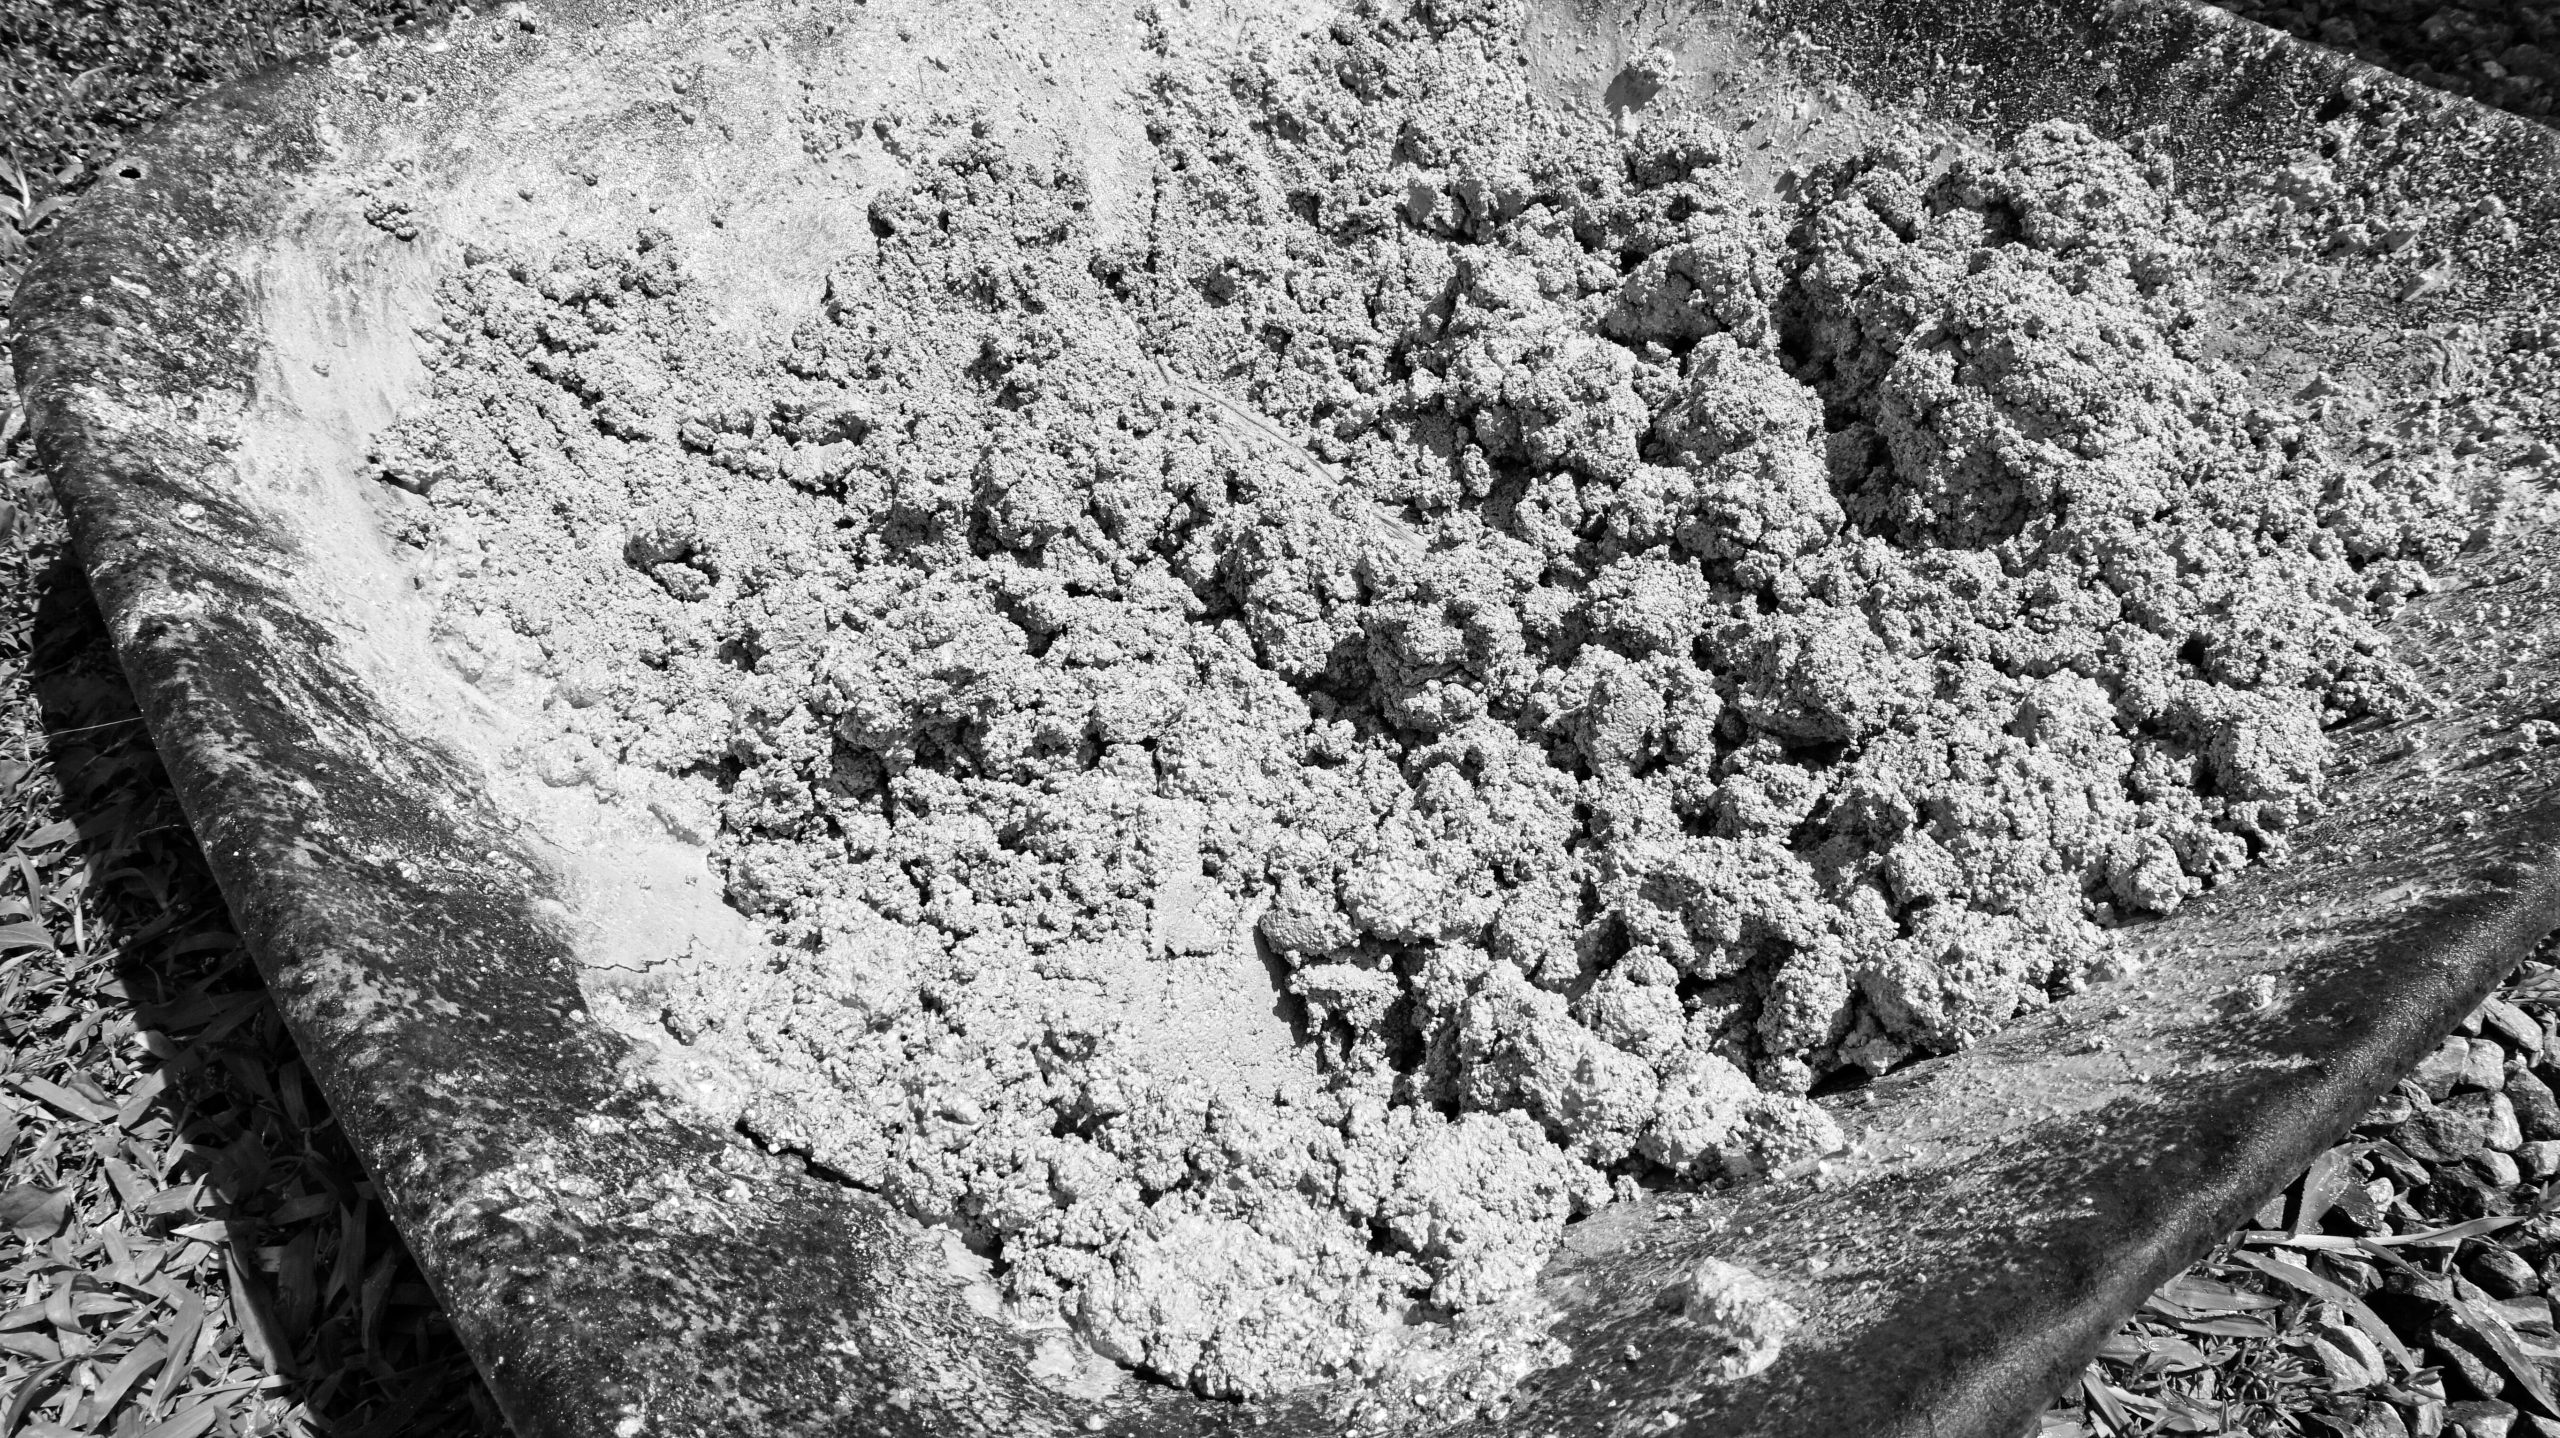
Back to the trough we go mixing more kiln cement.
Making a void in the top beam.
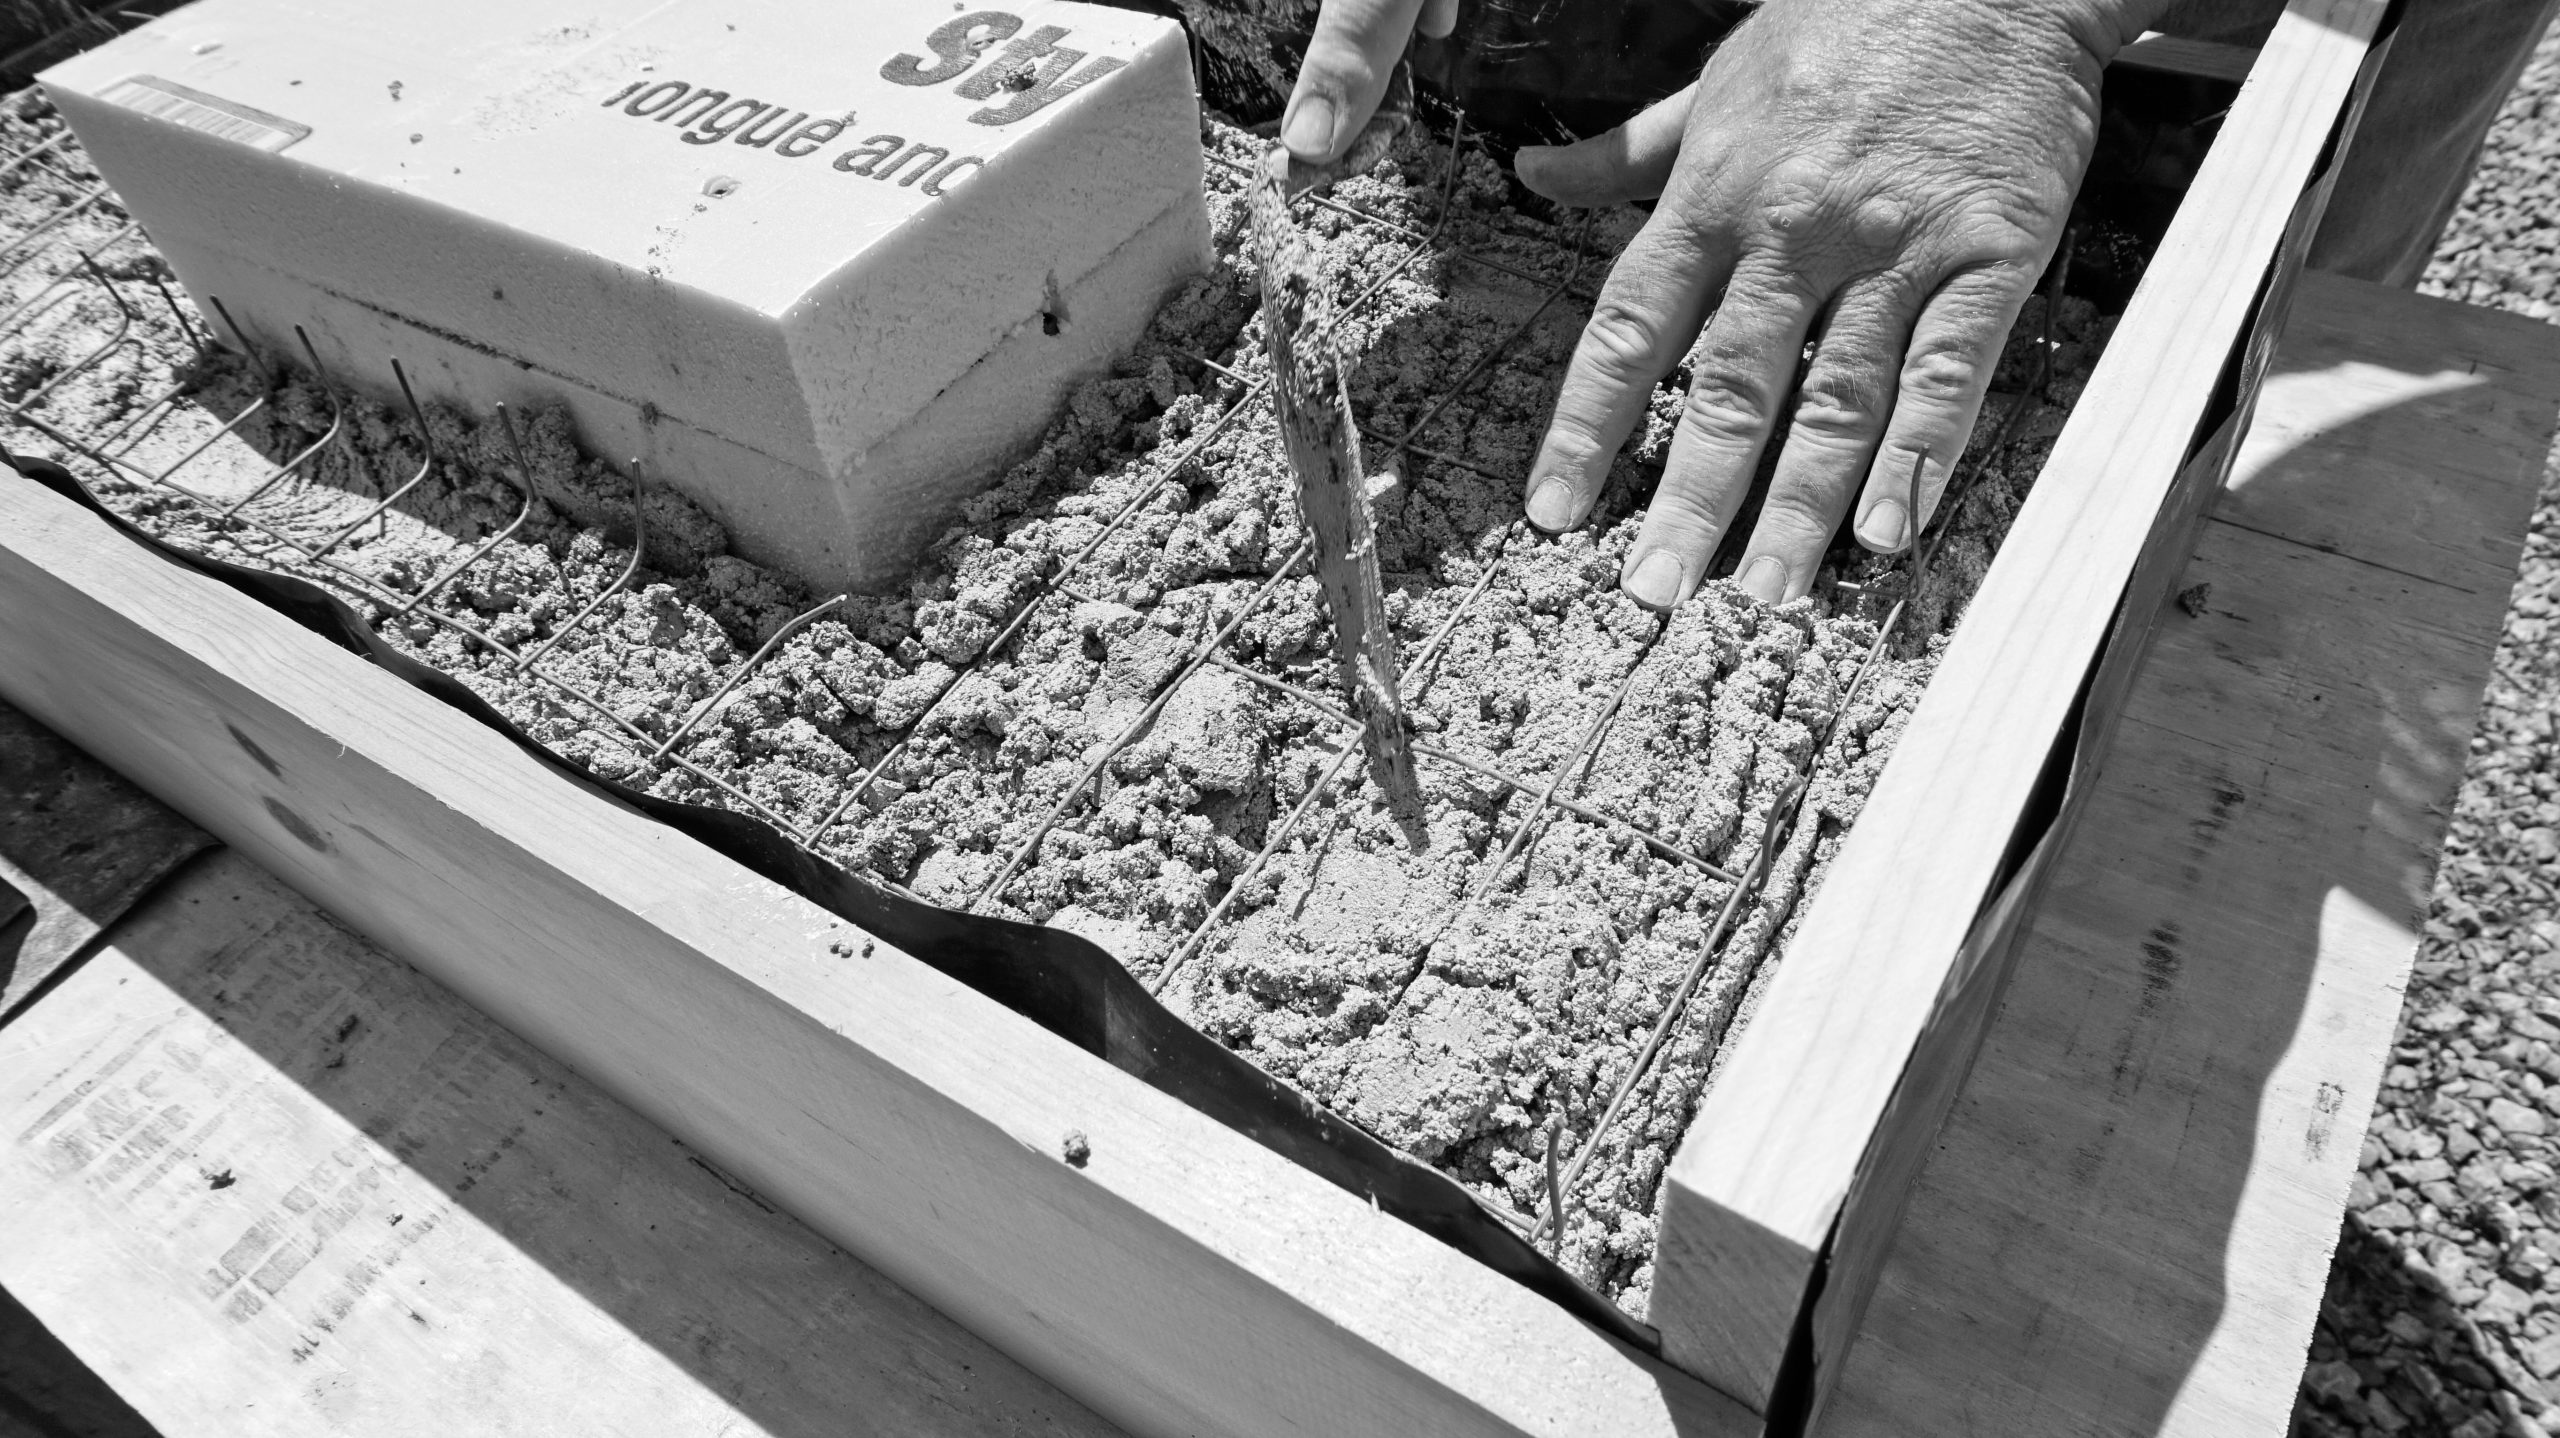
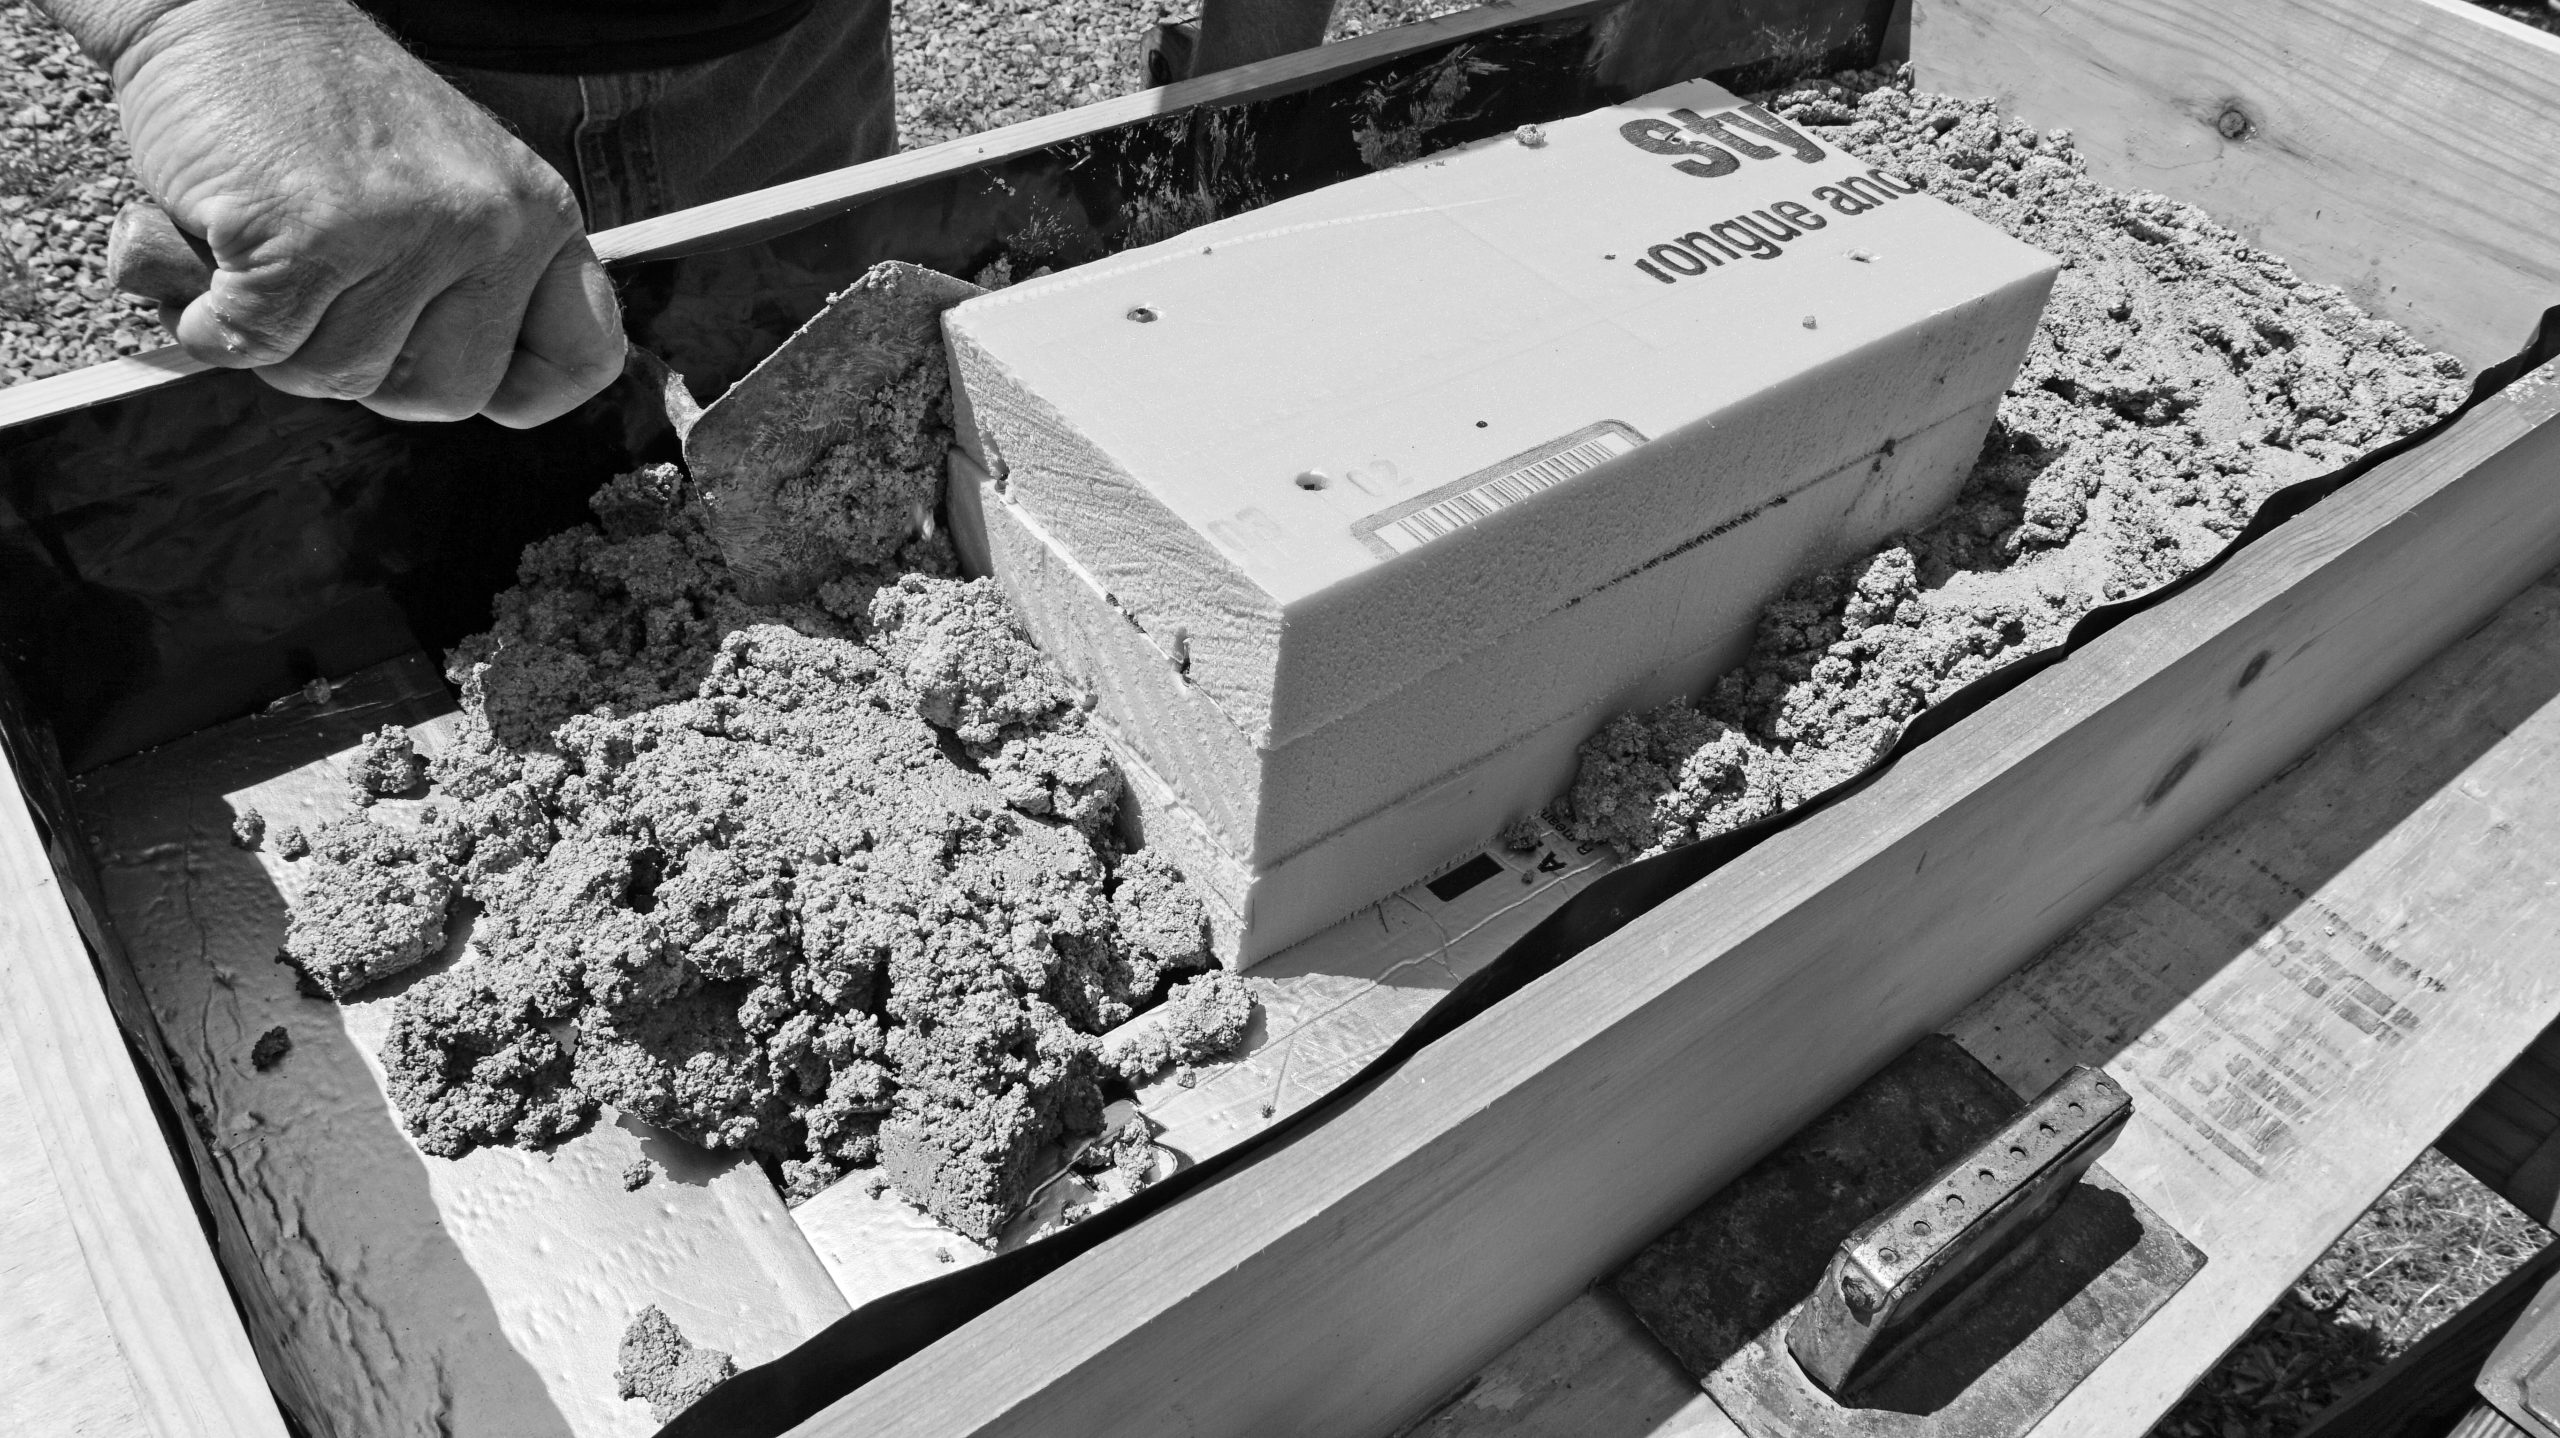
Again, packing wire mesh. Leftover cattle fencing, just enough to stabilize the cement to give it tensile strength.
Putting the camera down for a bit, I moved in to help compress the cement.
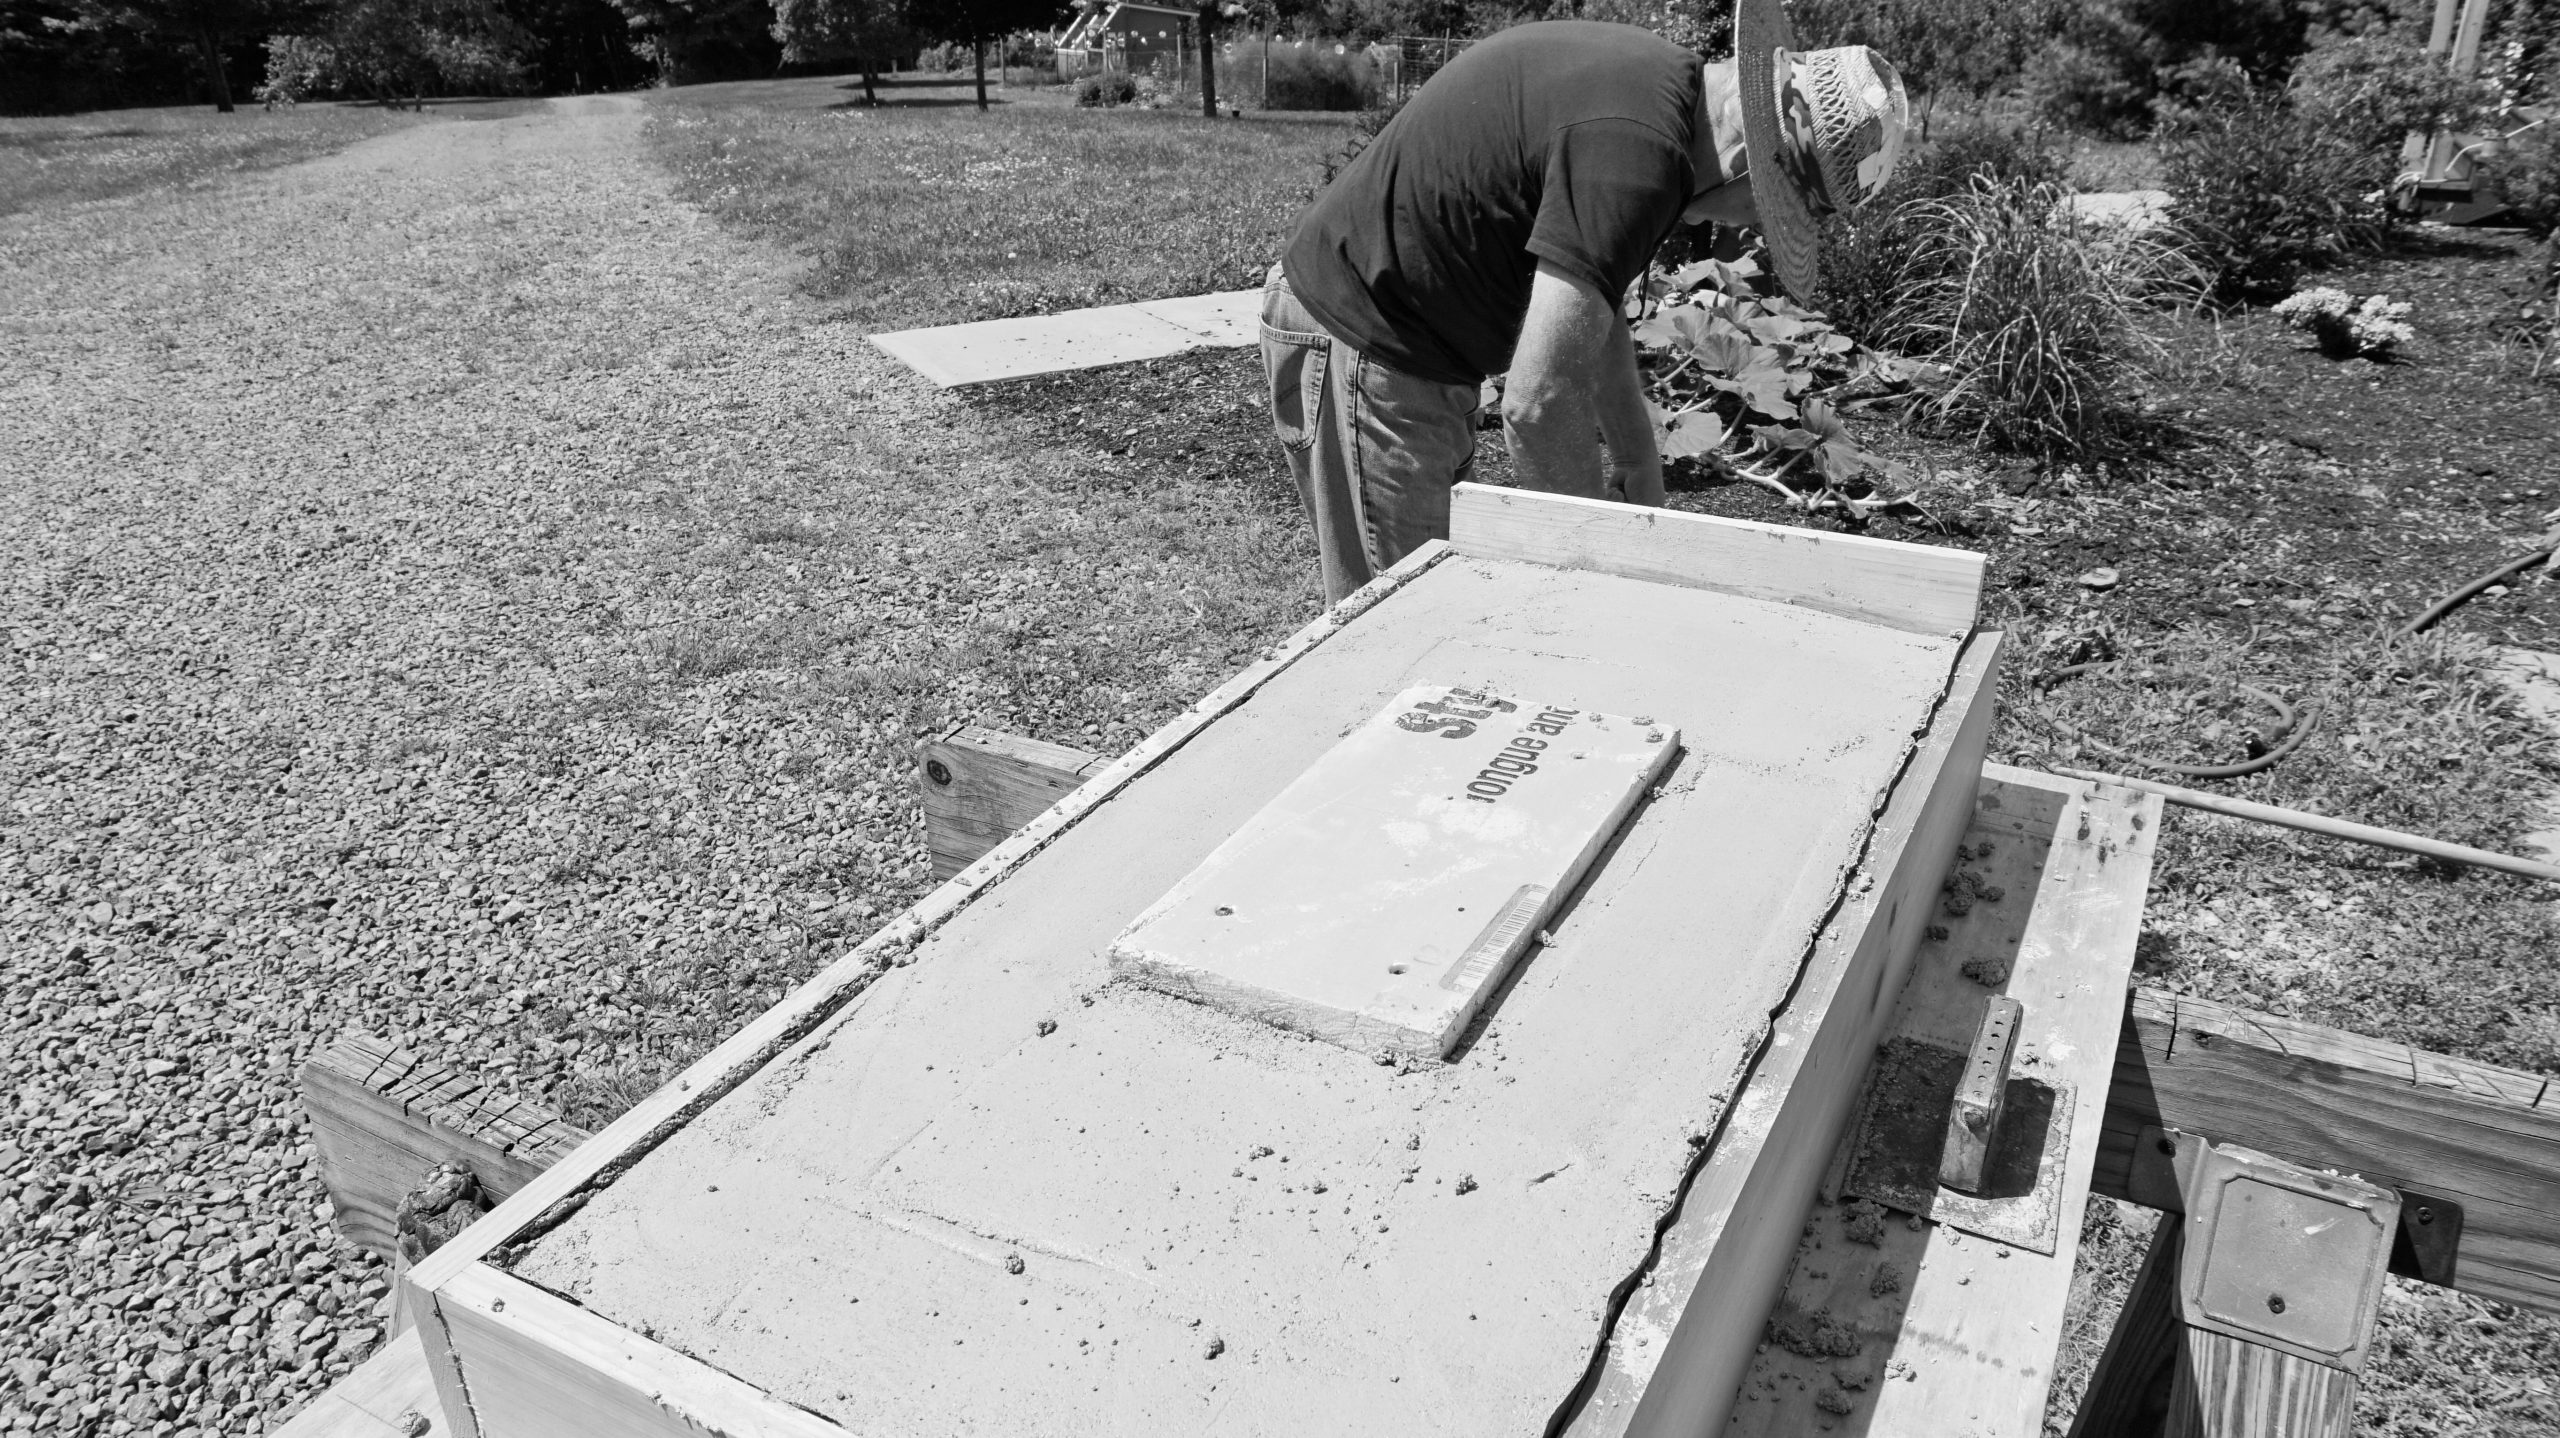
Because it was quite a big piece and August gets mighty hot in Central NY, we needed to move pretty quickly.
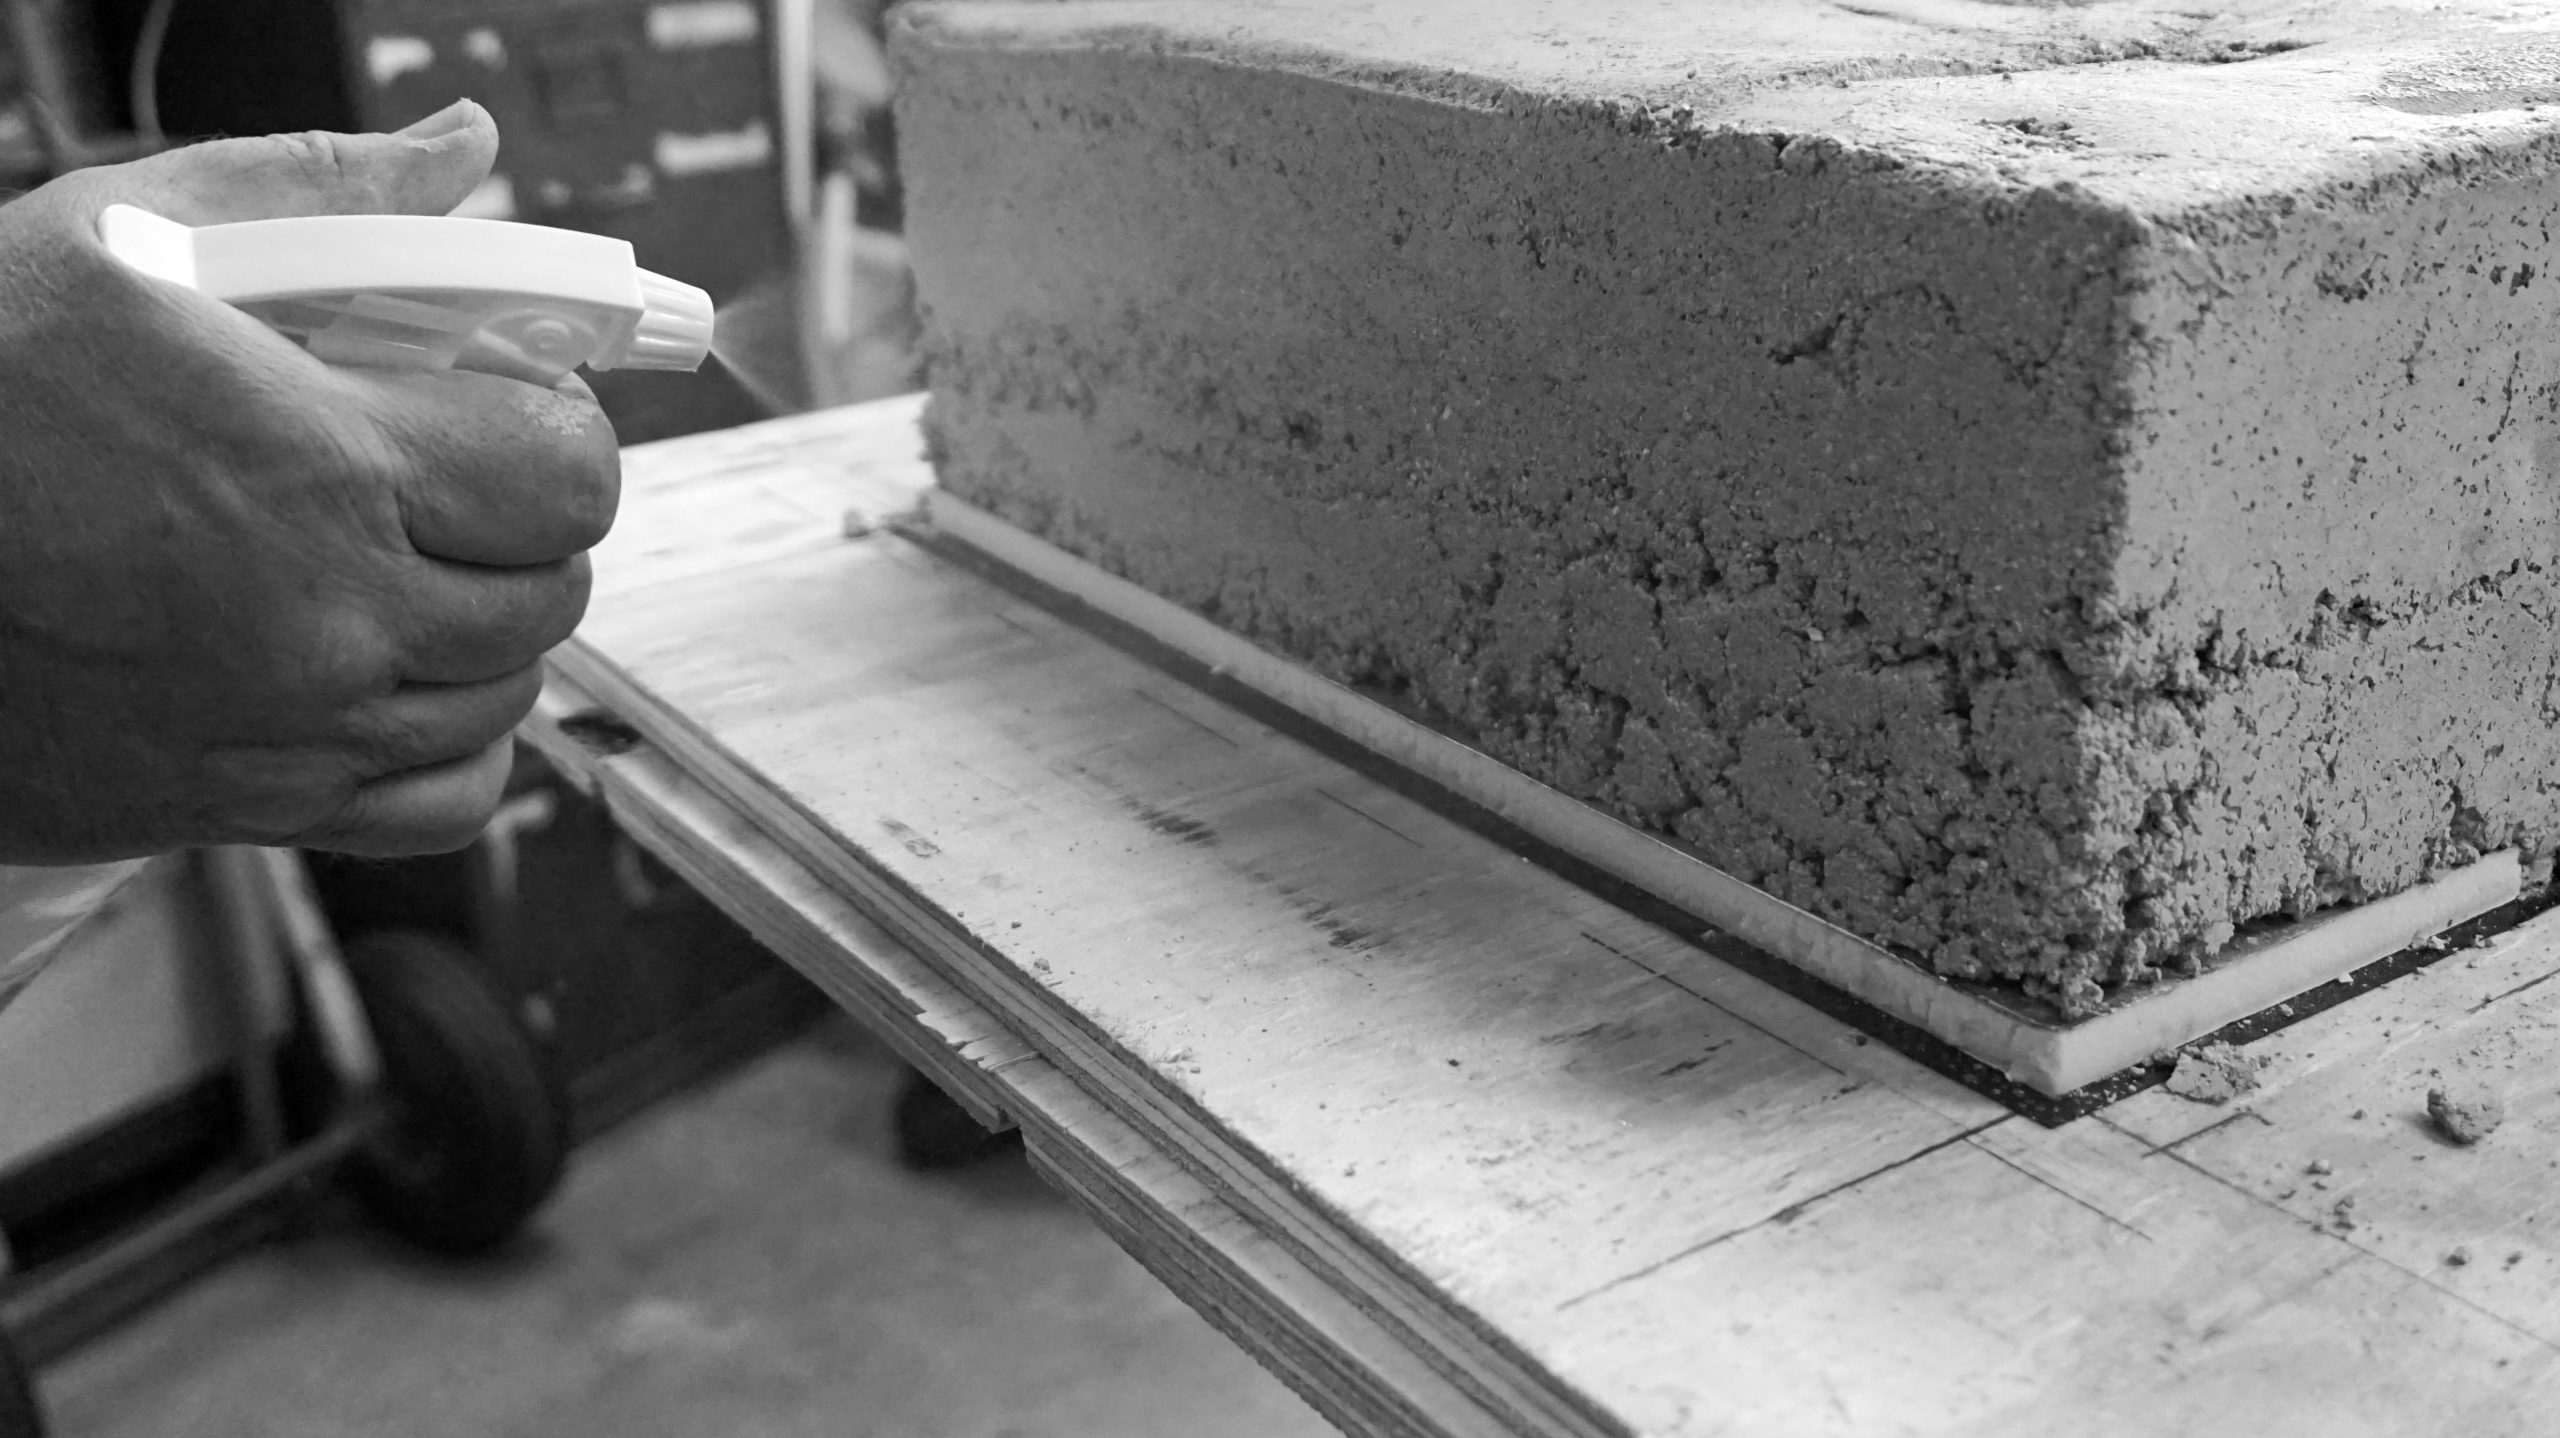
The cement was covered with plastic and sprayed with water from time to time to give it a nice, slow drying time to prevent it from cracking. Oh the waiting…
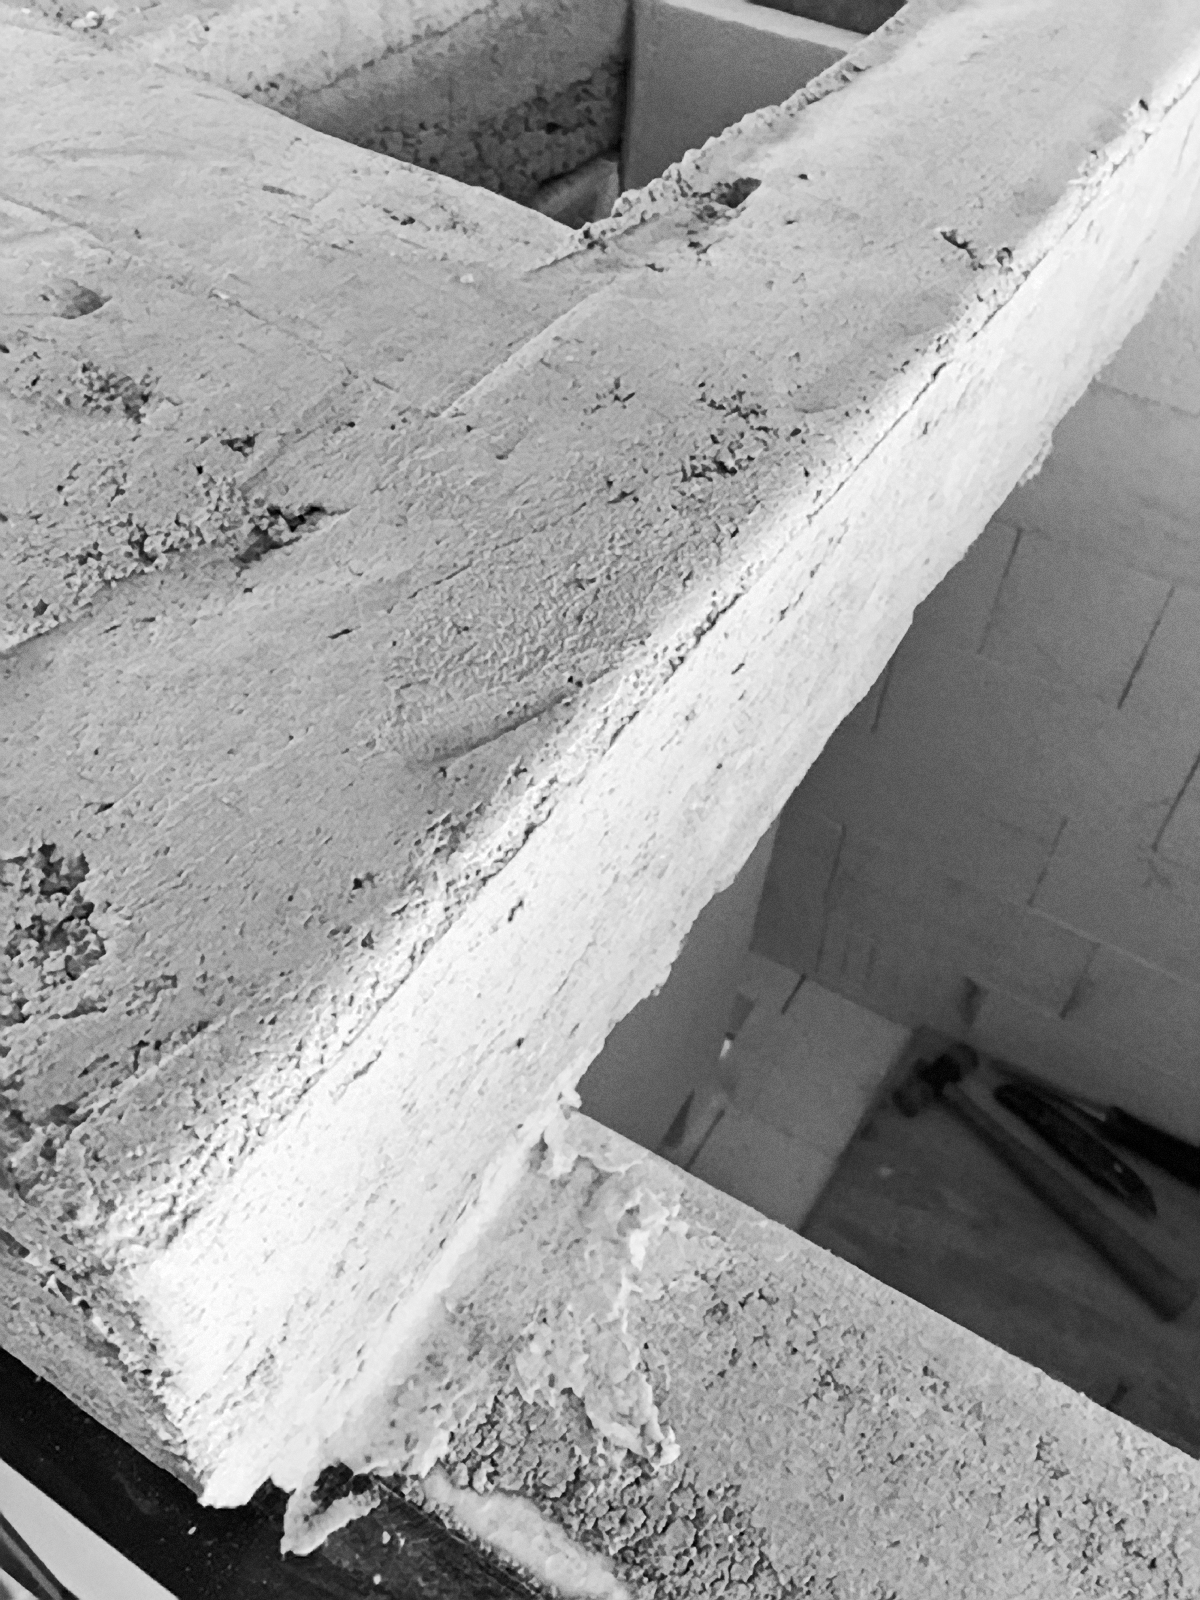
One week later (another Saturday) we popped that baby out of there. A little bit of cleanup of residual stuck insulation board and she looked relatively clean as a whistle.
Slight detail finishing work, and surely that right-hand side where you can see less compression is probably on account of me not being girthy enough to push it down. I always wished I was a bit girthier. Oh the physical things I wished I could do if I had a stockier frame.
To compensate for some areas that weren’t compressed well enough (this is probably the areas I worked on not having enough weight behind me), the sides were wet again and cement added to smooth it out.This created a nice clean edge so I’m not cutting myself as I’m reaching into the kiln with delicate pots. I’m not sure I would have cared about but this is the father looking out for his daughter. So that’s kind of sweet. I won’t tell him that though.
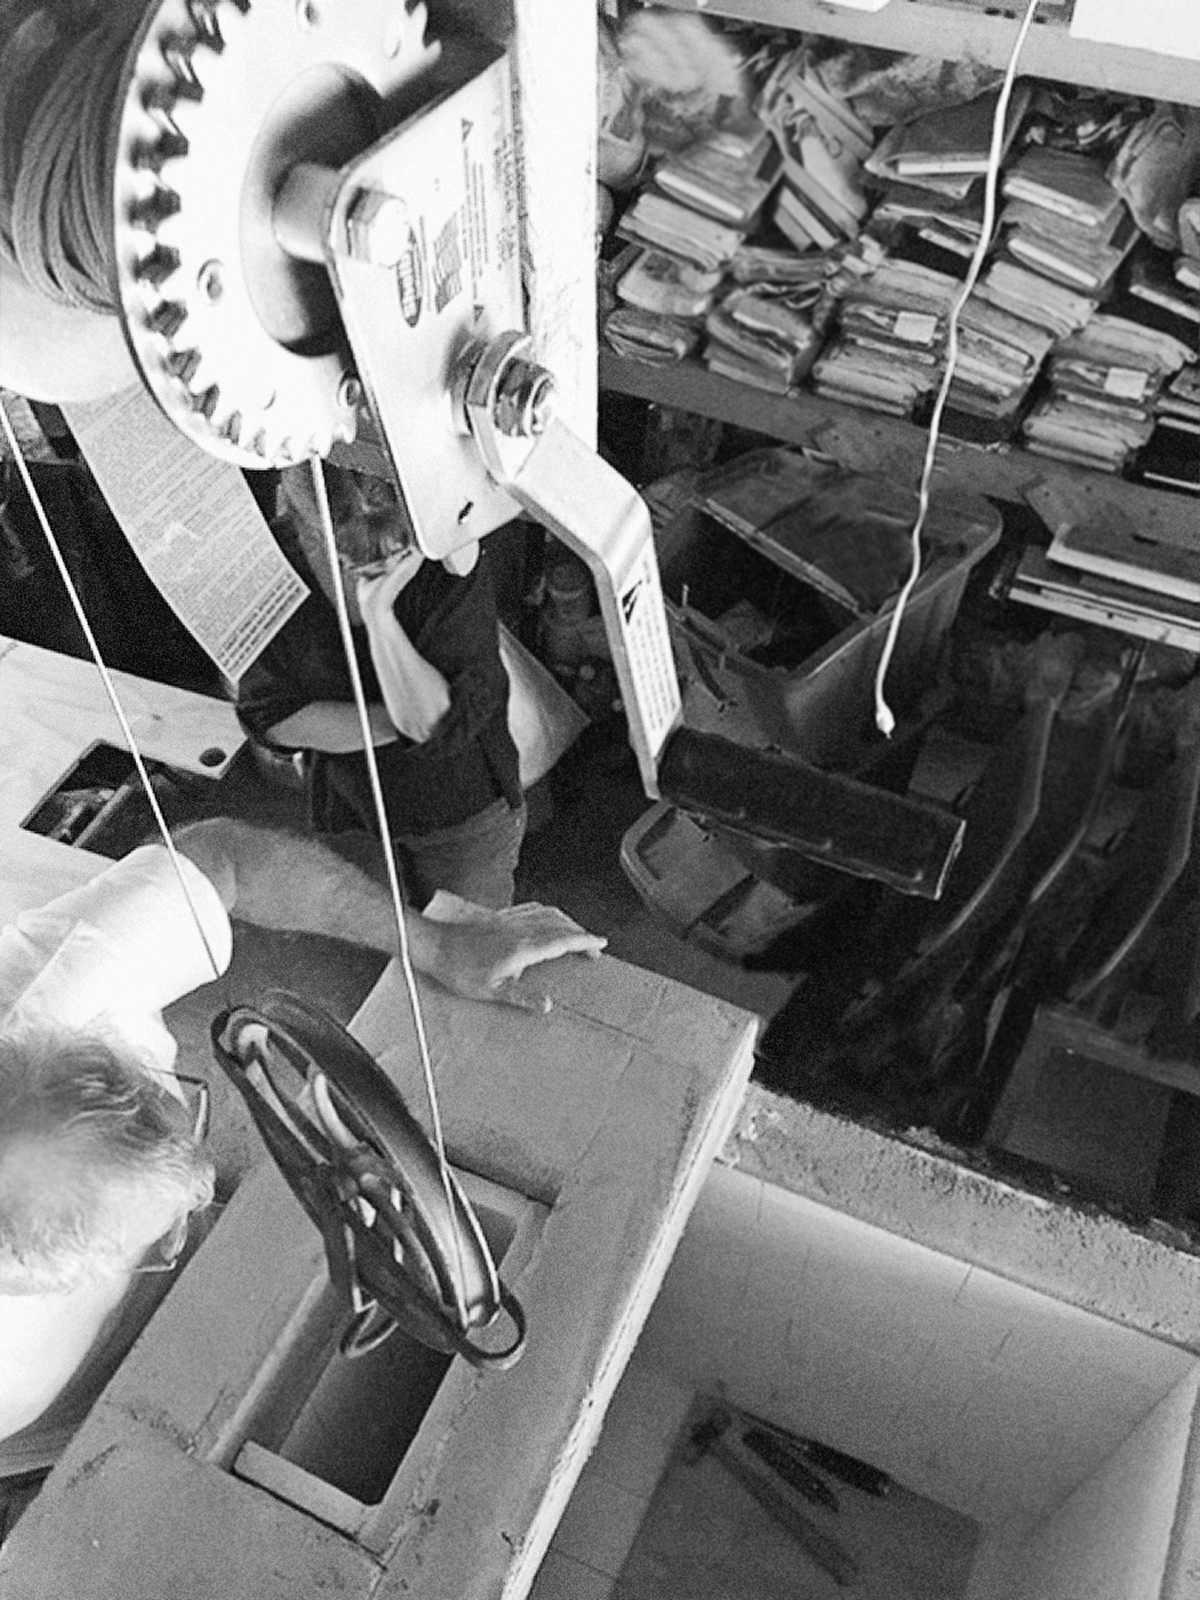
Five days later, the cement top was set. A cradle was made to lift the roof beam. The kiln, even for a near 6’ man comes up above a natural height to lift up and over the top. And why risk straining something when you’re an engineer and it’s probably far more interesting to winch it up.

Once lifted and situated in place, more Kaowool caulk was run across the top lip we made in the last step.
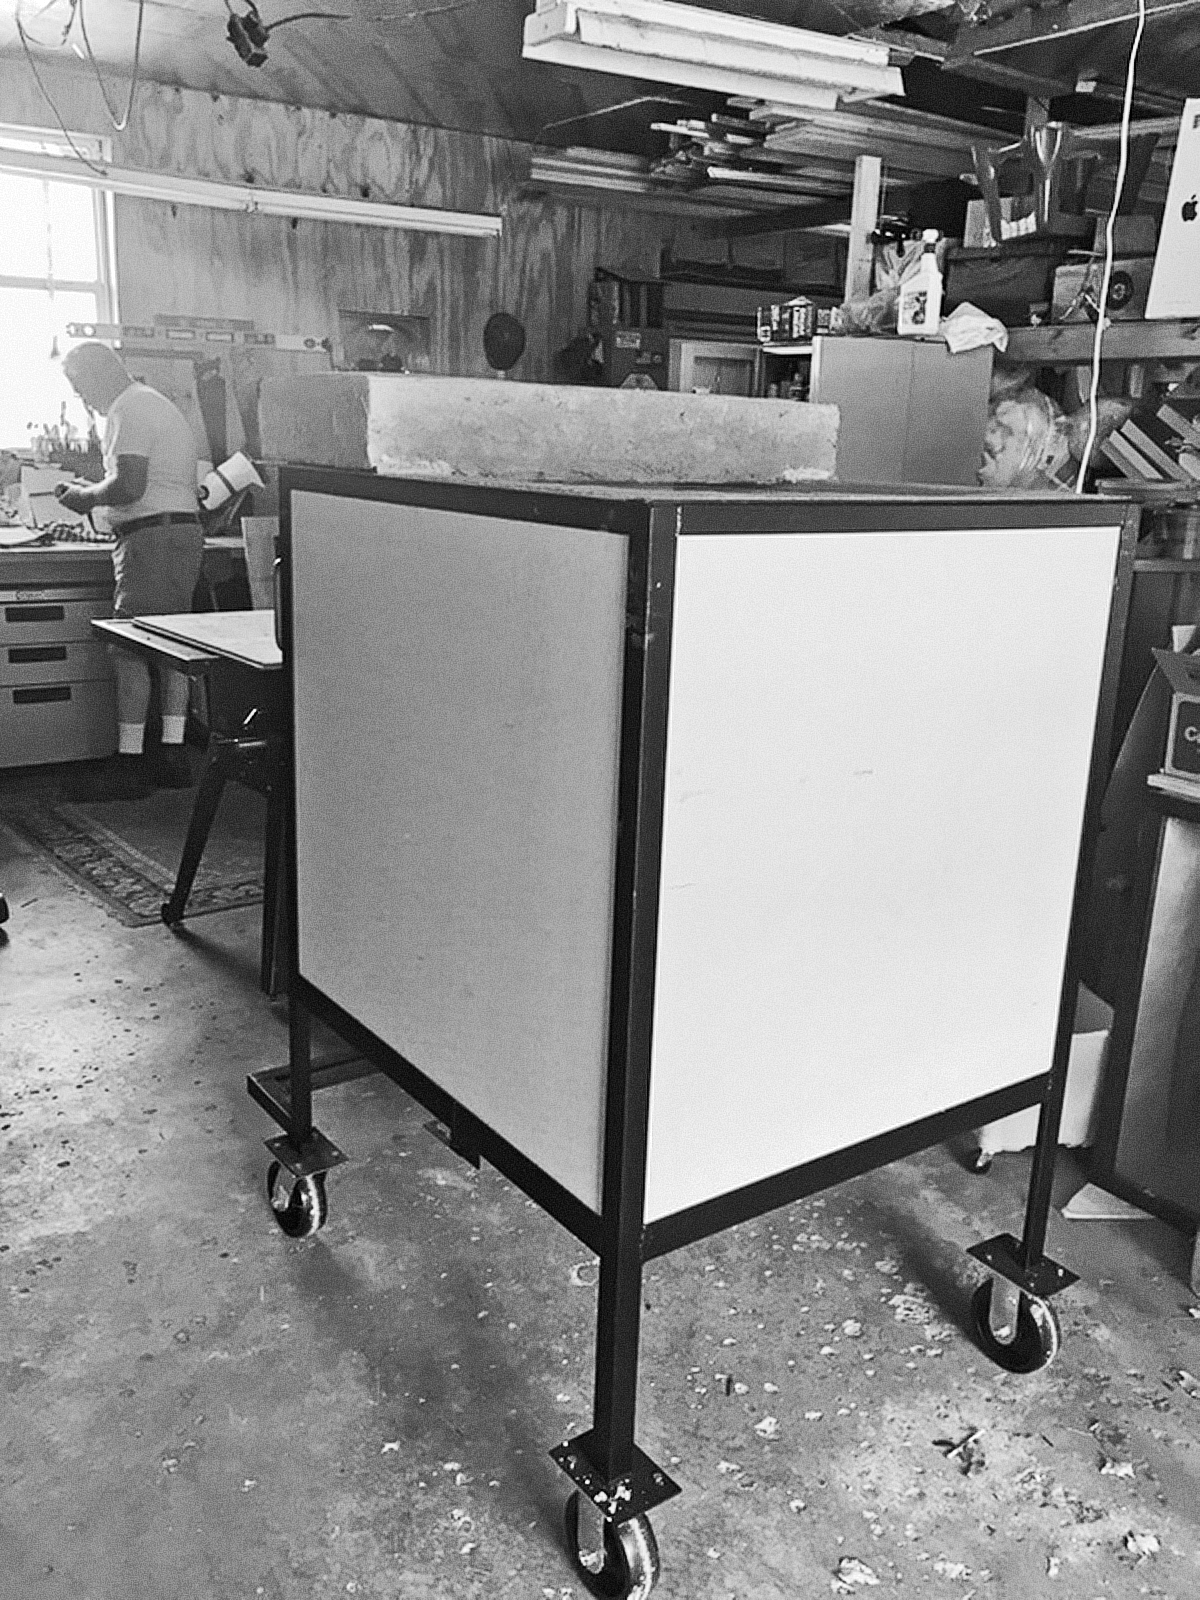
Without much fanfare, the kiln is done, albeit the lid that nests against the roof beam.
That was made with the ceramic fiber whilst I returned to assignment and didn’t record that detail.
A peep hole will be made as well to view inside the kiln.
Looking back this day was as exciting as every other step. I love watching this as this is so typical of the exchanges between my parents.
My mom worried about everything going wrong and my dad cool and collected.
If you are just coming to this series of the gas #powerkiln and want to read through the build from the beginning, you can do that here. I’m happy to answer what I can. Anything extremely technical I will do my best to get you the answers you need. Calculations such as the burners and your final design size is best discussed with Ward Burner. All refractory materials are best sourced closest to you. My closest supplier was a 4 hour drive to Sheffield Pottery in Western Mass.
Howard Weissman
Hello,
I see you haven’t posted in quite a while, so I don’t know if I’ll get a reply to my question, but I’ll give it a try anyway.
I want to build a high fire (cone 6) gas kiln for my wife. Do you know of a set of plans or directions of how to build a high fire gas kiln? I’ve searched online but haven’t been able to find anything.
Tnx!
Mary Ritzel
Hi Gus, I just sent you an email in more detail, but the quick answer is the book, The Self-Reliant Potter. It has a good set of plans and was the bases of what we built. -Mary