If you’ll allow a brief interlude
I’m reminded of the moment my dad asked me to sit down and decide how I was really going to use this kiln. He needed to know what cone I wanted to fire at, how often, what kind of pieces would I primarily be making? Knowing this criteria, he could work out the pounds per pressure. This then determined the type of burners. After that he’d design the size around the available materials to be as efficient as possible. I wanted my power kiln to run like a typical studio but on a more individual scale for me; assuming I was terribly productive.
I had dreams of an anagama kiln. I really love Japanese and Korean pottery specifically. because quite frankly, I’m obsessed with all things Japanese. I knew though that that beautiful design would not happen. With the Self-Reliant Potter by Andrew Holden, I started sketching out my verbal thoughts based on the through-draught kiln. I liked that it could be used interchangeably between wood, oil or gas. And then as it typically happens, my dad swoops in over my shoulder and says, “Uh, no. That’s not going to happen.” Picks up the book, flips to the page he’s already studied of the power kiln, points to it and says, “This is what we’re going to make”.
Okay, so it’s not as dreamy as the through-draught kiln, but practical. At that time I was working on my business model living with my parents between gigs in NYC from winter to late spring. I did this for two years, leaving my beloved cat behind while living in Airbnb. Two long years of this. Two different studios, one of which I taught in as a work-trade agreement and came home on some weekends. When you’re transient you do look at things very differently. At this time, almost 4 years later, I do have a house, my first house but it’s not my forever home. I don’t see my business here so I’m restoring this Grey Gardens. We designed the kiln on wheels to give me leverage. Will I need to pull it out to use it? It’s pretty genius. Hopefully I still have time in my life to build a small version of this one I sketched
Back to it
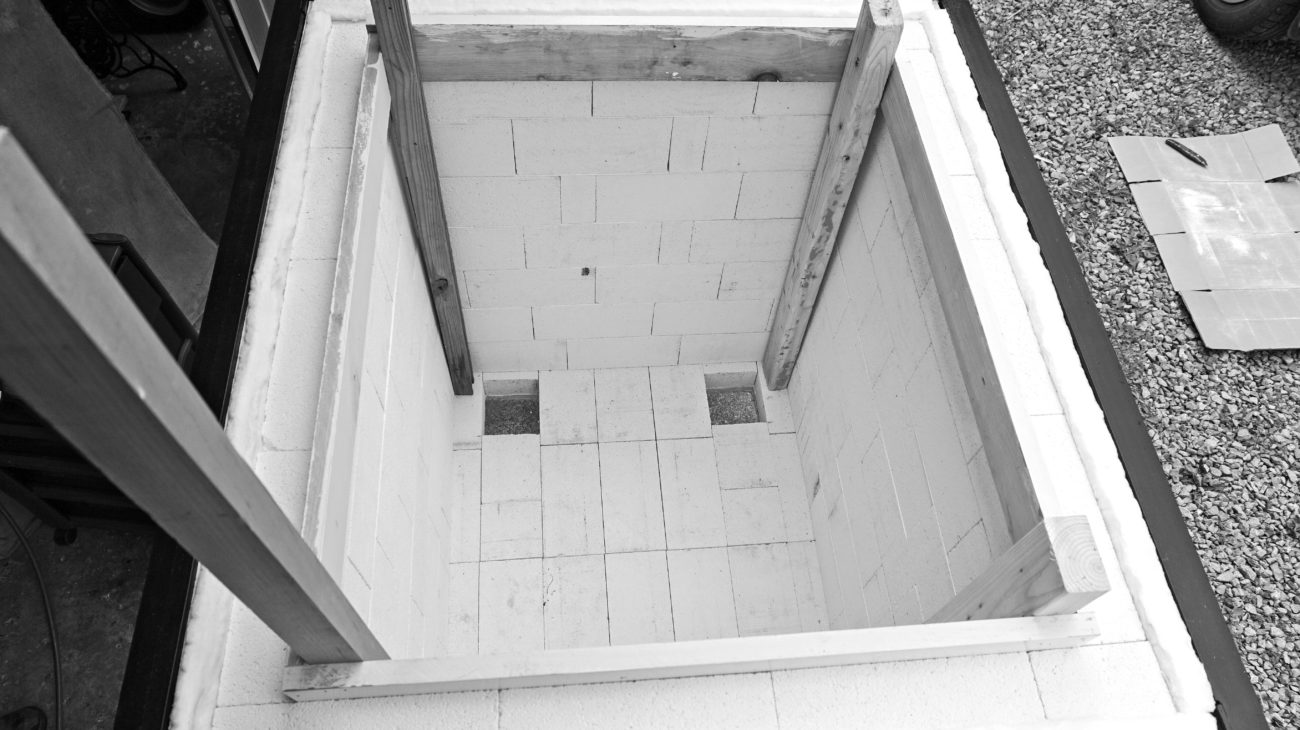
We left off in the bricklaying stage. Eventually my feet that had fallen asleep after hours of being crunched up inside the kiln were revived. A ladder was brought to me and I slung my leg over the top of the kiln careful not to crumble the edge of the soft brick. I was set free.
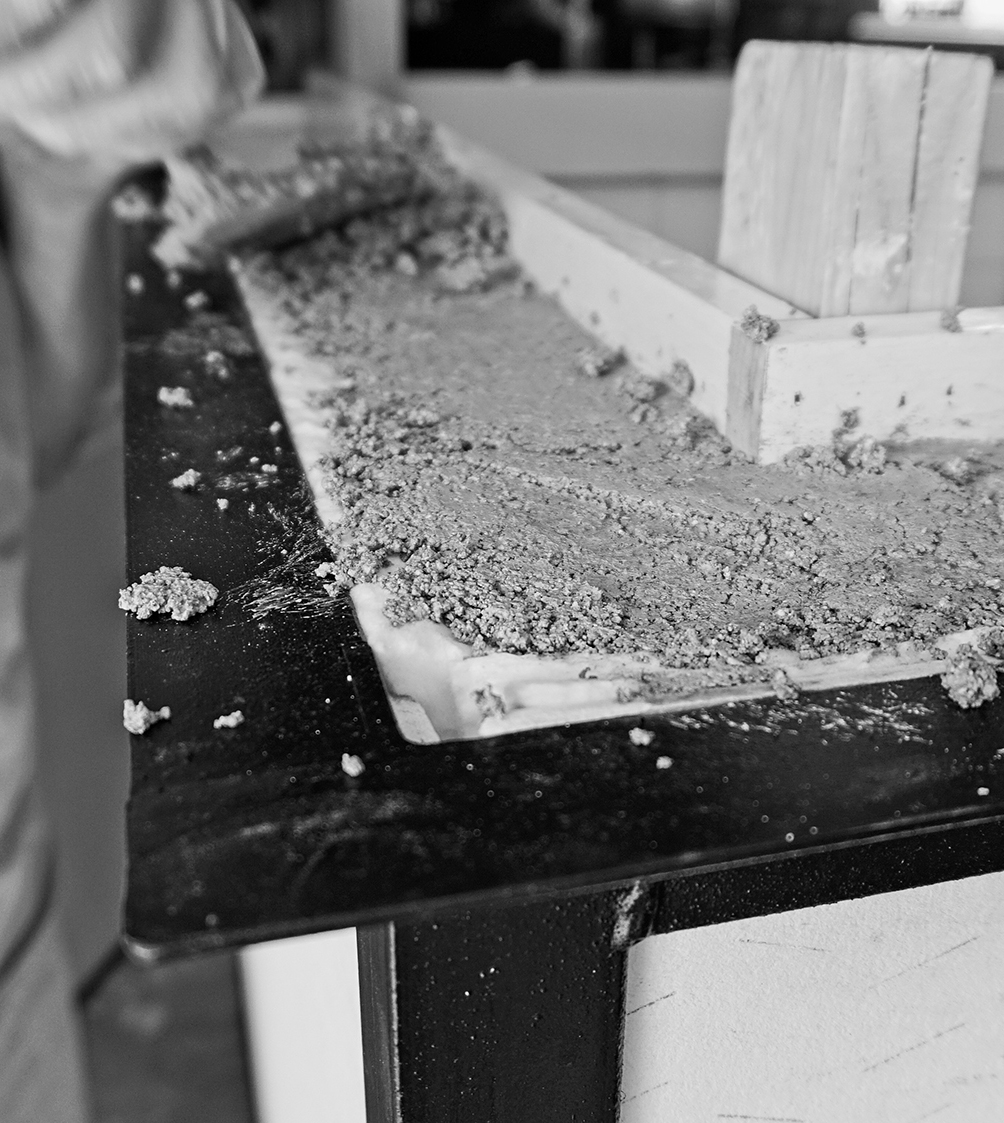
The next step would be two-fold. By cementing the top edge it provides protection to the soft brick and keeps everything solidly in place from the walls inward. There’s a chance these bricks may move around when I do relocate it but I’ll probably need to fill the kiln with boxes to keep it from moving around. As mentioned earlier in this series of posts, we could have used hard brick as they are more hardwearing, but the downside to them is their weight. And if they are damaged it is a more difficult time to switch out a damaged piece. Soft brick can be pried out and pushed back in much easier. Hard brick is quite a bit cheaper but they aren’t as insulating as soft brick either. I’ve spent a nauseating fortune on bricks alone but I see their future value. Weight savings and insulation are paramount. But because they are more delicate, a heavy cement lid would certainly help extend the lifespan and it was also part of Holden’s design. And so we move on to the cement.
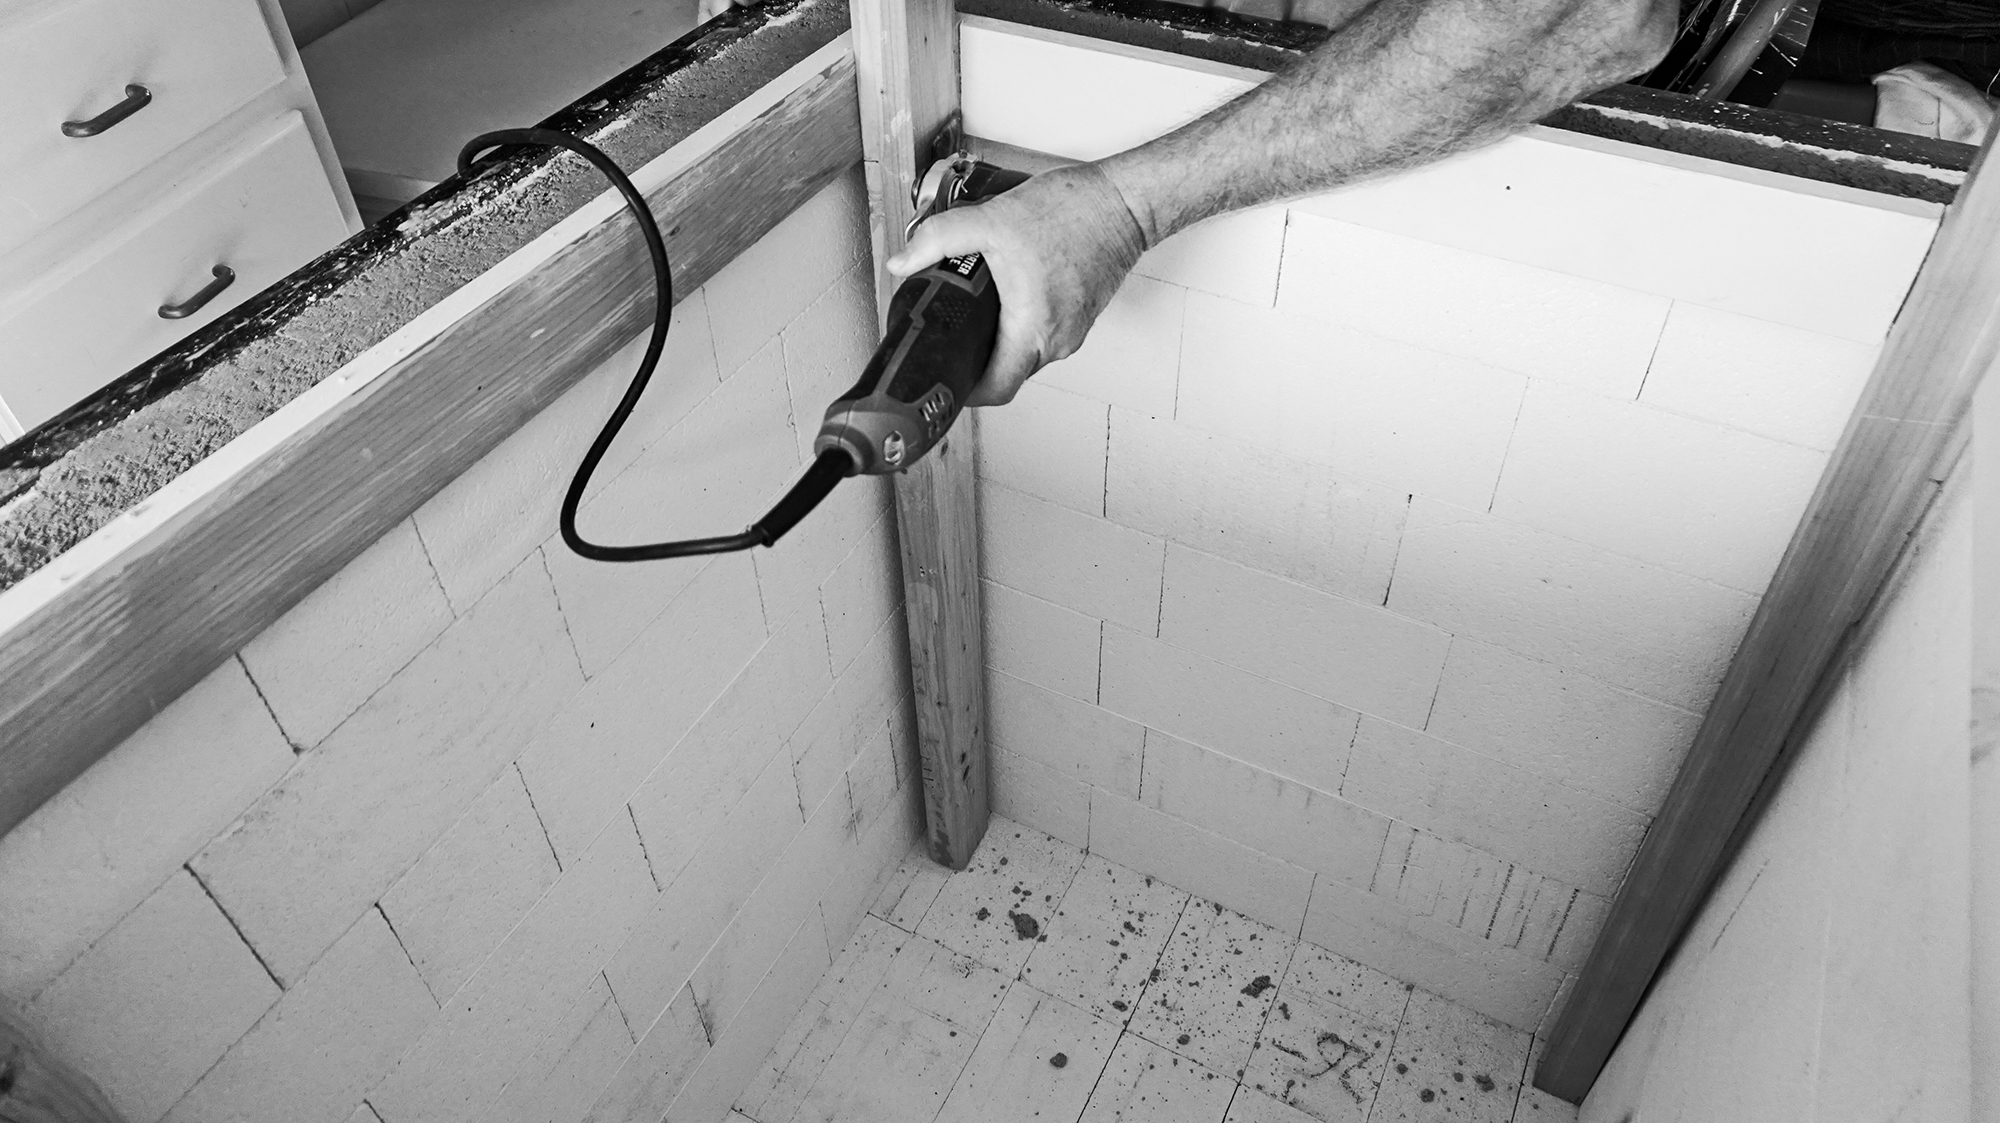
CEMENTING THE TOP EDGE
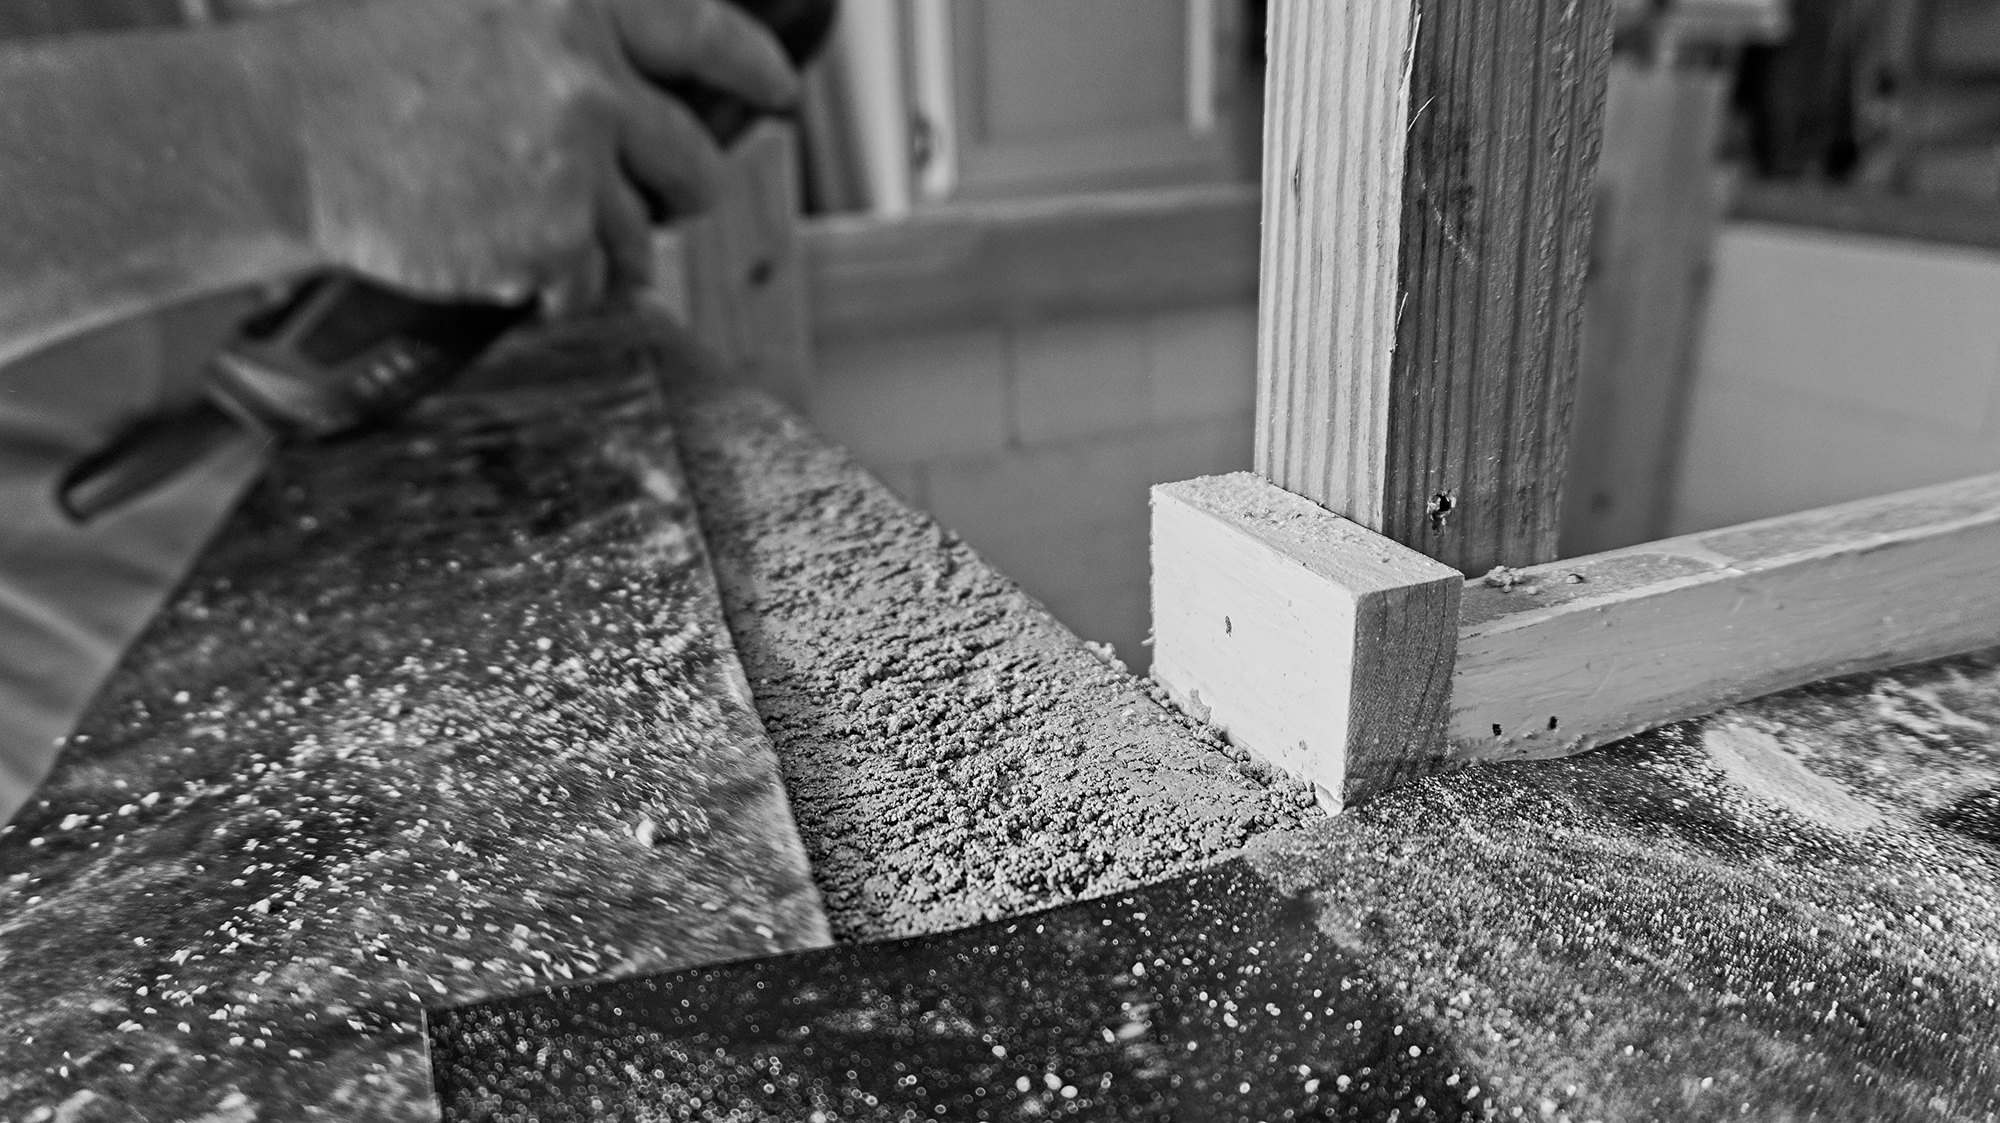
A simple temporary wood frame (squared up), screwed together from the inside creates a channel for this lip to be formed. If you’re wondering why the varying heights of the wood, try to move past this as I had to. These lengths have nothing to do with the design of the lip, it’s just scrap wood. If you’re buying new wood and you want it the same, make it as persnickety as you’d like it to be. It’s merely meant to act as a strong post to support and push to the sides — pressing the bricks both vertically and laterally.

In the following images it will make a bit more sense, but the fire cement fills in this channel, directly on top of the bricks and blanket and against the wood (which is removed).
MIXING MORTAR
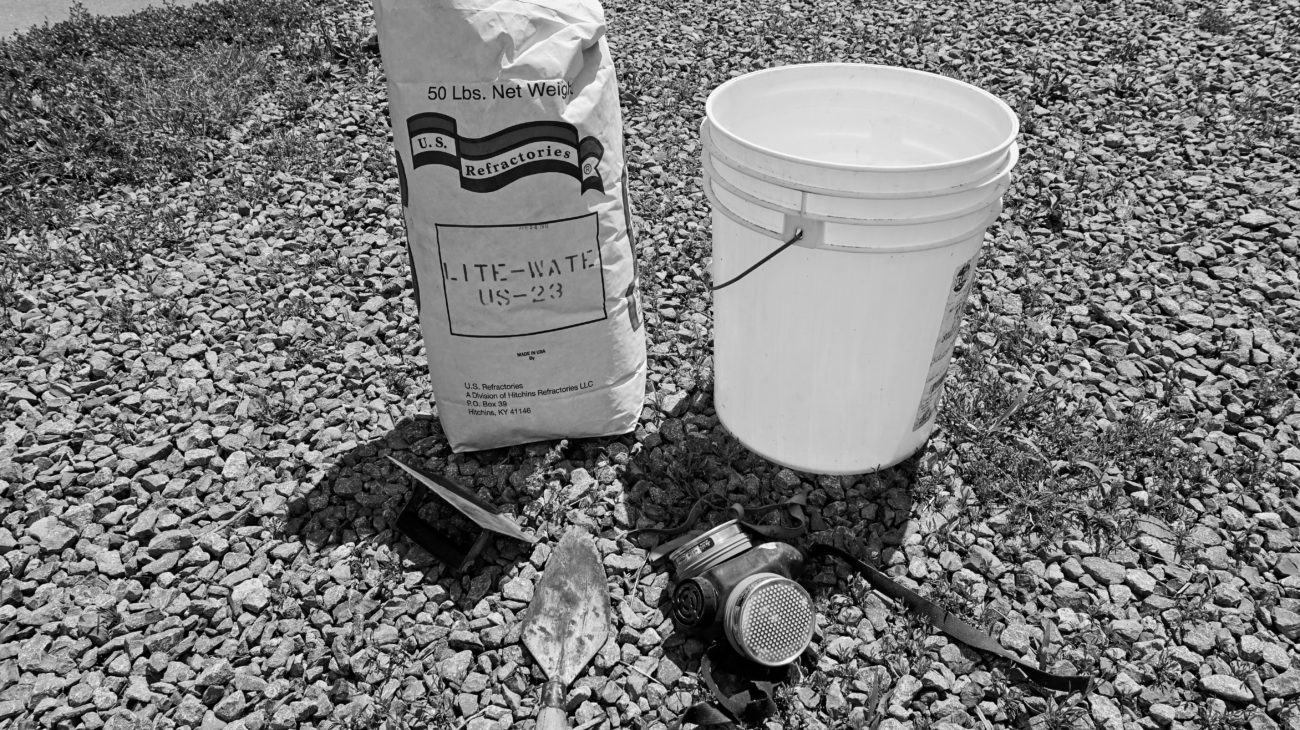
This is the kiln cement used for this project. Compared to a common cement, we found this was much harder to pack. I’m going to guess the silicate compounds in this makeup take up more volume but it really required a lot of muscling. He kept saying it was much “fluffier”. Much more compression was required so keep that in mind.


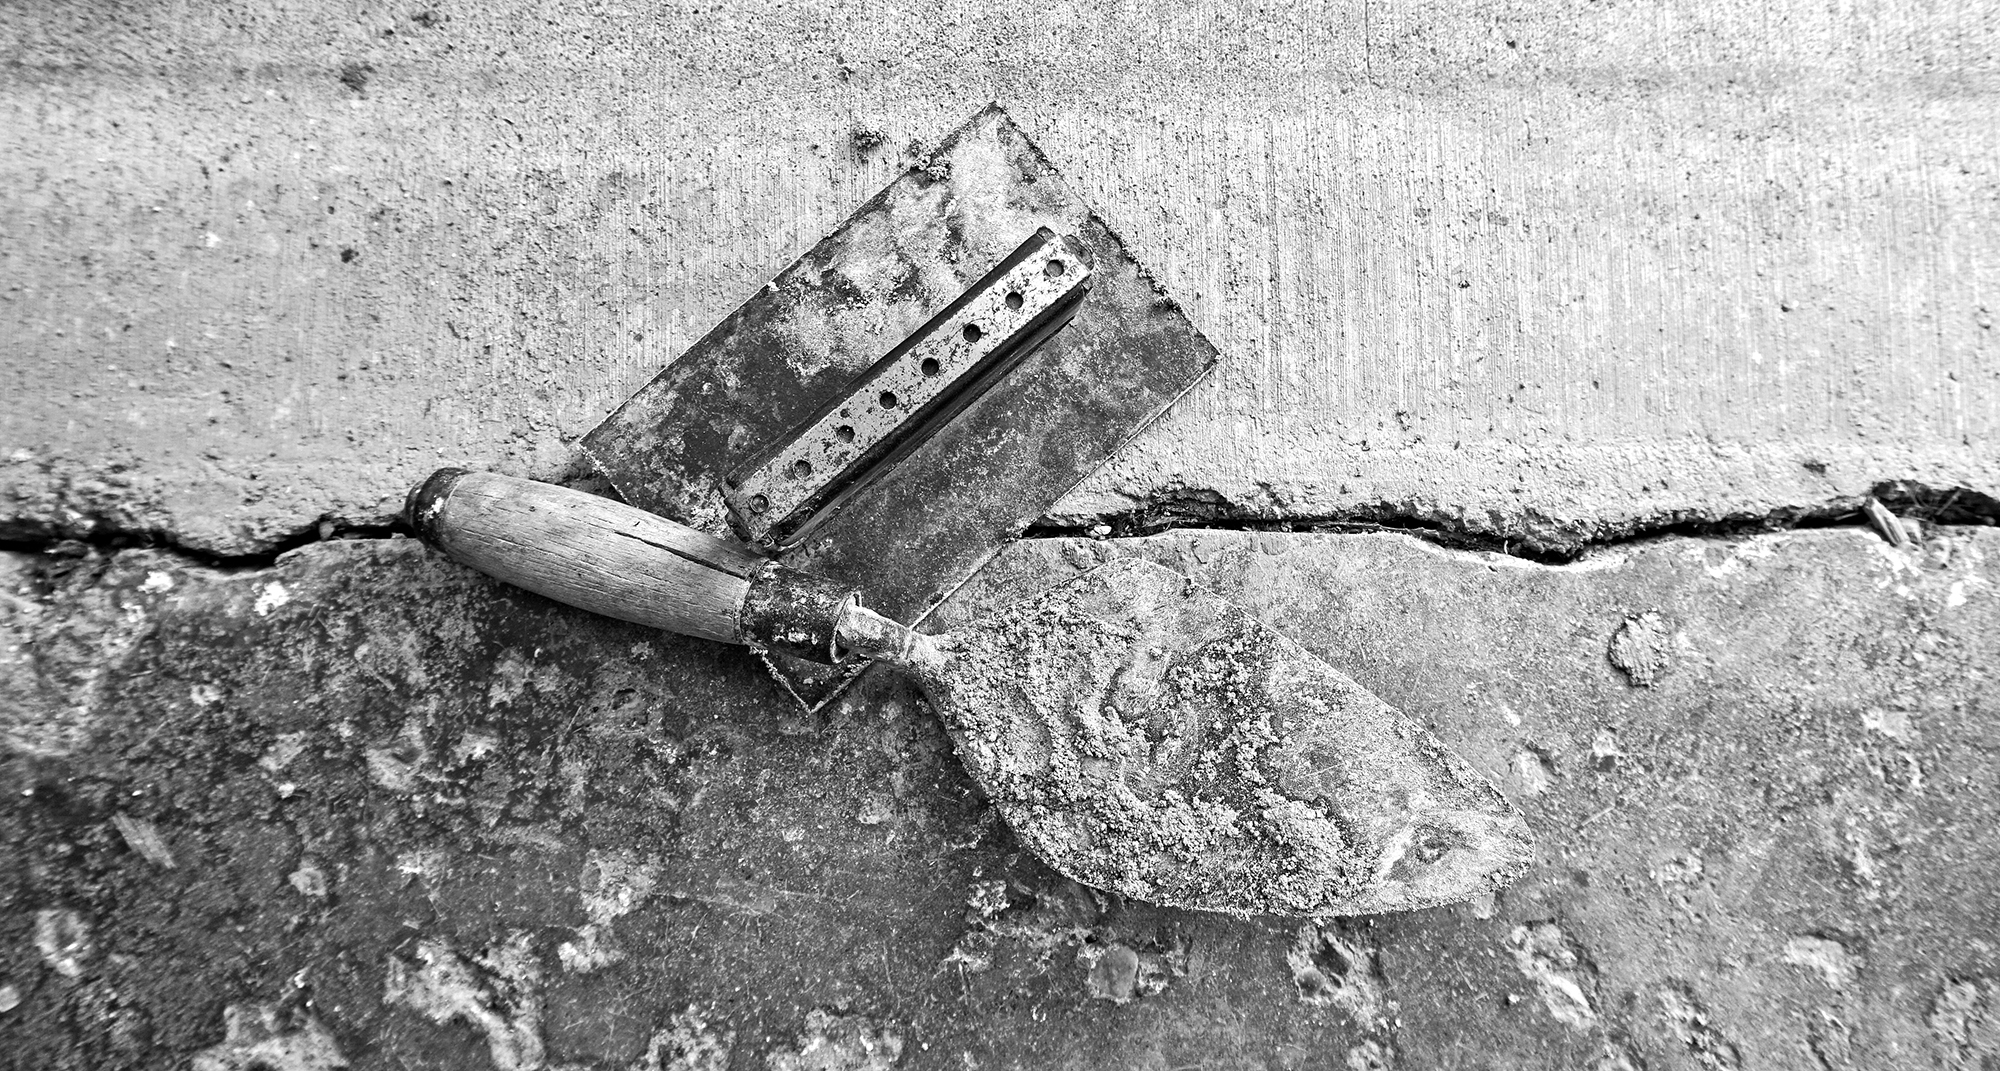
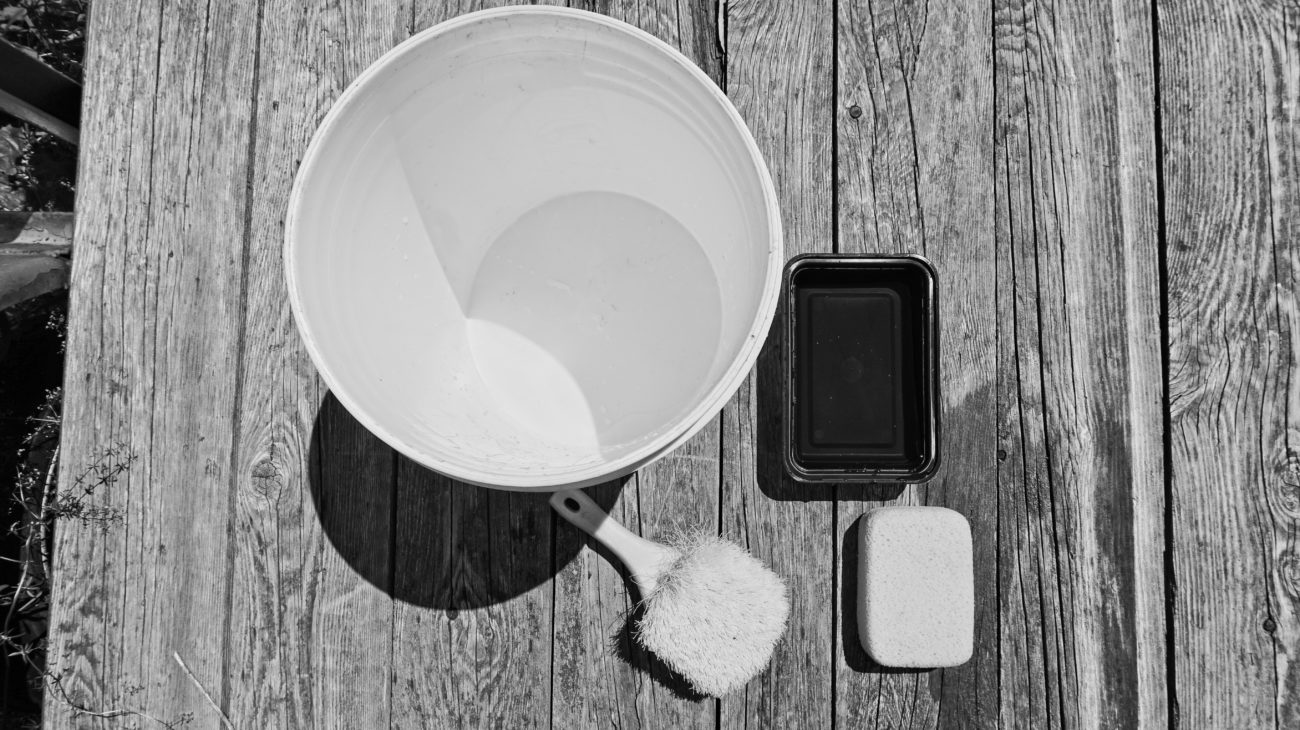
“Don’t forget to clean the tools!”
Yeah, I got distracting by documenting, but I was going to get to it. Really I was.