Top

Now several days later and back in the kiln I go.


We are now preparing for the position of the chimney by making a channel or groove. This form of jointery will give just enough surface area catch for the High Temperature Caulk and Kaowool Rigidizer to be applied, affixing the chimney to the walls. This channel was done after making the cement lip so that it was a smooth, continuous line. That distance spans between the burner openings.

This is a rough shot of some of the supplies used for this build. This stack (sans ceramic board for the walls and chimney)
were bought locally at Sheffield Pottery, my closest supplier for refractory materials in my area.

Like the isoplan 750 board used for the walls of the kiln, this high temp board (Kaowool Board HT 2600) too could be cut with a utility knife. Again, please remember, there are silicates in this board.

Truing up edges for solid butt-joints.

When all pieces were cut to create the 3 walls of this chimney (the 4th wall is the kiln wall), it was then glued together using a high temperature caulk first. It looks like I did not record that detail. Use the same type of procedure for this high temp caulk as any home building – use a caulk gun and smooth in the same way to perfect those lines. After caulking and checking that the walls were at 90º straight angles, the pieces were weighed down just slightly by a thick piece of subflooring and some softbrick. Just enough to keep the pressure even.

PSA: Respirators to be used here as well.

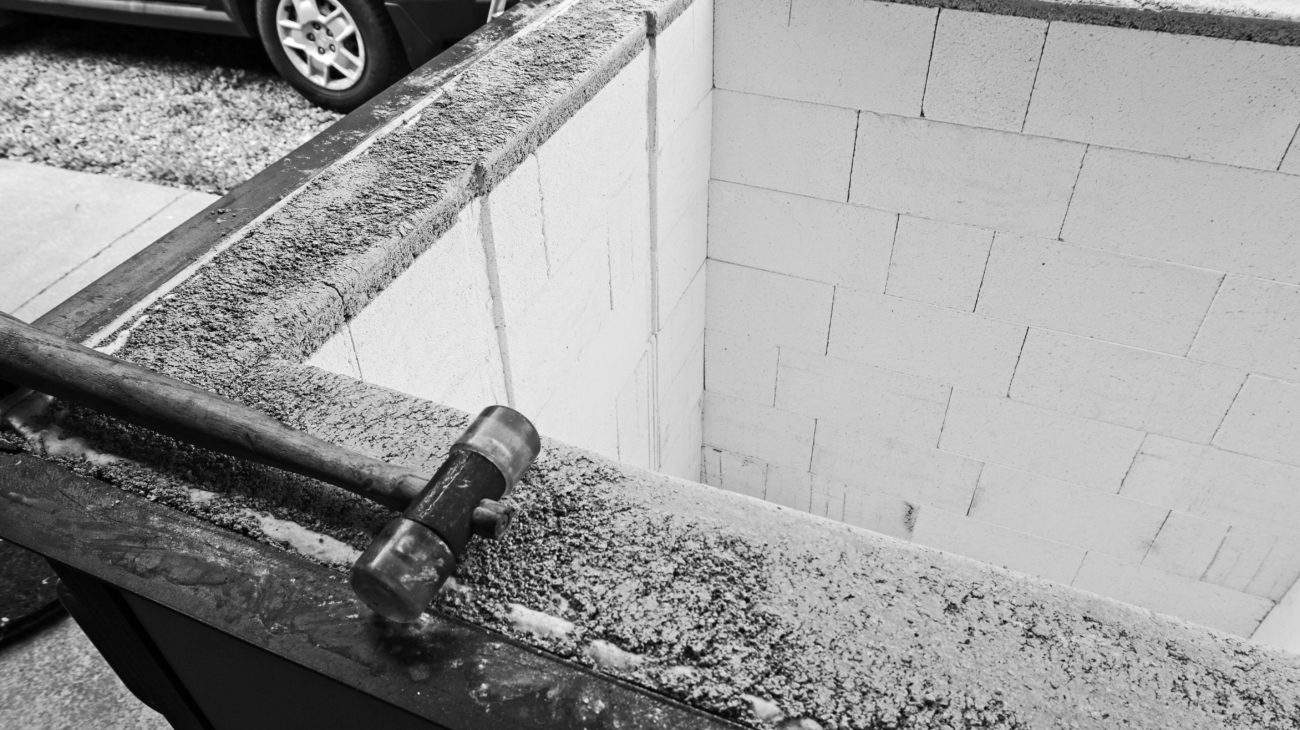
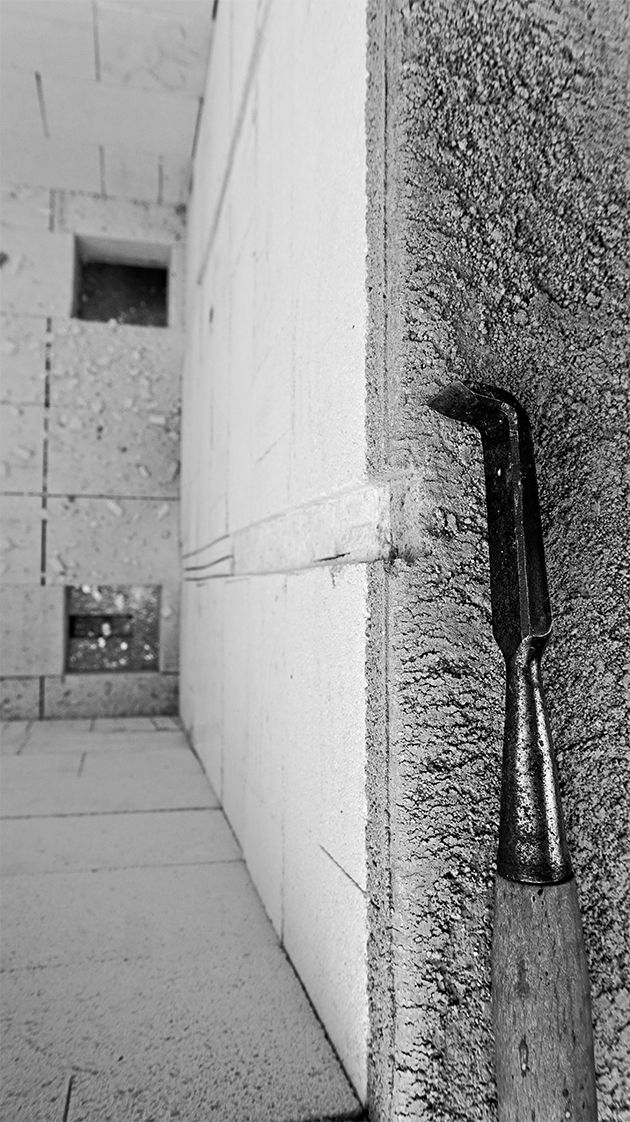
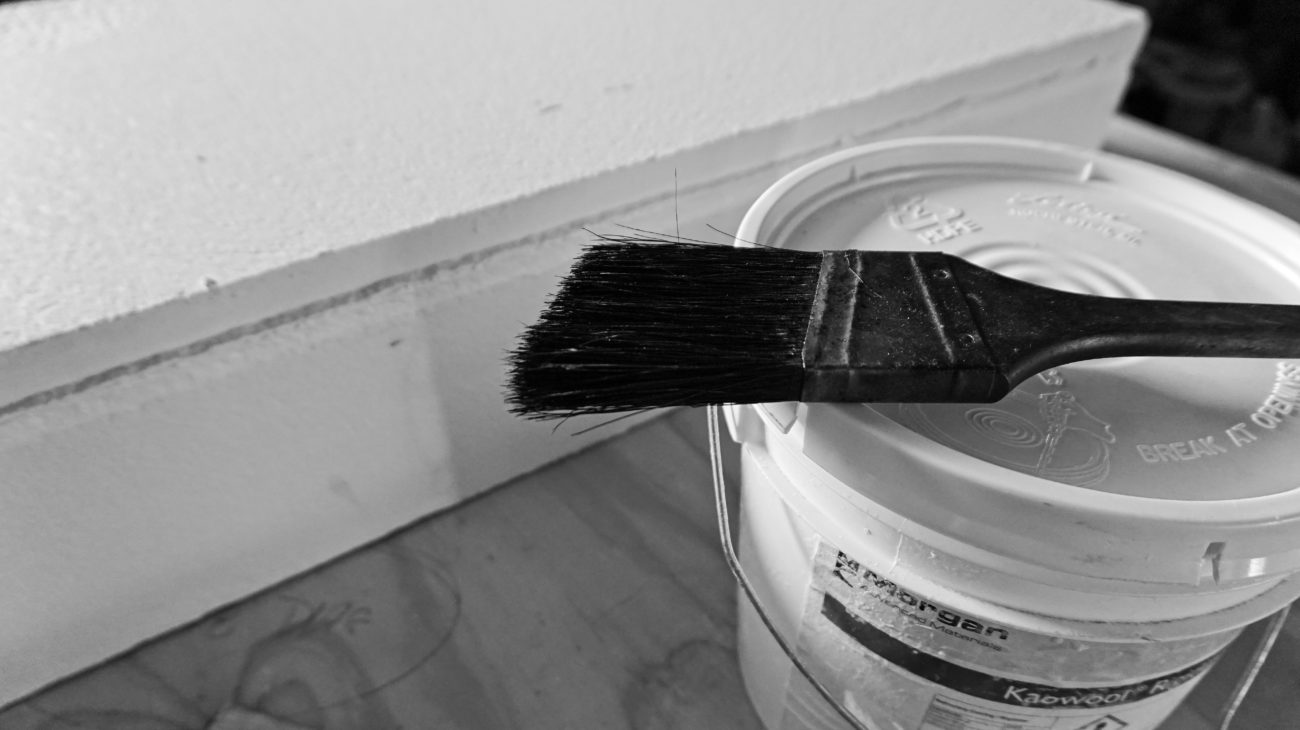
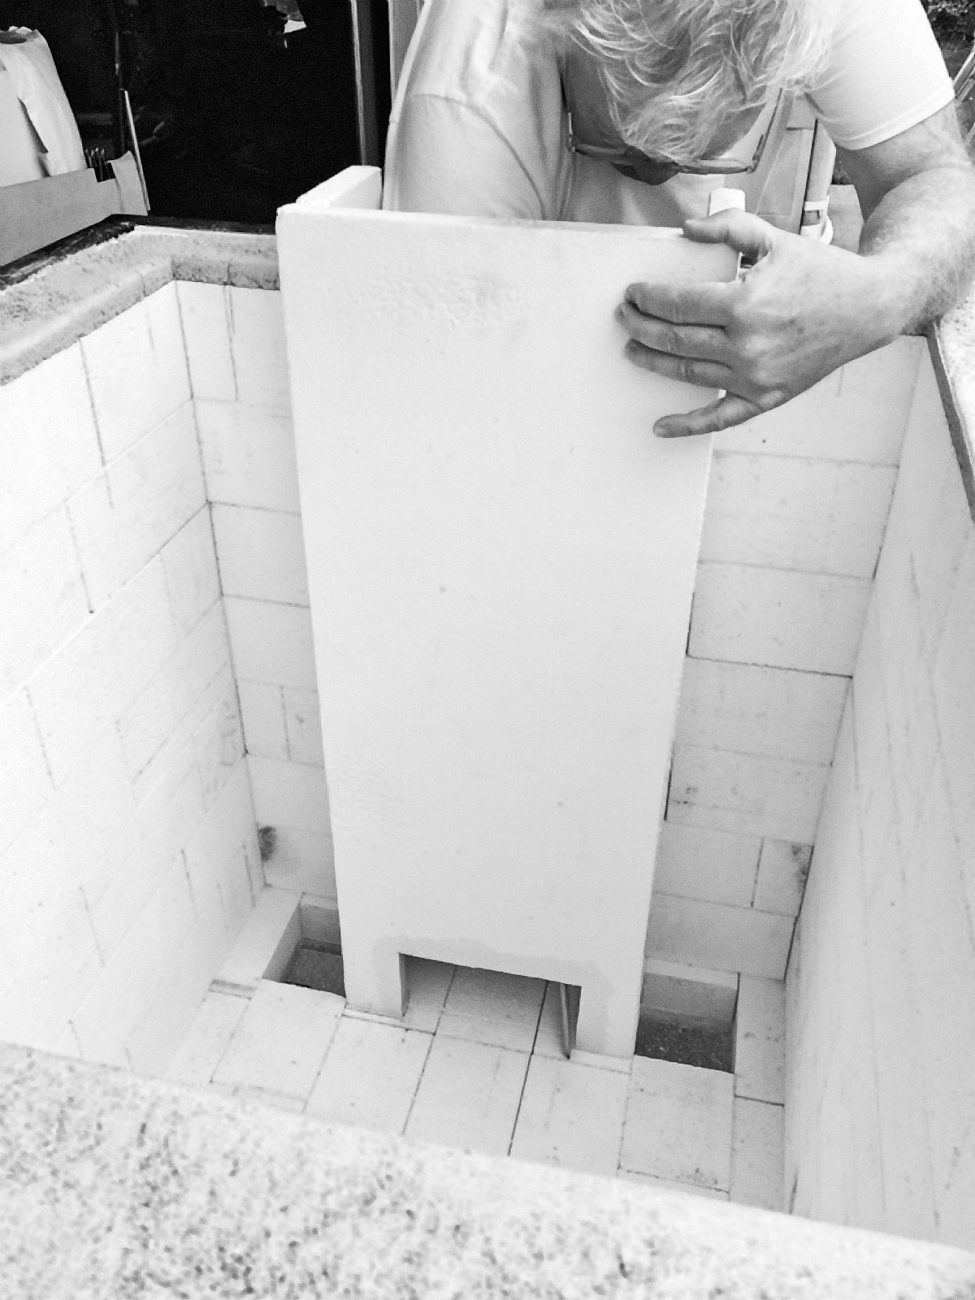
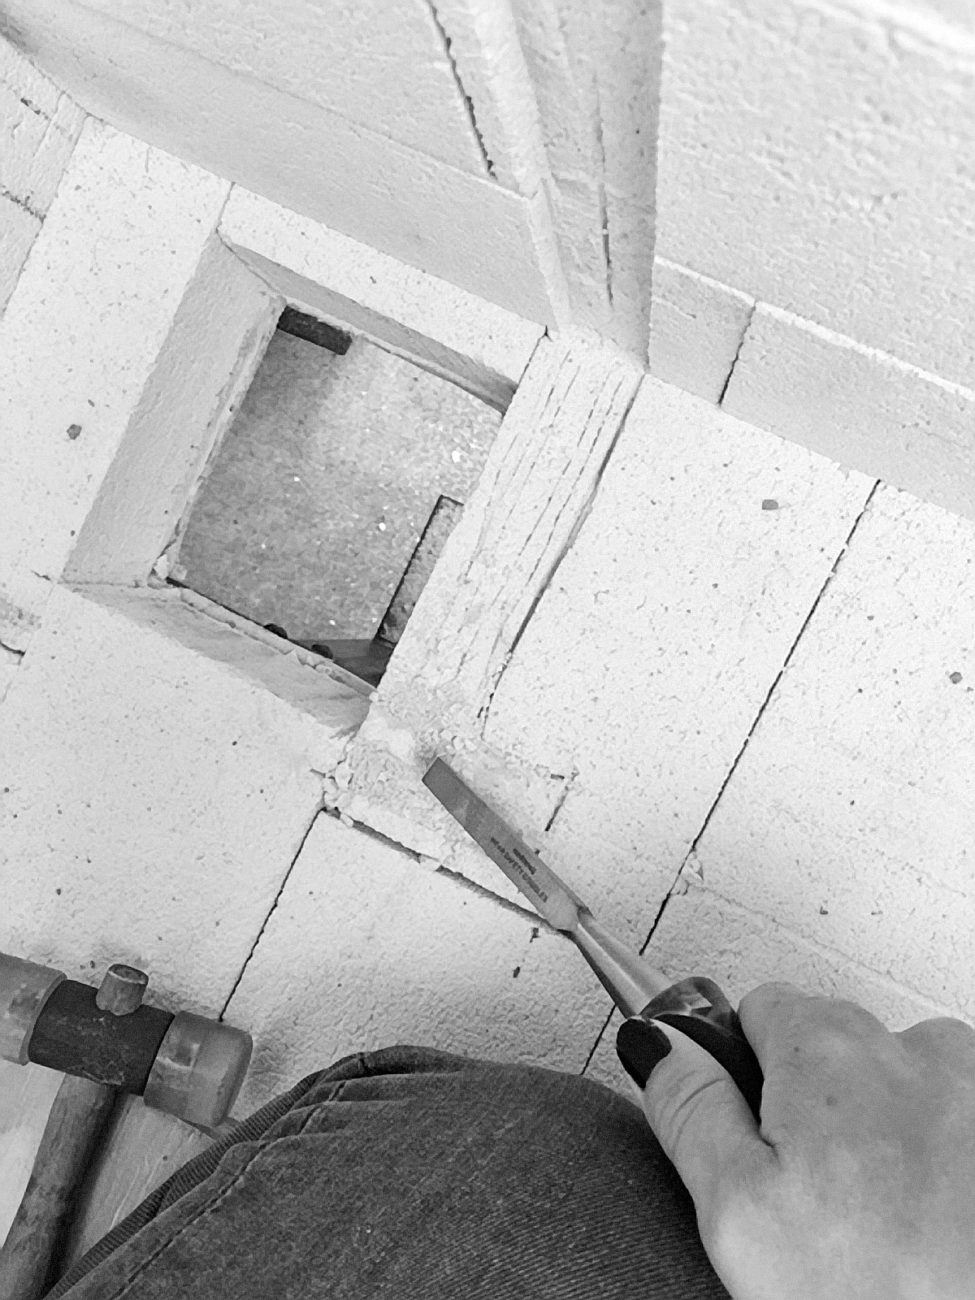
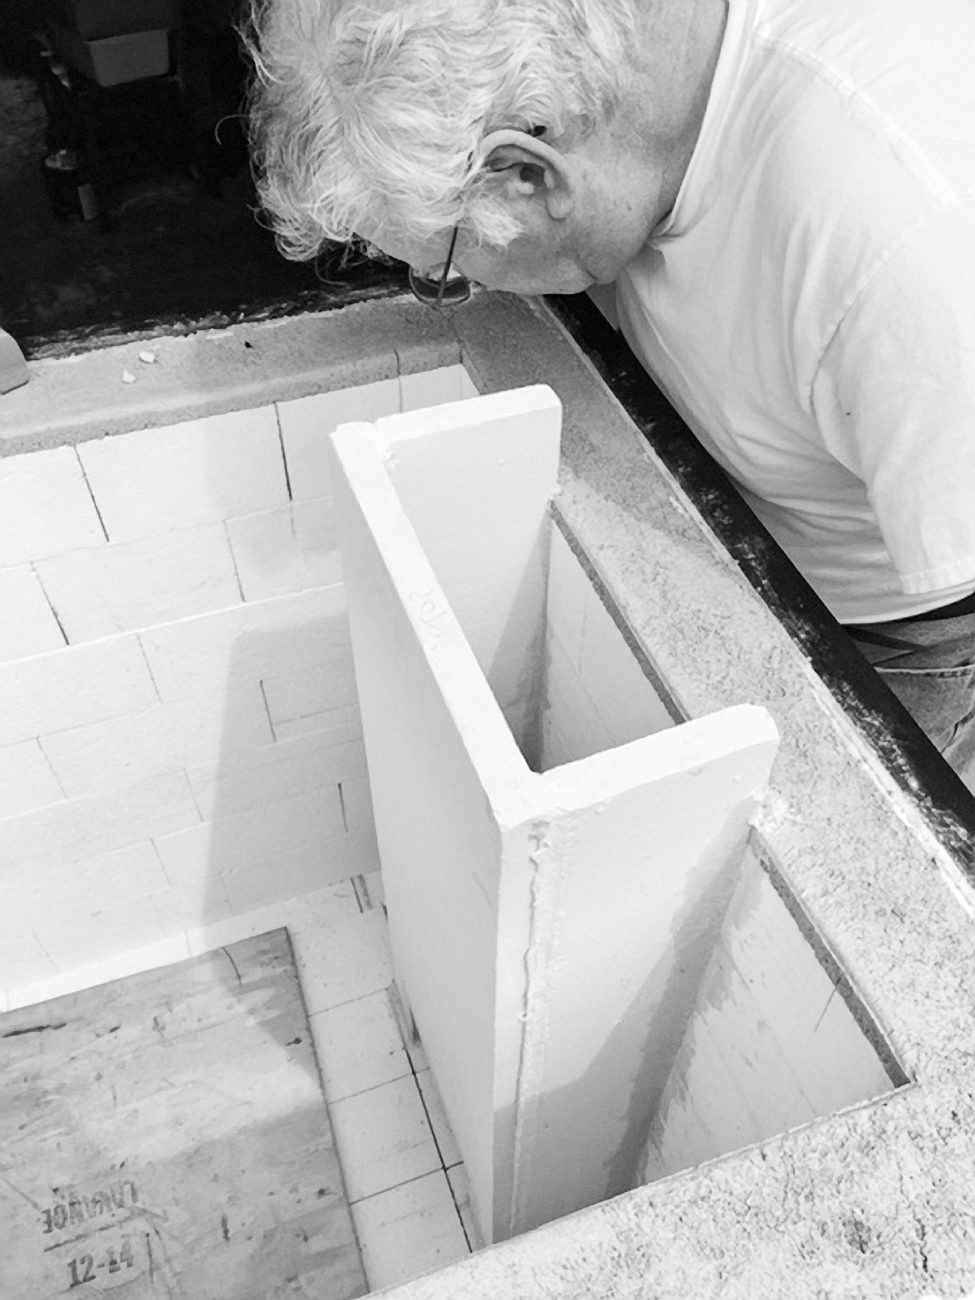
On to the last step, brushing on the Kaowool Rigidizer which helped seal that edge and make as smooth transition to the joints. The caulk probably could have been enough but it was worth making sure you’re really filling all the voids to have as much surface area contact with these colloidal sillica materials. The kiln will go through some movement by being phyically moved but also the environment of the heat inside twists as it circulates. It is also time and financial investment, just one more insurance step is worth it.
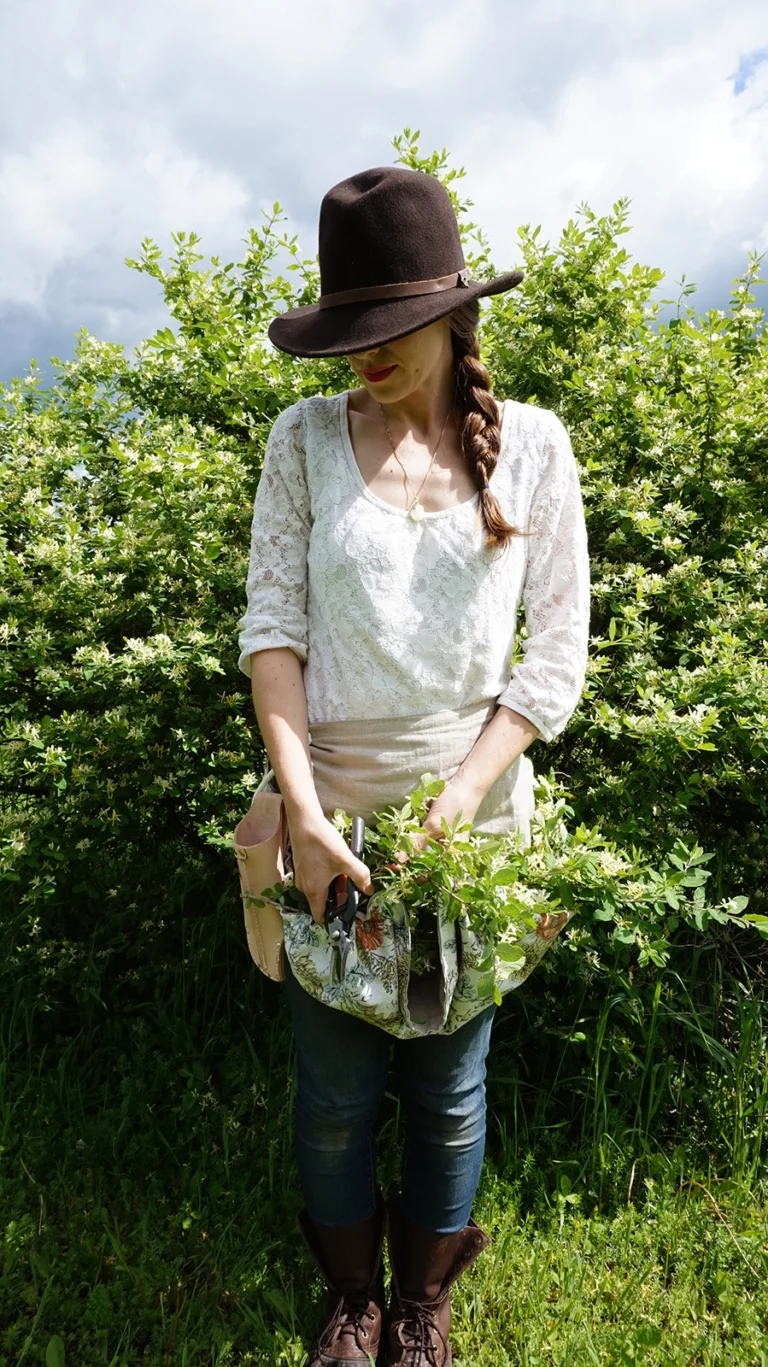
Close up detail of the cut board and sealed edges.

Chimney structure now solid and sound enough to move, we make that tentative dry fit again.

Chiseling this last shape for the chimney to sit in.
Back to feet falling asleep.

Checking down the sides after the caulk and Rigidizer are added, the kiln has another night of dreamy sleep until it cures. Until then, we move on to the final piece of this jigsaw. Creating the roof beam.

Comments

  • July 16, 2021

    Gus

    Hi there. Thank you so much for this blog, and for documenting your kiln building process!!
    What is the name of the ceramic fiberboard used for the chimney? I know you mention the isoplan 750 board used to line the walls, but I cannot find the name for this one used for the chimney. Have you gotten around to fire the kiln? Many thanks and lots of warmth from the Dominican Republic 🙂

    reply
    • July 19, 2021

      Mary Ritzel

      Hi Gus,

      Good eye! I thought I had been so meticulous cataloging all the materials used but you caught this one. Thank you! I’ll update it now. I’m sure you have a closer distributor than this but all the same I want to give you apples to apples to look at this product. Even if you wanted to call them it looks like free shipping but I don’t know if it would include DR. This is where I bought it Kaowool Board (HT 2600). Here’s a data sheet to read. The one you’re looking for is the HT (high temp board). HT 2600. I remember it being easy enough to work with. Please let me know if you are going to make one. I’d love to see it. Thanks again for catching that. -Mary

      reply

Post a Comment