
When I was first asked what type of kiln I wanted I had only dreamy visions of what it would look like. I wanted the kiln to either look that of my first studio in Central NY; a large walk-in style with bricks laid and sealed at each use, or even better the classic grand piece of art and architecture with arched brickwork. And though, I know my Dad really could have made practically anything, in the end the beauty would be more in it’s performance over it’s looks. That is the age old banter with my Dad; Design vs. Engineering, Form Follows Function. As a designer though it’s always my plea “can’t we have both?”. When I see it now it I see a functional beaut. It’s something I can maneuver and reach inside relatively easily for my 5′ <5.5″ frame and portable for my generally transient lifestyle. It had to be easy to move, both from the outdoor elements and between studios if needed. Most of all, it had to be as fuel efficient as possible. That we both entirely agreed on. Ceramics is not necessarily a green medium, however, argued very successfully by Robert Harrison in Sustainable Ceramics, his example cup could by fired by the same amount of energy as watching the Super Bowl on an average-sized plasma screen. And the cup would last much longer than one single game, used for many functional purposes. I digress. We settled on a modification of the Power Kiln mentioned by Simon Leach in his recommendation of The Self-Reliant Potter by Andrew Holden in which Simon used this model to make his own during his time in Spain. Big Simon Leach fan and a great video to watch.
Some of the materials have either been modernized or modified and so at first sourcing bricks that have changed in thickness (I believe I understand that right) to what was mentioned and some of the custom parts like kiln shelves used as structural parts for our now altered size wasn’t easy. And that was only the effort I put in. My understanding of BTU’s is still terribly shaky and how this machine would perform was limited in my limited understanding of it. If it was left for me to figure out all the calculations in creating the atmosphere in the kiln, as much as I love building things, I would have just bought a kiln. My mind doesn’t work like that and quite frankly if it isn’t using a measuring stick or small calculations I buckle under the pressure. I knew what average cone I’d like to fire to, cone 6 and if there was any potential reaching cone 10 or 11 if I wanted. Things I didn’t know while the conceptual phase was on-going is (as my father freely admitted “engineers are lazy”) had more to do with the amount of cutting, as little cutting as possible for all parts; steel, board, bricks and moulding the ceramic cement he was designing around some of this. In the end I think we cut maybe a dozen soft brick in total. The majority of the cuts would be the steel framework.
There was a short period considering retrofitting a former electric kiln with burners but I must defer to the engineer that the specs should hold up in the end and make exactly what we need to make it energy efficient as the materials around us available and at the size of the kiln I would need with the optimum firing bang for my buck. The plans for incorporating soft brick with hard brick eventually went away, opting to replace the hard brick with a ceramic board held by steel framing that would make it more insulated and light. The only drawback of this is that it’s softer and easier to damage but I’ll address that later on describing other materials used.
THE JIG IS UP
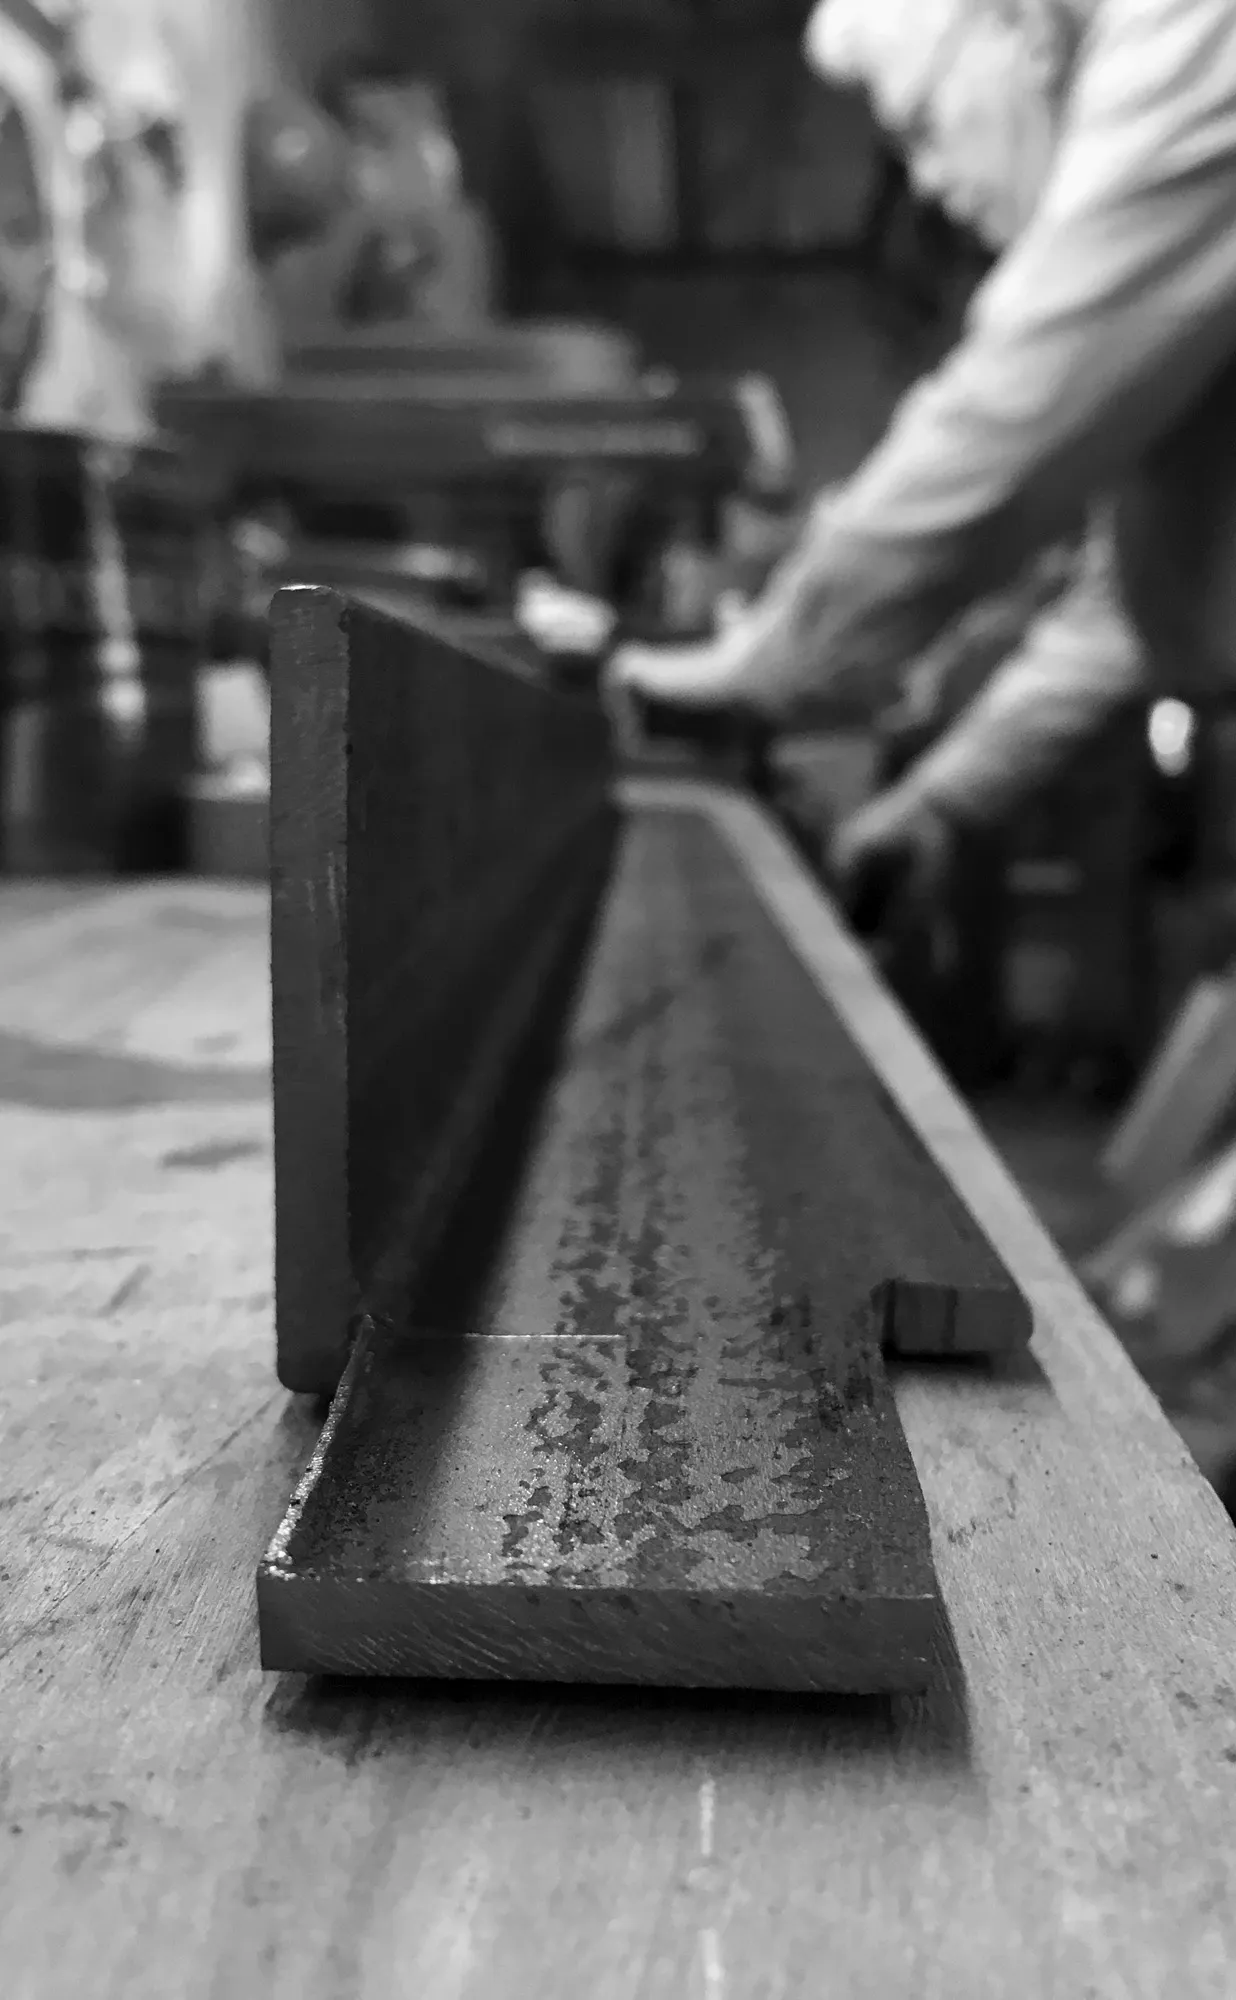
It’s pretty amazing how a simple jig can really set the pace of a project. In cutting this framework, the old adage of measure twice, cut once, it failed us once if I recall correctly. And even then I think we used every last scrap of metal. Otherwise, the cutting went really smoothly. Every cut was made to perfection, held securely between this right angle block, (kept surely for such occasions) between clamps and the workbench. There was a little play as there will be in cutting and that’s okay. Gloves were worn to protect my hands from the heat and the steel shards that might travel down the frame. What these pictures don’t show is how cold it was as we were swiftly moving into December. Most cuts were made with a metal grinding blade, and for more intricate cuts, a reciprocal saw.

“Measure Twice. Cut Once.”

The majority of the cuts were made by a metal grinding wheel attachment (Dewalt 1/4” A24R).