MarRi Design

blog

[ Artistic sojourns + scientific trialing ]

Bricklayers Union

Building the Gas Kiln
Episode 7 of 10
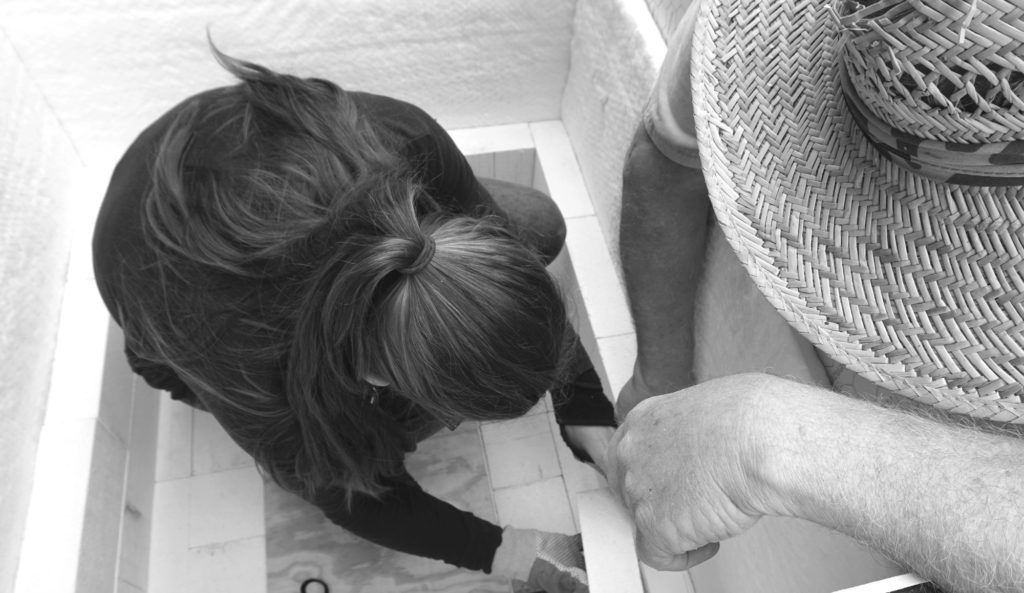
Inside Kiln Hello
I have bricklayers and masons in my bloodline from both sides of the aisle. In cutting and laying the firebrick, mixing and compressing the ceramic cement I felt that connection through my Dad. He shared little snippets of working with his uncle Orville. I can tell still after all these years how proud he was to learn from him. Long before my parents were were born, my Dad’s father and my Mom’s Grandfather built the house my mom would later grow up in. Funny how life works.
Building walls inside kiln
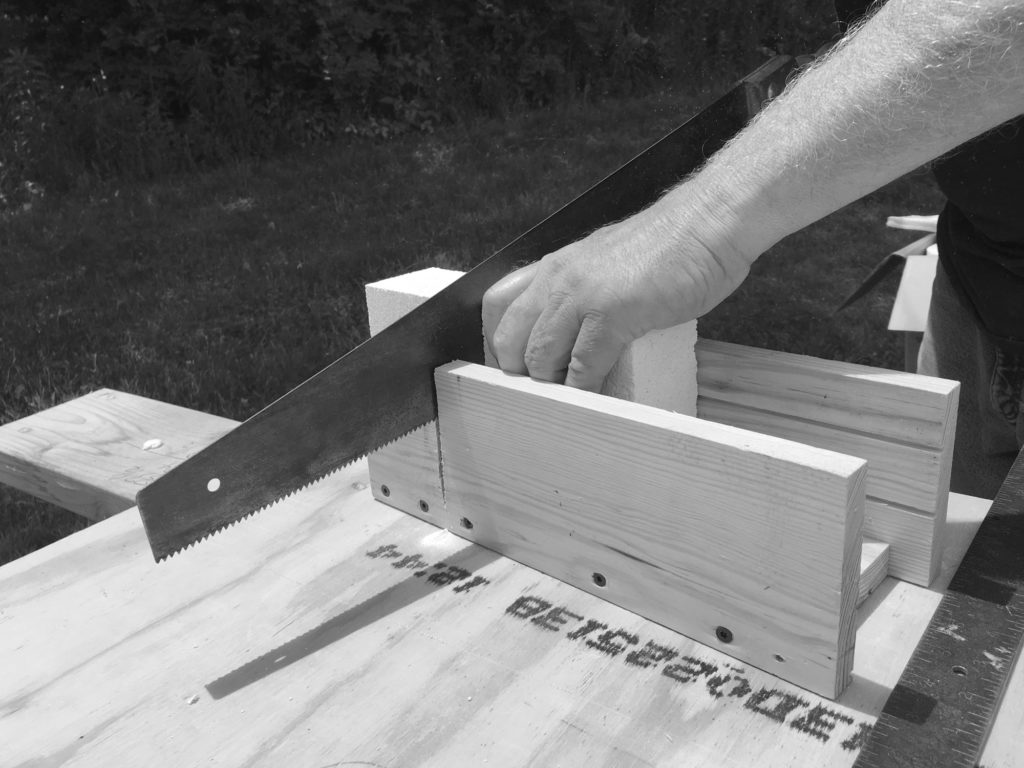
Cutting soft firebrick with jig
Soft bricks are quite easy and clean to cut with very minimal dust, but as always, as this is silica, wear a fine particulates respirator.

The soft bricks are about 1/3 the weight of a typical clay bricks. Its advantage is in its portability.

Refractory bricks are used for things like pizza ovens, fireplaces, bricks around your furnaces and for this instance, very high fire kilns. Since I really felt I’d be making primarily functional ware and with as much sustainable firing methods as possible, I opted for firebrick aimed at the range of Cone 6-8 but with the flexibility of reaching Cone 10. Soft bricks were advantage for the best insulation. And though soft brick cost more, they are easier to cut (big advantage there!) and easier to replace and patch in the system my Dad designed. Truly, this project was all in his mind with knowledge about pressure I would need an engineering degree to understand. Luckily, I have one in-house.

The soft bricks are about 1/3 the weight of a typical clay bricks. Its advantage is in its portability. Since this is a kiln that will be wheeled out of an enclosure, that weight savings is awesome for me.

The mortar is lain in the form of tape rather than a fresh, wet mixture that truly could be disassembled easily if I ever needed to do that.
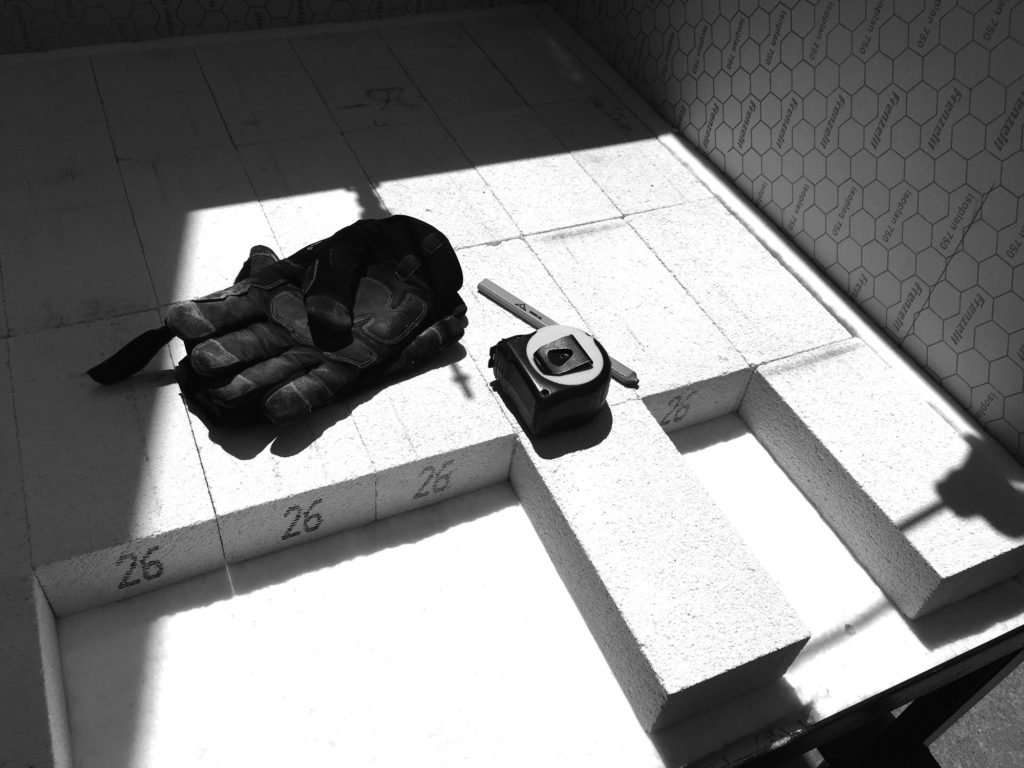
Laying Firebrick on Kiln Floor

I received some flak that the numbers should be facing in the right direction. I thought a left-brain like my father would understand. This is where we often argue over form and function. “Dad, I can’t help it, I’m a designer!”
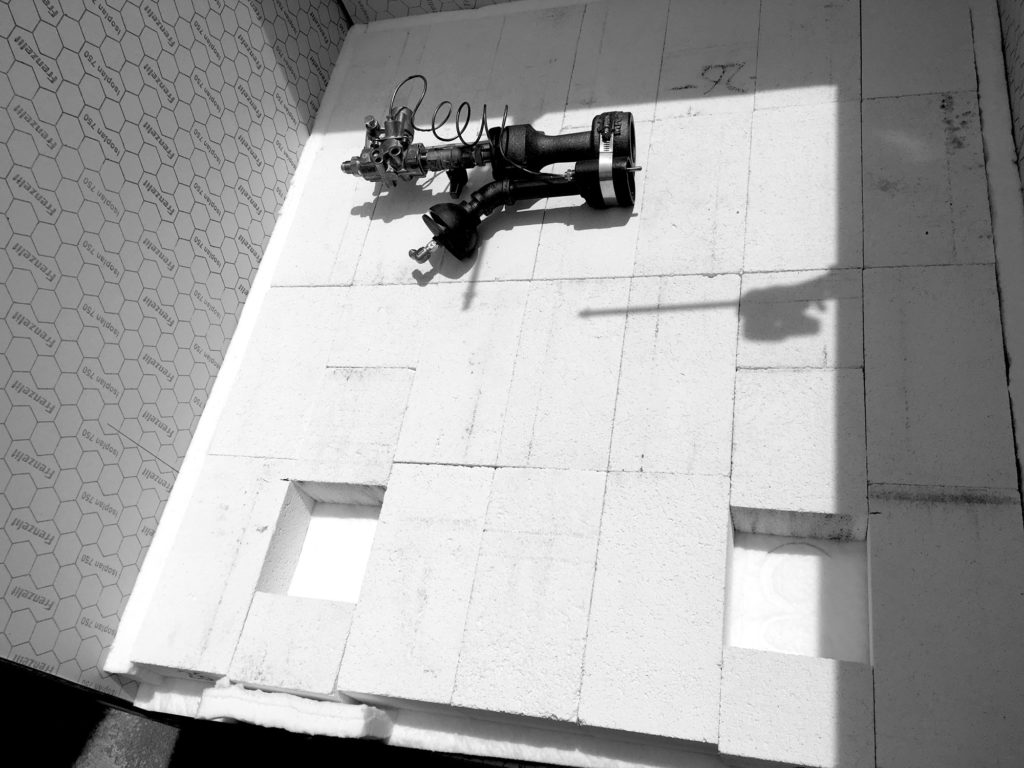
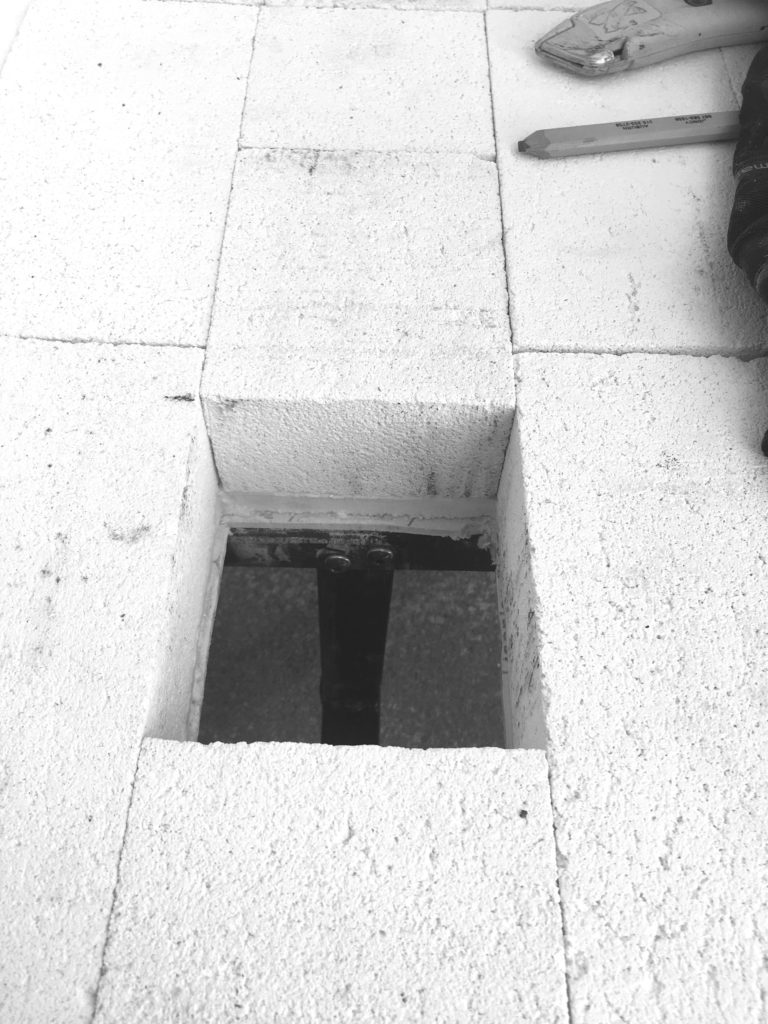
Floor to be cut for burners.
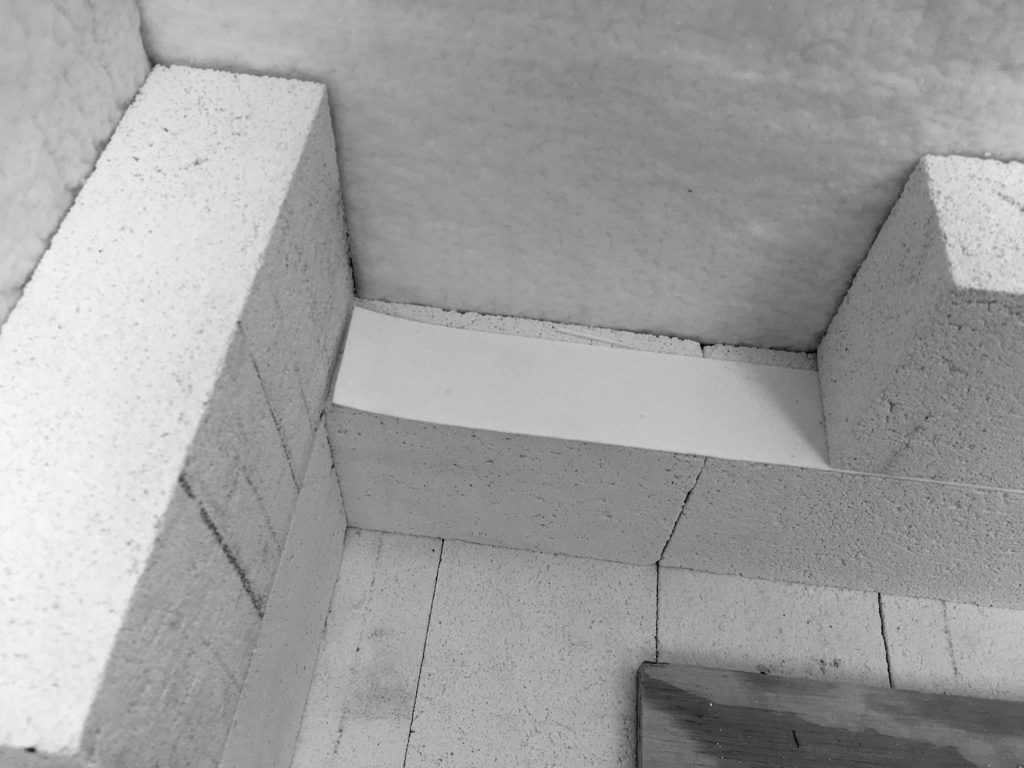
Above is one of the two burners. The wells where the bricks have been left open are where the burner chambers will be.
Burner Channel upclose
A closeup of the burner chamber. The undercarriage (welded steel frame) holds the position of the burner and the only portion cut is the fire board that was cut simply with a utility knife.
Several days later…walls go up, more blanket is layed down and I spend just under a week in the kiln, sitting on my feet and trying to wake them up.
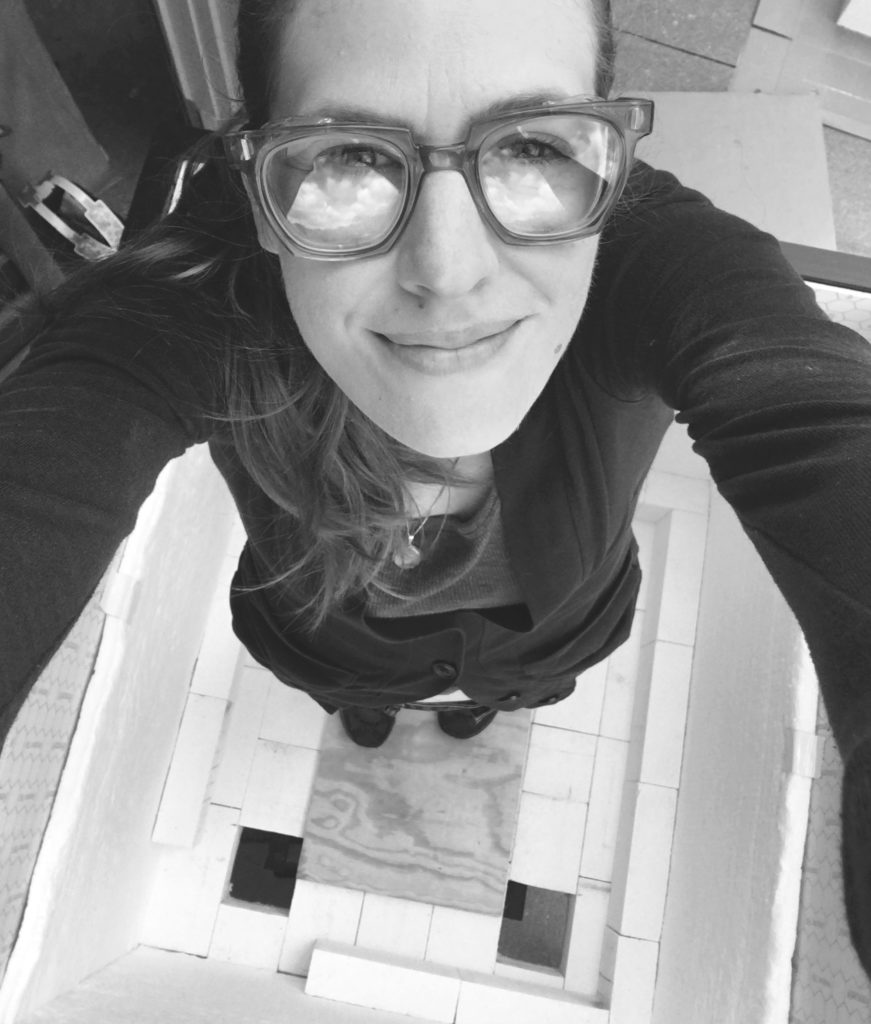
Inside Kiln Hello
The next day starting again, but first, happily sending a morning hello to my bestie in NYC.
Soft firebrick and mortar tape
In the end, very few bricks needed to be cut. The size of the kiln was plan was based largely around size of the materials we bought determined by Mr. Efficiency.
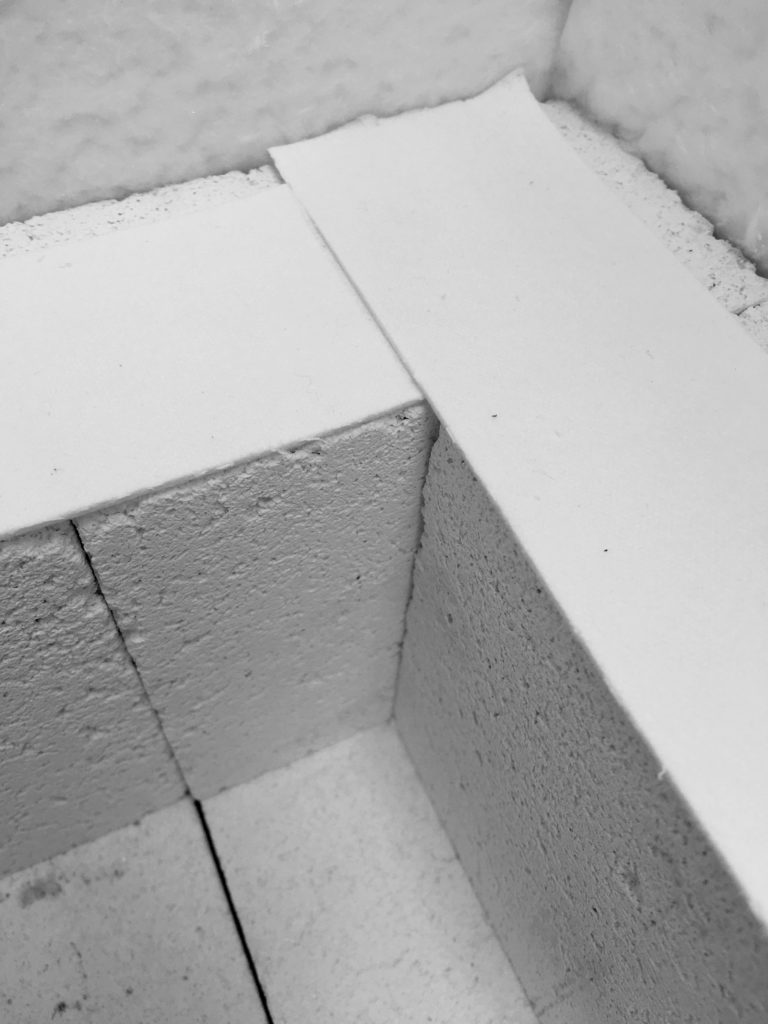
Mortar Tape upclose
The mortar tape cuts as easily as light foam strips, however much more precious. Note that the ends do not overlap and ride alongside the edge of the brick on the interior, not exterior wall.
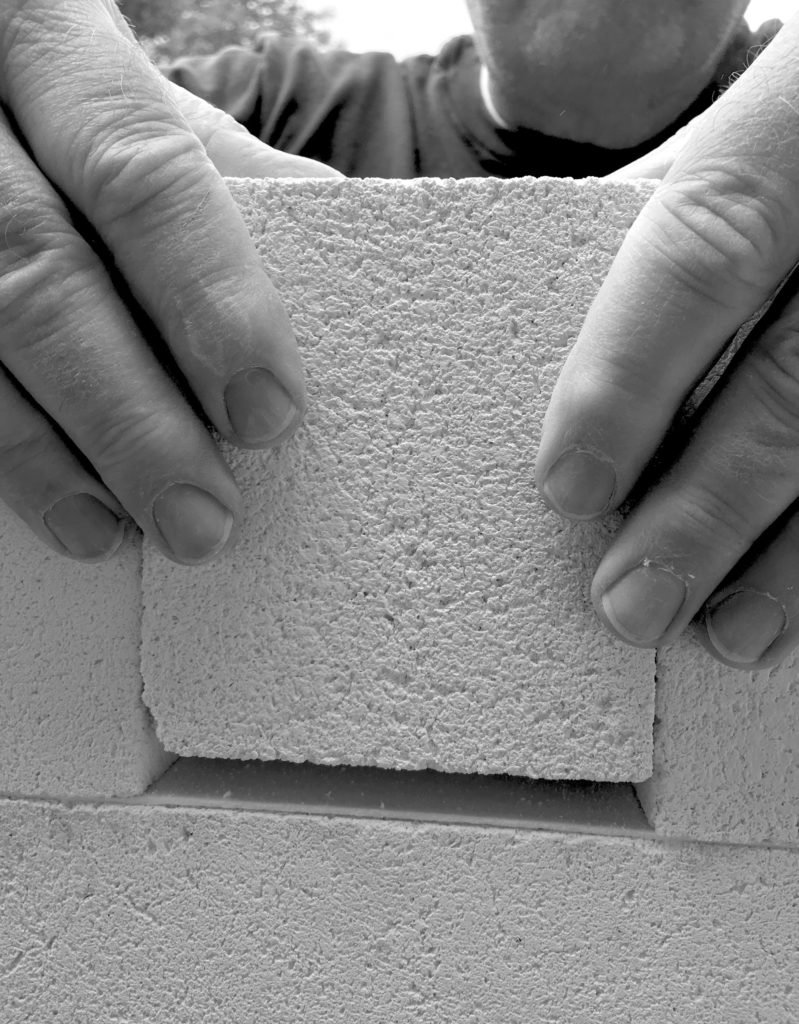
Placing the Last Brick
This was the last brick! Absolutely a red letter day.

Mary Ritzel

Craftsman / Humanitarian / Conservationist / Materials Girl

Designer and artisan practicing traditional and historic crafts in the Mohawk Valley of Central New York. I’ll always prefer raw materials to create a more conscious, considered and thoughtful world.

REACH OUT

OTHER POSTS

Why dyeing with invasive species is a great way to learn

Natural Dyeing with Hibiscus Using Alum as Modifier

Makers and Shakers

2 thoughts on “Bricklayers Union”

    1. Yes, of course. If it’s beyond my engineering knowledge I will definitely reach out and see if I can get you an answer. I have not run the kiln through a full fire yet. Almost as soon as I completed the kiln I accepted a job away from where my kiln lives but I am gearing work up to fire within the next few months. It’s a very big kiln so I want to make sure I make the fire worth the materials and time for it. But yes, please ask away. It was really exciting to finally finish this kiln. It was about 2 years in planning and time to actually get all the process done (weather and other assignments interrupting the process). Incidentally I have more steps to post for the completion which has been on my rolling list of to-do’s. Just not enough hours in the day…

Leave a Comment

Your email address will not be published. Required fields are marked *